/baking

Gluten Free Foodie Friday | Apple Cheesecake Tart | A “Lighter” Dessert for Your Holiday Table

I don’t know about you, but I have some “Christmas standards” that are on permanent request in our household. We do the turkey thing at Thanksgiving, but for Christmas, it’s a rather decadent and gorgeous meal of Châteaubriand – Noah’s neck-and-neck favourite alongside Beef Bourgignon. Assuming our little seedling doesn’t make his grand entrance early, I will post the recipe after Christmas as it also makes a gorgeous New Year’s Eve dinner.
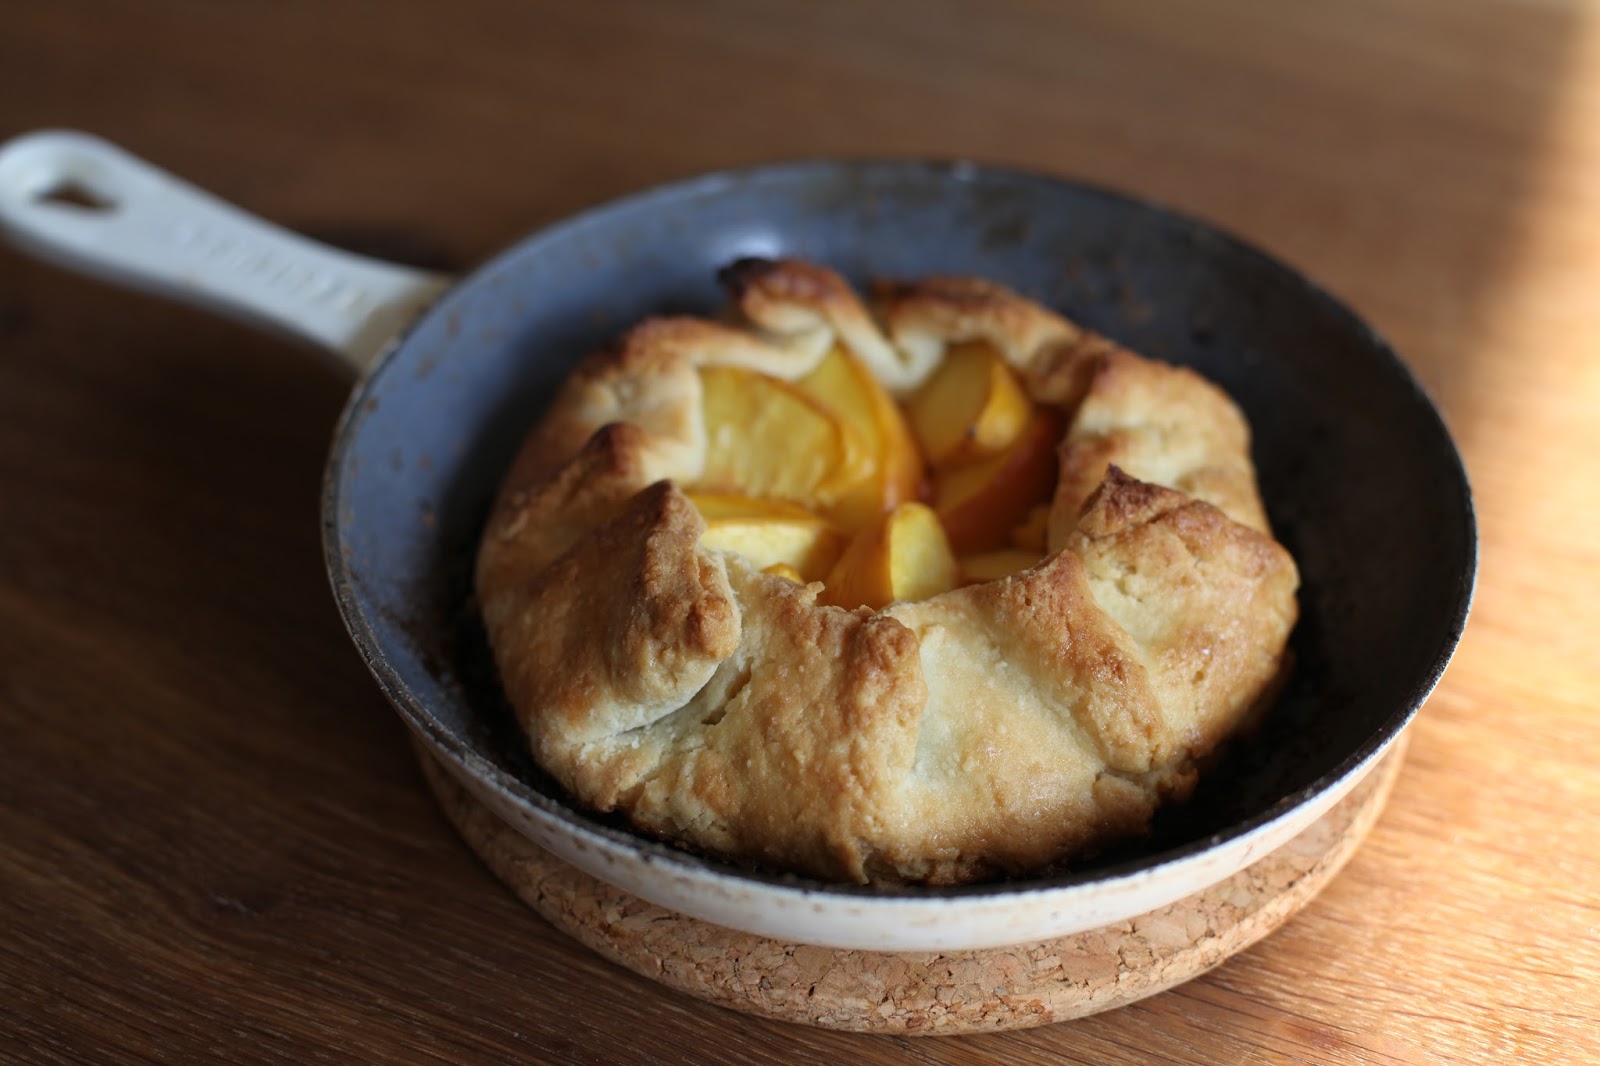
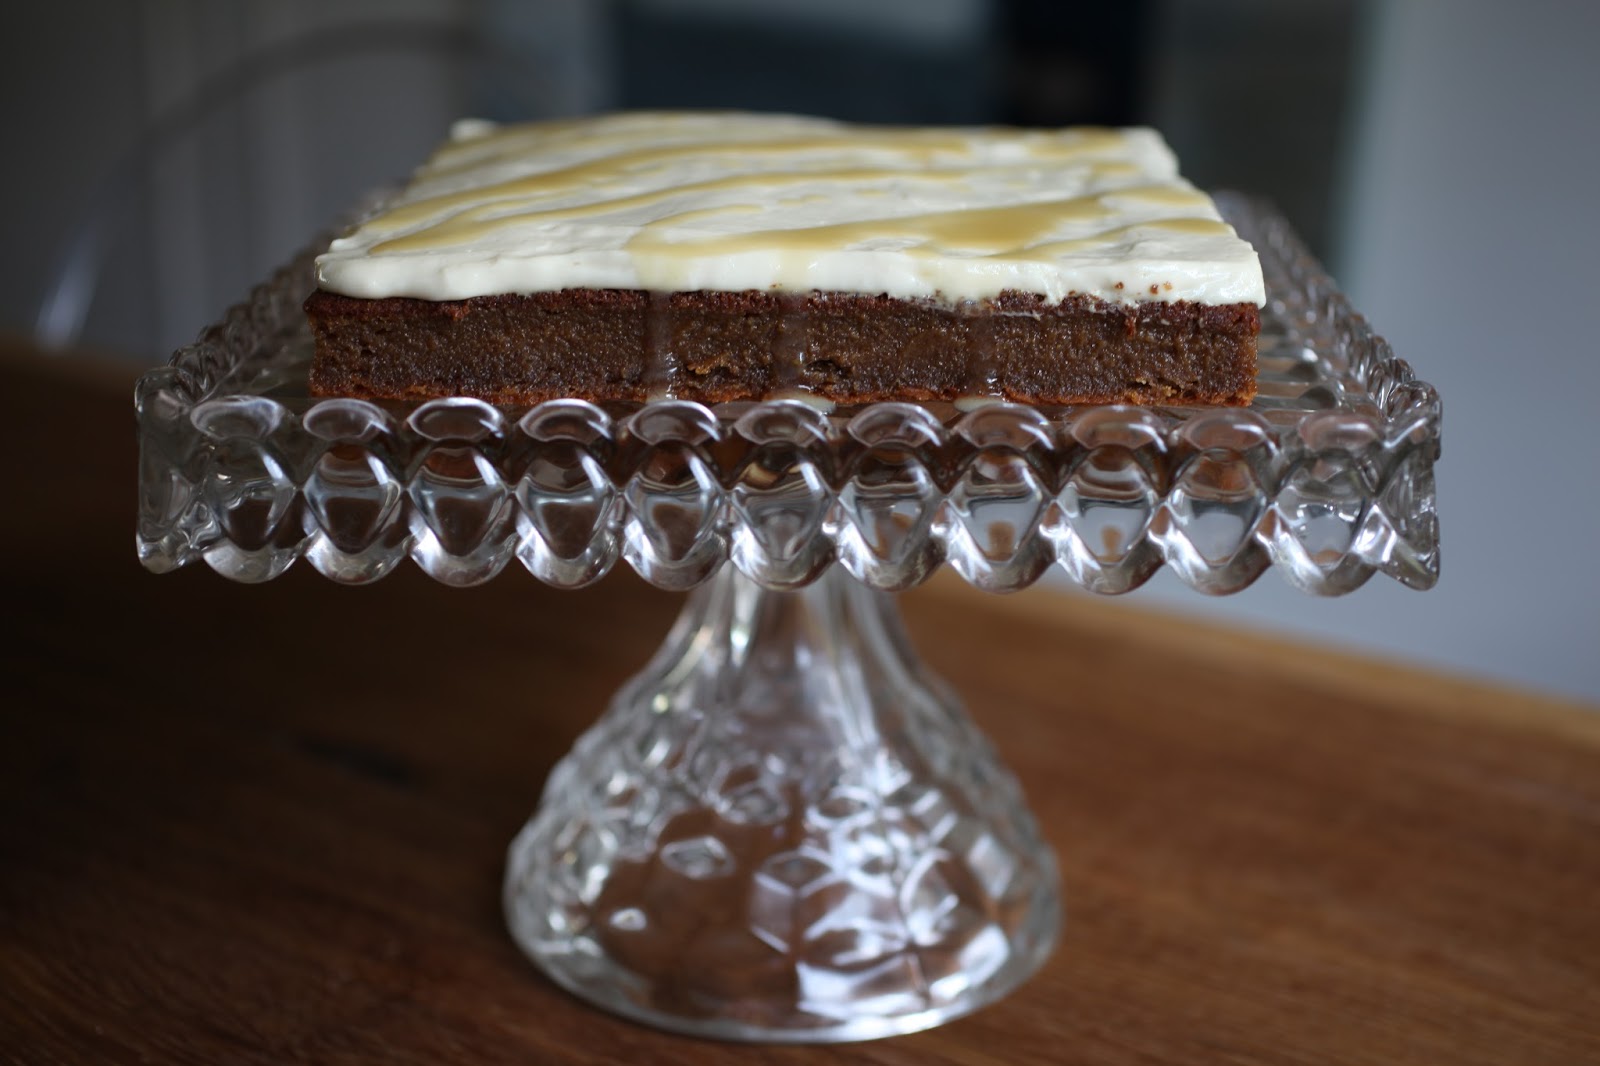
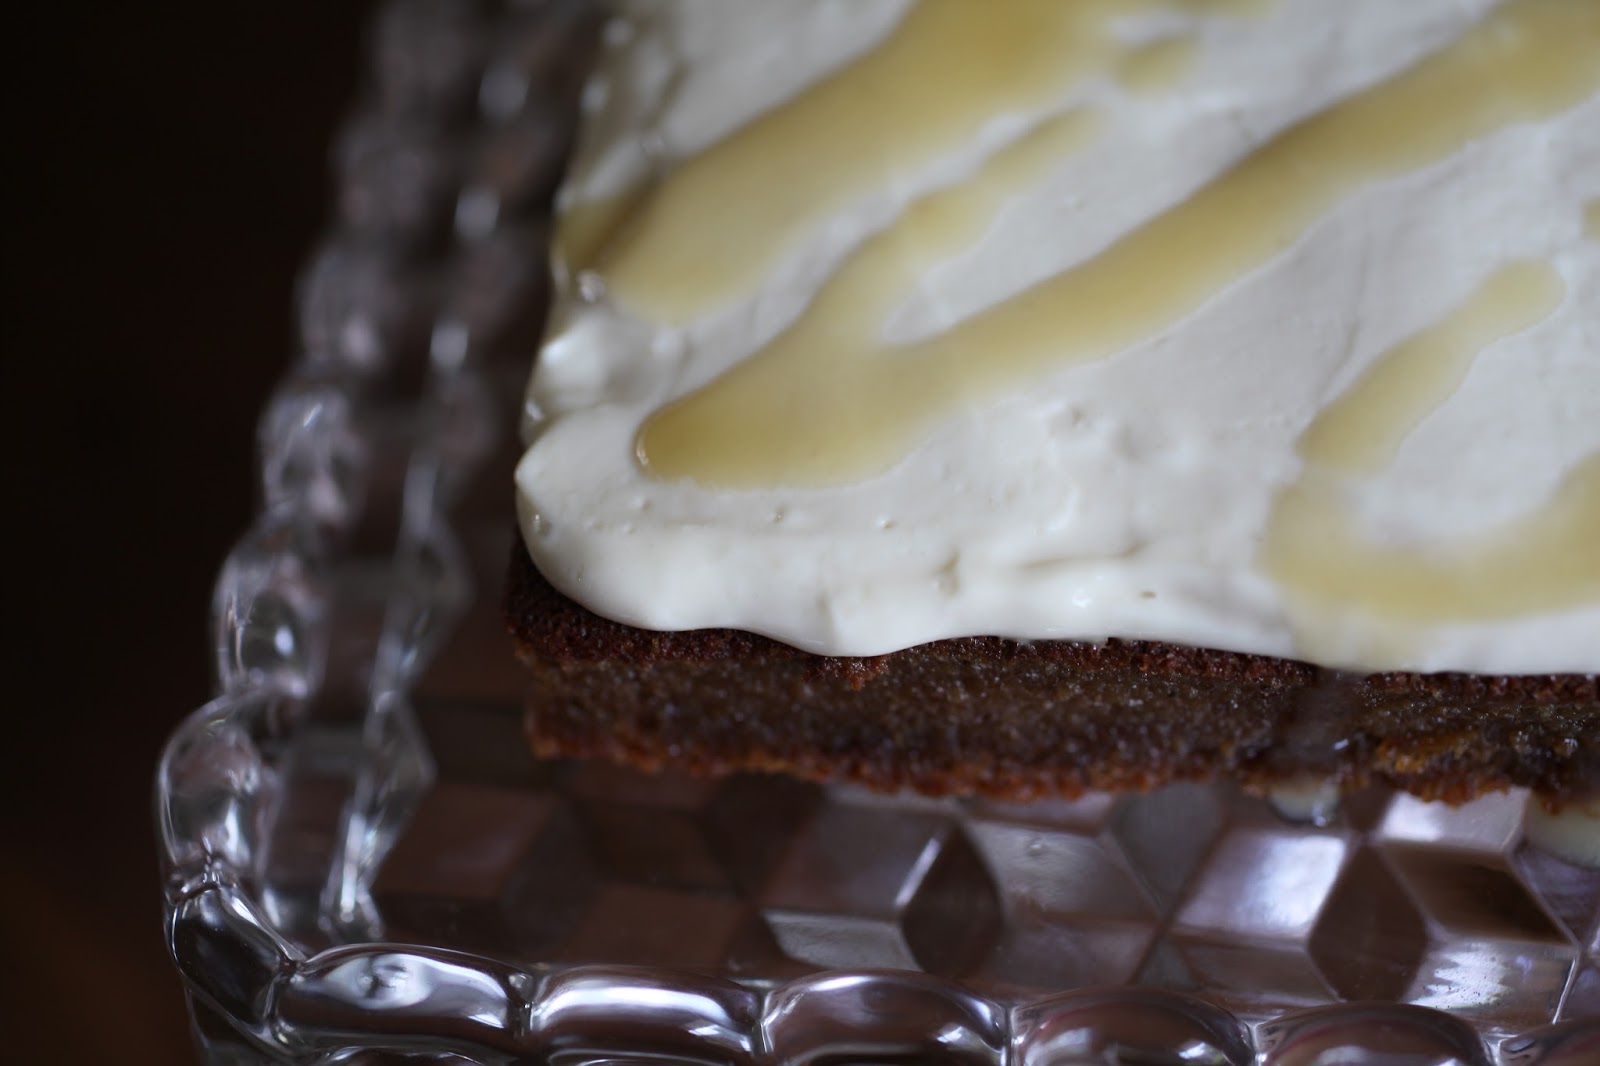
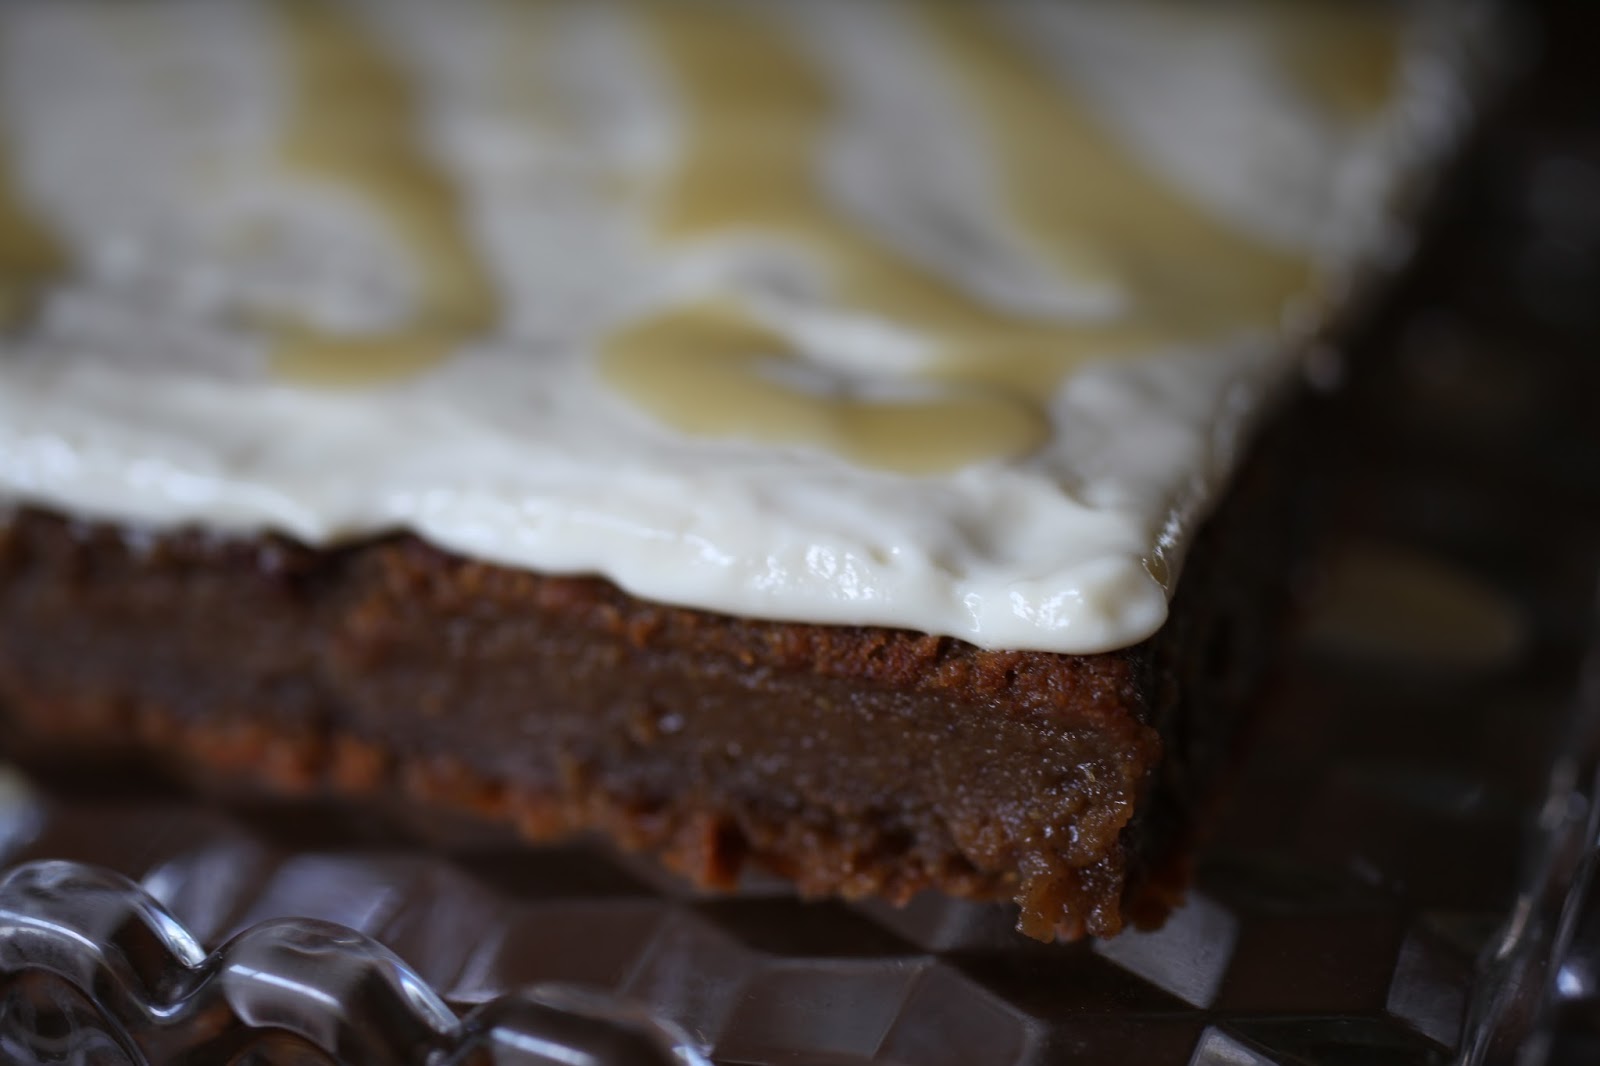
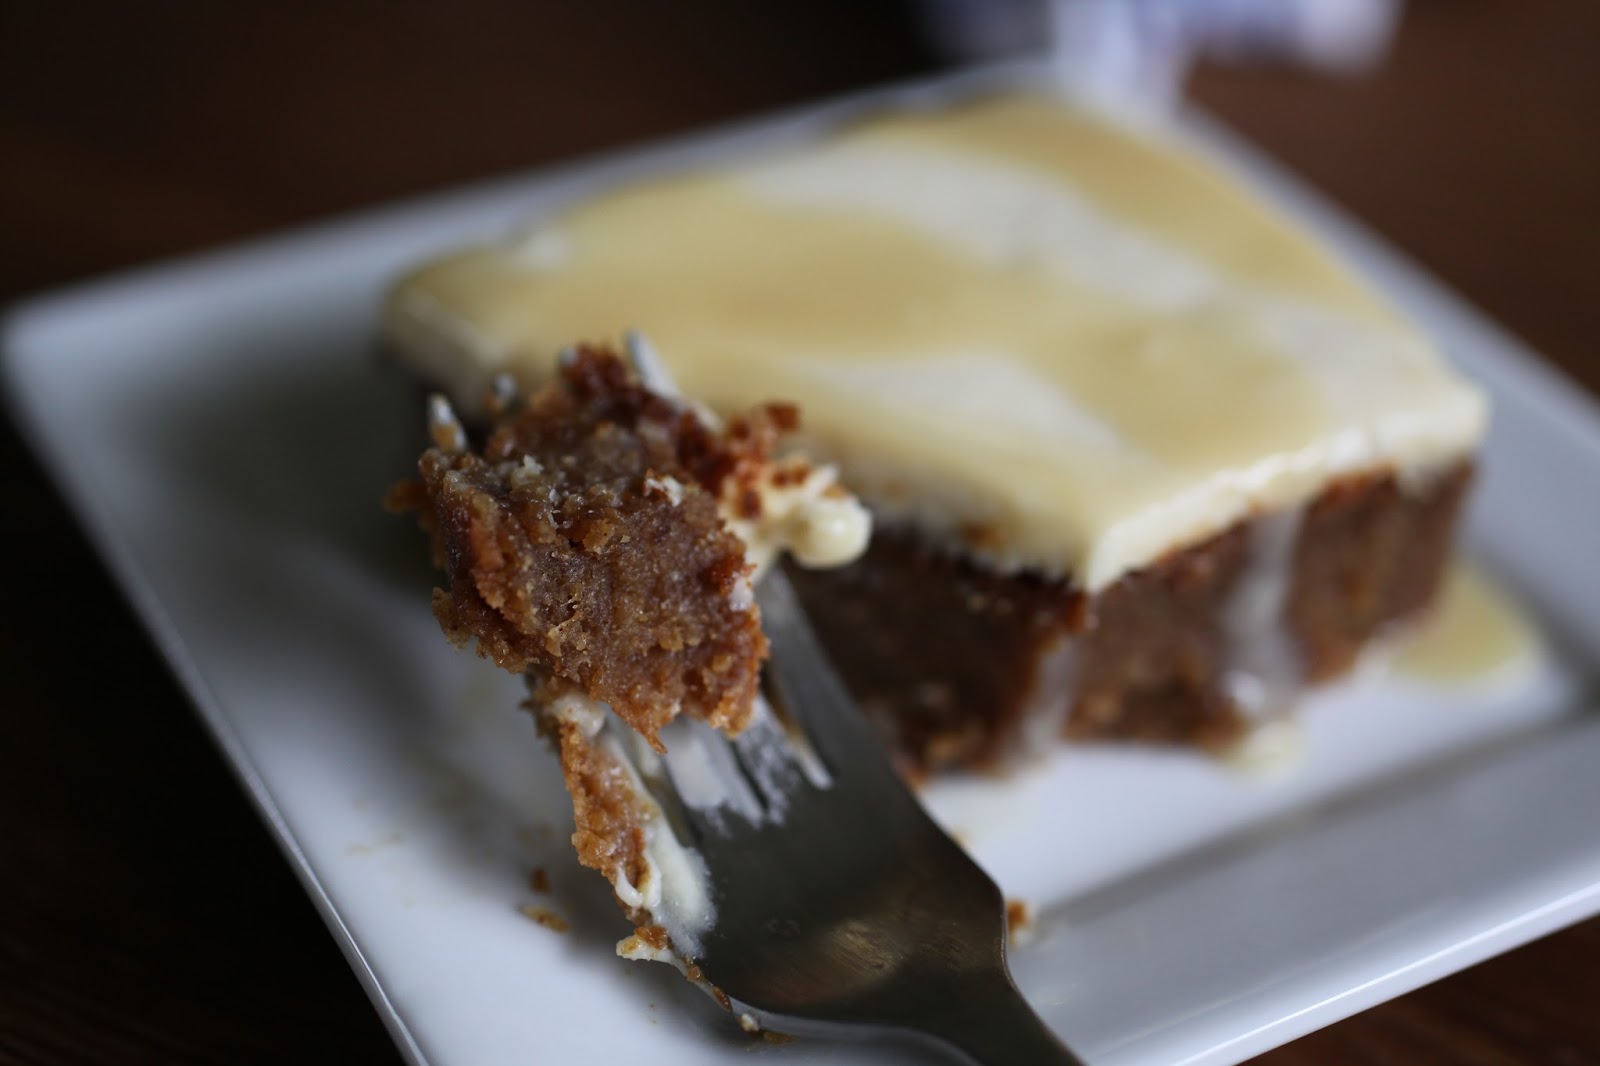
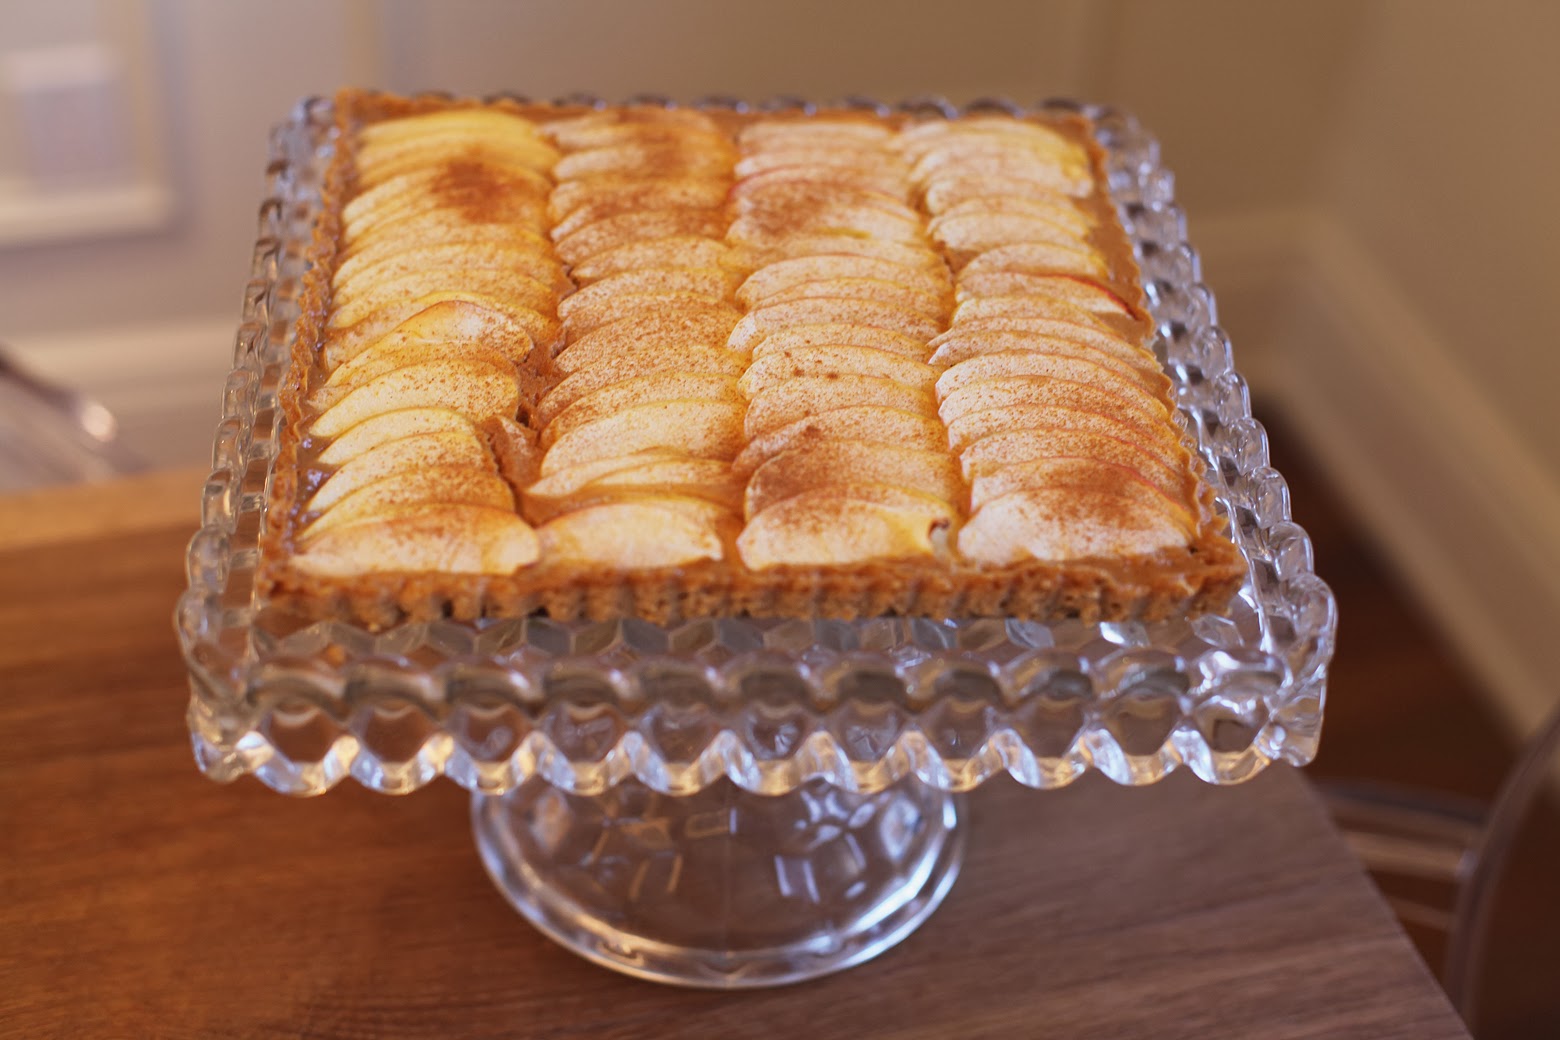
Given that Châteaubriand is so rich and flavourful, I’m always looking for a dessert that is fabulous but not too heavy to finish the meal, so this week I got creative in the kitchen and came up with a very simple but delicious Apple Cheesecake Tart. It’s surprisingly light and the delicate, mandolin-sliced paper-thin apples on both the top and the bottom give it an almost mille-feuille-like quality with no pastry involved. It’s also rather pretty in its humble simplicity, very easy to make and very easy to eat. 


APPLE CHEESECAKE TART
INGREDIENTS:
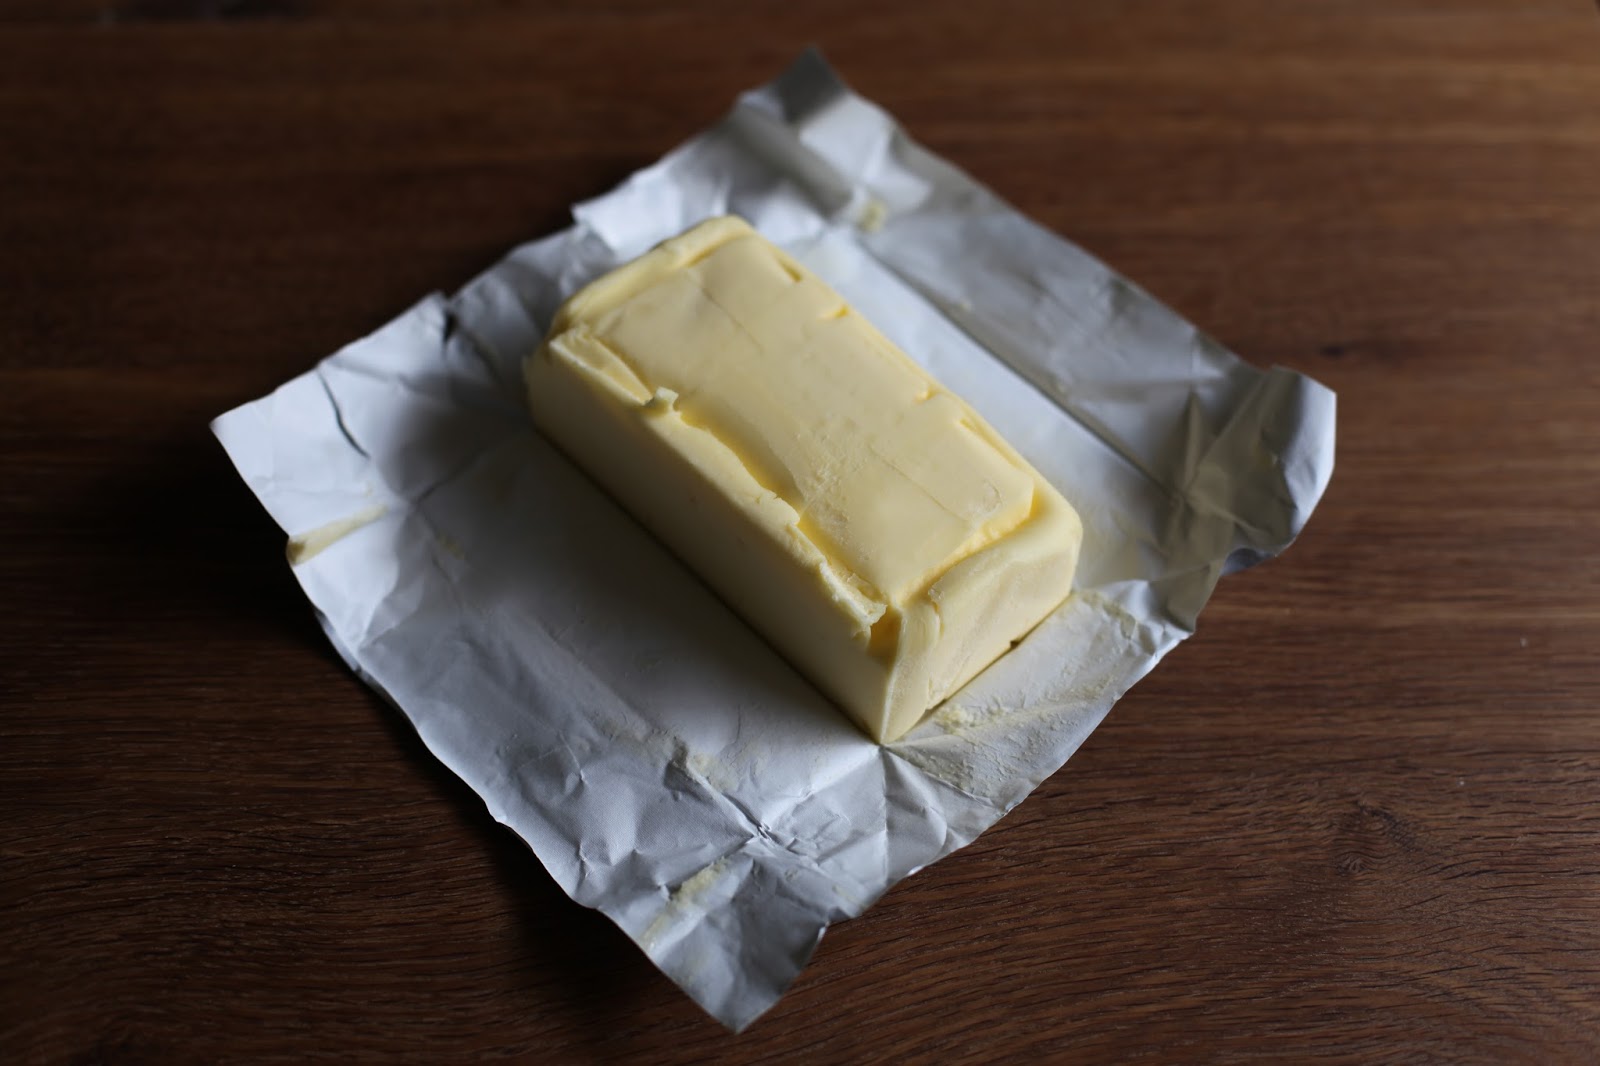
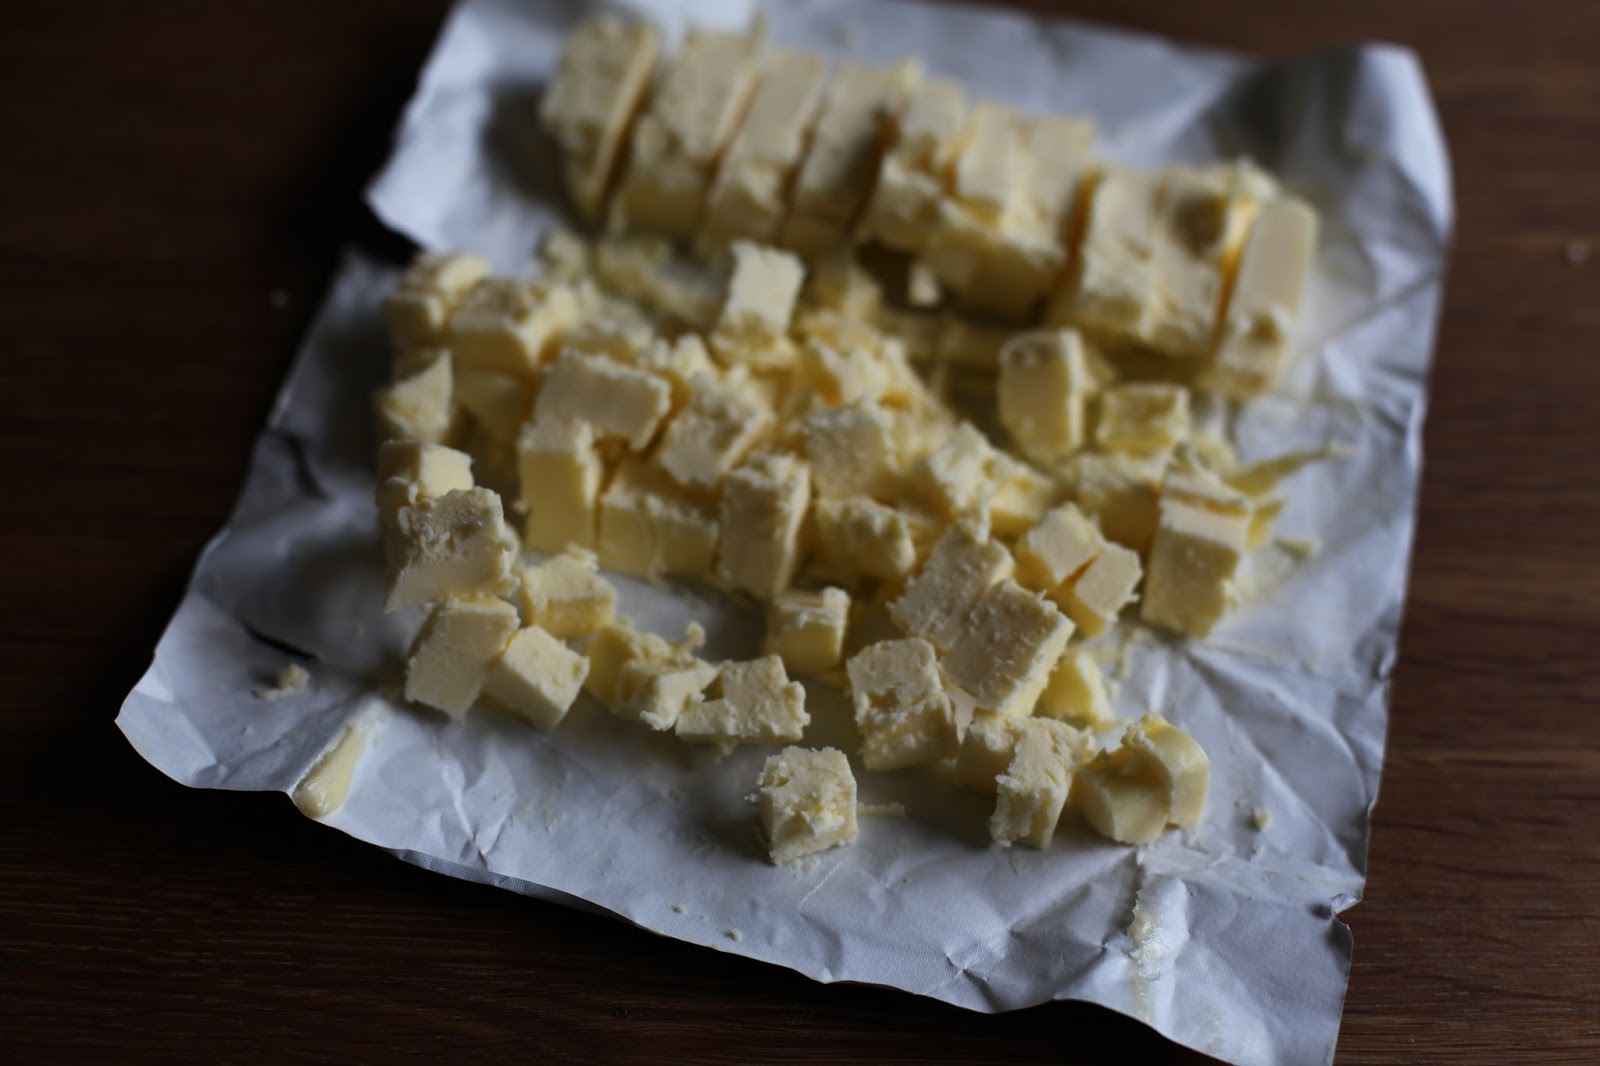
Butter to grease tart pan
3-4 organic apples {I used Honeycrisp for a bit of tartness, but Ambrosia would also be lovely}
2 packages organic cream cheese
1 cup coconut sugar
1/4 cup maple syrup
1 tsp vanilla
Cinnamon to sprinkle on top
METHOD:
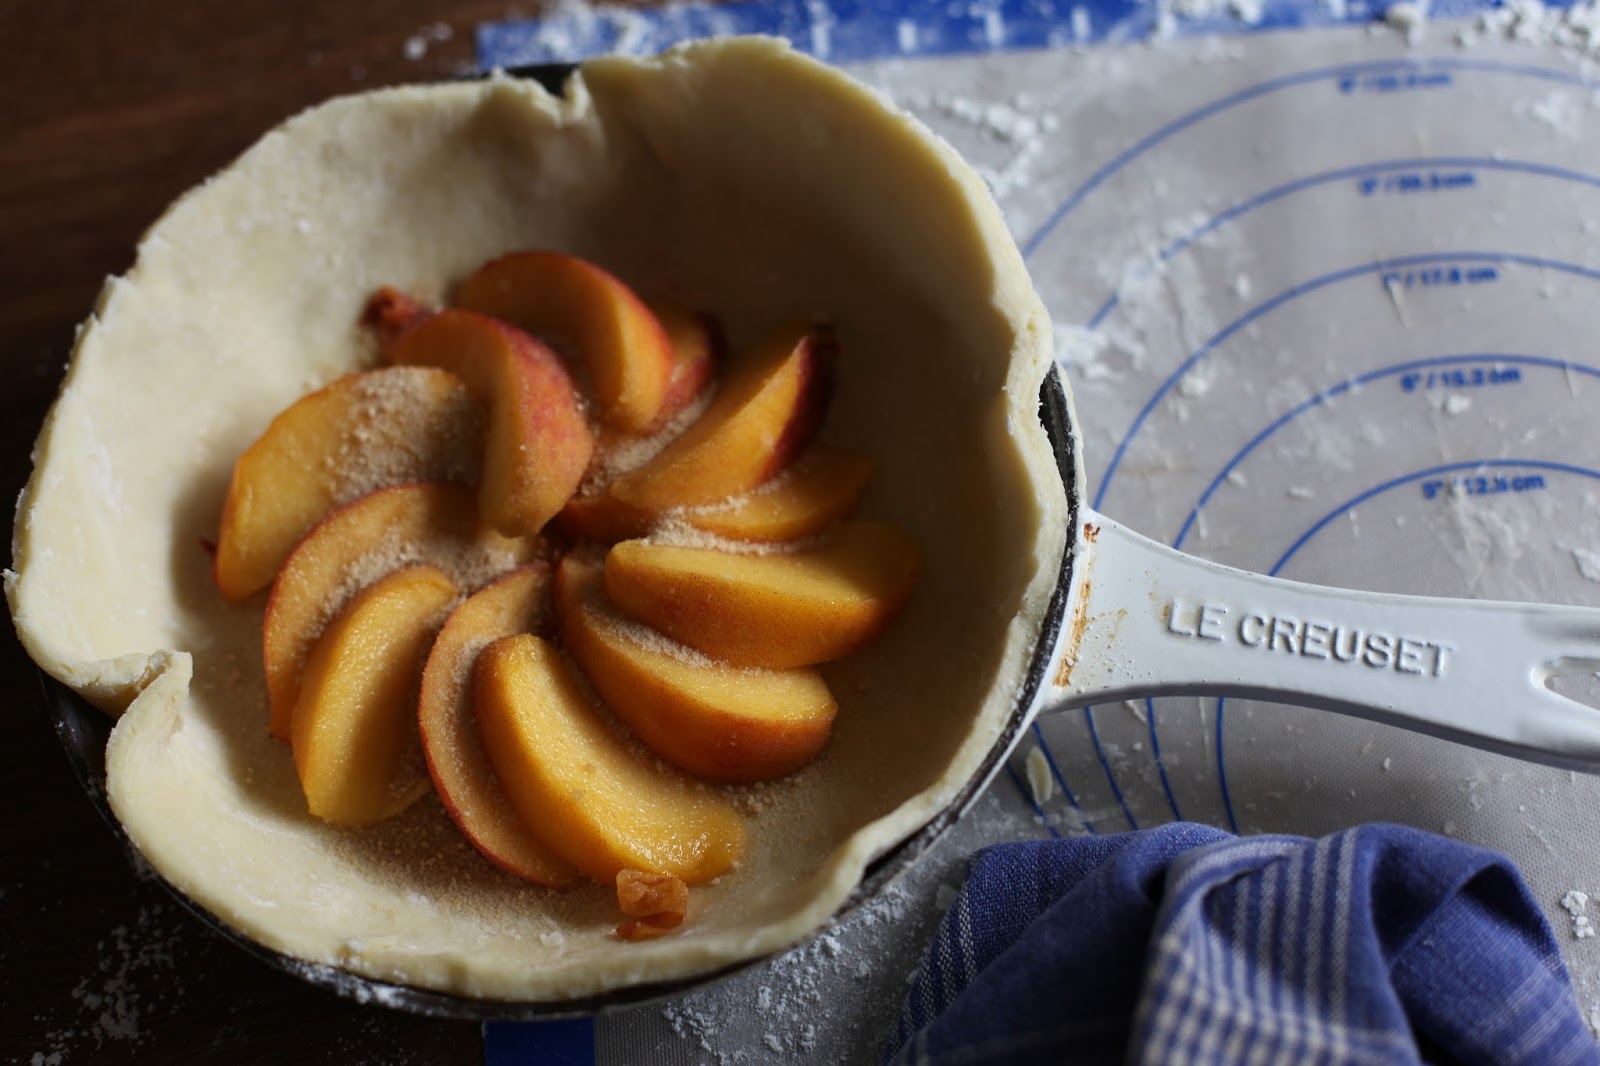
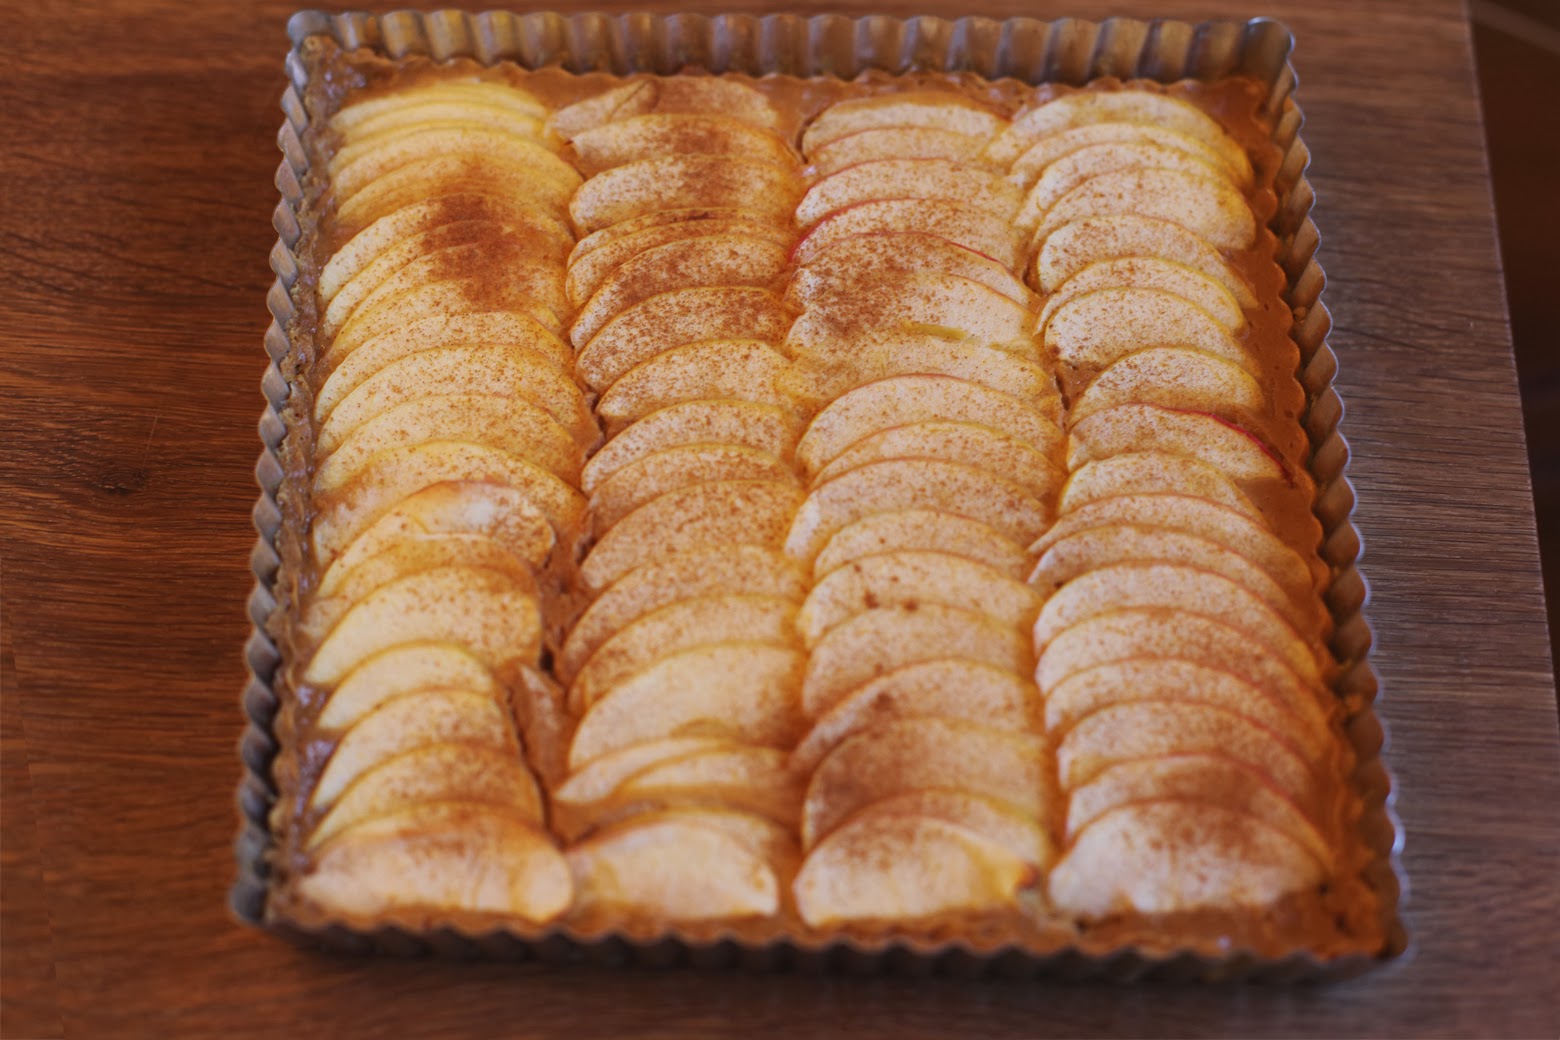
Bring cream cheese to room temperature. Preheat oven to 350˚F. Grease a square tart pan with butter. In a stand mixer, cream together the cream cheese, coconut sugar, maple syrup and vanilla. Wash, quarter and core the apples. Using a mandolin, create paper-thin slices of apples and create a layer to cover the bottom of the greased tart pan. Pour in the cheesecake mixture and arrange a second layer of sliced apples on top. Place a rimmed cookie sheet with water on the bottom rack of your oven to catch any unsuspecting drips. The water will help prevent the cheesecake from cracking. Sprinkle with cinnamon and bake for 20-30 minutes, until a toothpick comes out clean.
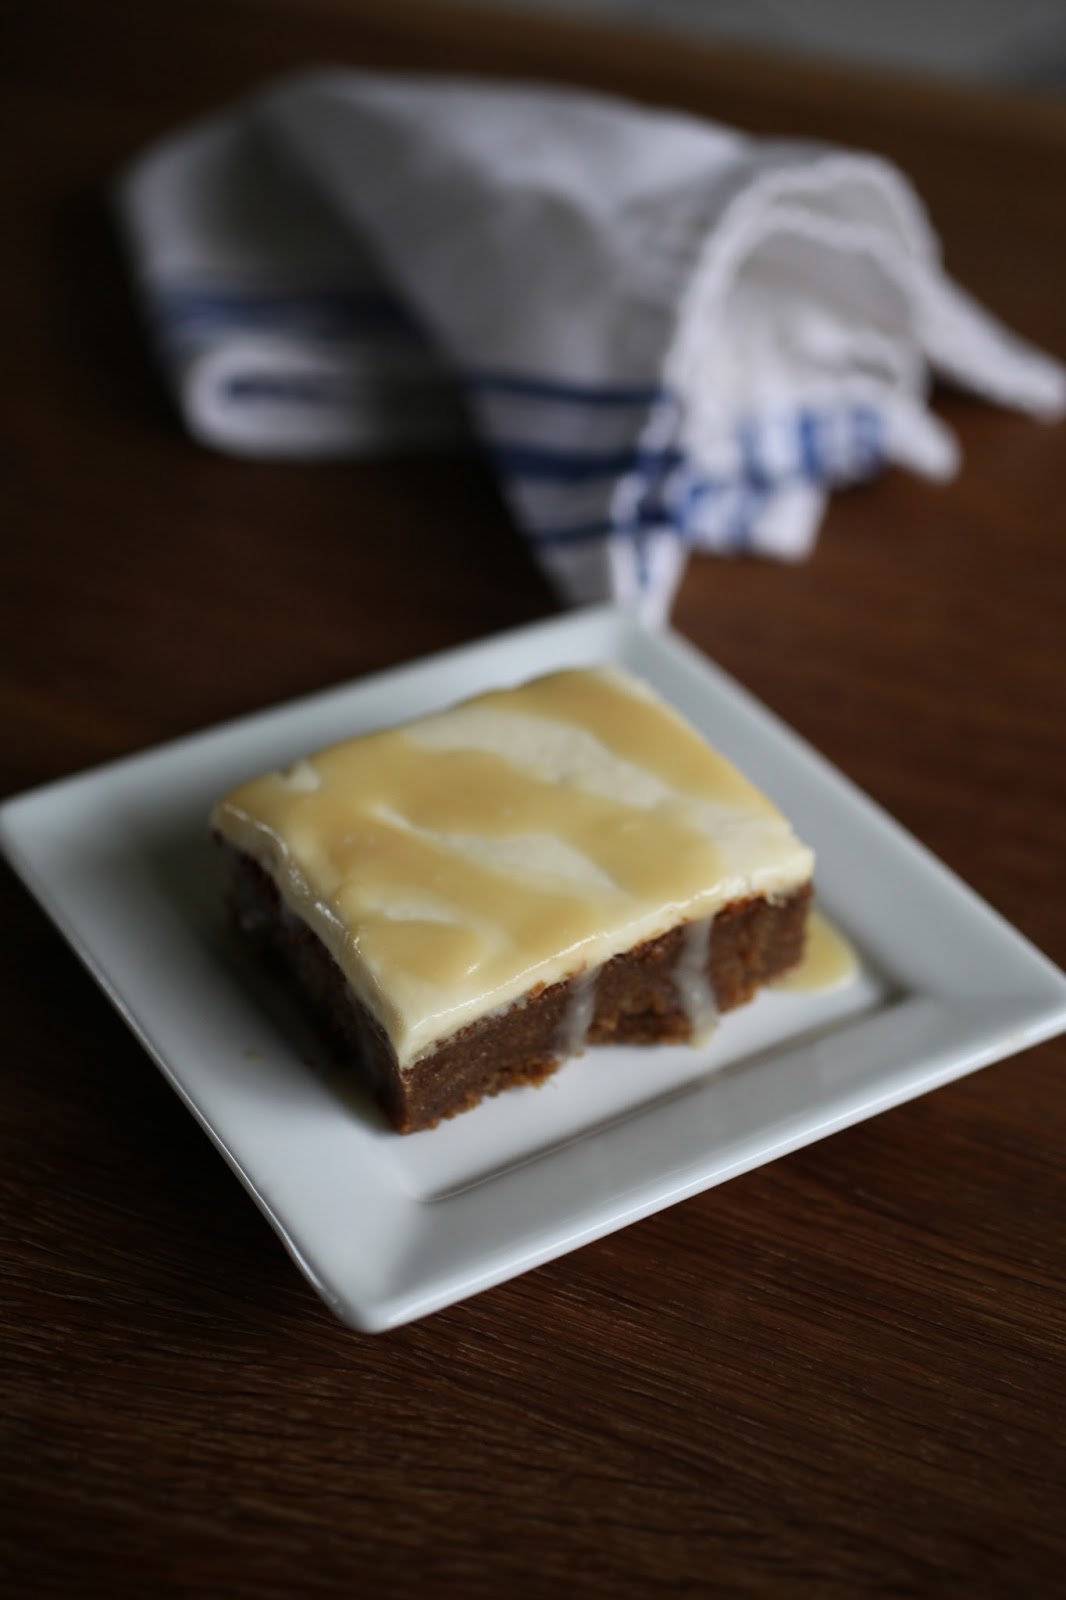
Allow the tart to cool and then cut into squares and serve. Serves 9-16 depending on how big you cut the pieces. This one disappears quickly, so make two if you’ve got a big crowd!
Wishing you a fabulous and meaningful weekend with the ones you love. Only six more sleeps until Christmas!
xo
s.
By |December 20th, 2013|0 Comments

Gluten Free Foodie Friday | Peach Galette

So it turns out that my pregnancy cravings happen to be perfectly in season! Who knew that August was officially the month of the peach? I certainly didn’t, but I did start craving them about two weeks ago – specifically, tree-ripened Niagara peaches. Their sweet, golden flesh and their decadent nectar exploding with each bite are like nature’s candy to my palate.

Having posted my craving on Facebook one night in search of a good local market carrying the tree-ripened variety, I was totally shocked, amazed and delighted to get a knock on my door the next day from a lovely friend who – in a spirit of total kindness and generosity – had picked some up on her visit to the market that day and dropped them off for me and the little bean to enjoy. And enjoy them we did! So did Noah who probably ate half of them himself, and the truth is I didn’t mind one bit. That is one indulgence I will never deny him!

Well, inspired by Steph’s super-kind, door-to-door tree-ripened peach delivery, I decided to create a gluten free Peach Galette this week in honour of Peach Month. And yes, let’s be honest, also in honour of my ongoing cravings and Noah’s latest {healthy!} obsession.

OK, so here’s where “confession time with Sarah” kicks in for a moment. It dawned on me as we were enjoying the freshly baked galette how surprised I was at how good it tasted, because I once believed myself to be a terrible baker! Like, totally-incapable-and-should-probably-never-try-it bad! I’m not sure if it was the university roommates who would get up at 6am just to bake muffins for their boyfriends that did it, or perhaps having a British Auntie who is basically a Cordon Bleu chef and baker. Either way, I’ve realized that my confidence in my baking abilities {and subsequent willingness to experiment with baking} only caught up to my willingness to experiment with my cooking skills just this year. Ironic, as now the exploration is complicated by being gluten-free! I wonder if perhaps that wasn’t the impetus that pushed me over the edge from fear to freedom? Either way, I’m grateful to be in a place where I no longer stop myself from trying, because sometimes the results are actually even post-worthy.

OK, enough self-reflecting for now, on to the recipe! This one really is all about the pastry dough, and I’m happy to report that it’s super easy with just a couple of thoughtful steps. Basically, it’s all about good flour and good butter and keeping things really cold. My British Auntie once told me that the secret to being a good pastry chef is to have cold hands. I have a warm heart…does that count?

THE INGREDIENTS:

Dough:
1 cup organic, unsalted butter
1/2 cup filtered water
3/4 tsp salt {I used Maldon}
2 1/2 cups Cup 4 Cup flour
1 Tbsp maple sugar
Heavy Cream to brush the crust

Filling:
2 large, ripe peaches, sliced
4 Tbsp maple sugar, plus more for dusting the crust

THE METHOD:

Start by taking a cold, 1 cup block of butter {this is a half-brick} from the refrigerator and cutting it into small cubes. Place the cubes in a freezer-safe container and freeze for a minimum of 10 minutes {up to an hour}.

Measure the water and dissolve the salt into it and then pop that into the freezer as well for about 10 minutes to chill it. Once the butter is chilled, measure your flour and maple sugar into your stand mixer bowl and with the paddle attachment {the whisk is too messy} add the frozen butter chunks and blend until it resembles flour-coated peas or grains of rice. {This can be done by hand with a bench scraper, but I don’t have ones and my hands aren’t very cold.} Slowly add the chilled salt water until the dough combines into a ball {you may not need all of the water}.

At this point, the dough may not be perfectly combined. Being careful not to overwork it, roll it 2-3 times on a floured surface, then create a ball {or two if you are choosing to make two smaller galettes} and pop it in the fridge to chill again for about an hour.

Preheat the oven to 375˚F and remove the chilled dough from the fridge. On a freshly flour-dusted surface with a freshly flour-dusted rolling pin, roll out the dough until it is 1/4-1/8″ thick. You don’t want it to be too thick or the dough will dominate the fruit. Trim the edges so you have a nice-ish circle, and then gently lay the dough into a buttered round cast iron pan.

{As a side note: I decided to make two galettes – one for now, one for later – so I only used half my dough and my small 8″ Le Creuset pan. You can also just bake your galette on a parchment-lined baking sheet.}

Next, slice your peach and arrange the slices to gently fill the crust with room to fold over the edges. Dust the peach slices with maple sugar and then carefully fold the edges in to nestle around the fruit.

Next, brush the crust with heavy cream and dust with maple sugar to entice it into a perfect, golden finish once it’s baked.

Bake in a 375˚F oven for 30-40 minutes until the crust is a perfect golden brown. Allow it to cool {at least enough that the hot fruit won’t remove a layer of skin from the roof of your mouth and permanently damage your tastebuds – this is my measure of “cool enough”} and enjoy with maple-syrup-infused whipping cream. My small galette made 4 servings, so no doubt using all the dough for one large galette would serve 6-8 quite happily.

I hope this weekend leaves enough you time – amongst the errands and activities of real life – to savour nature’s bountiful goodness and the even sweeter company of the ones you love.

xo
s.

By |August 23rd, 2013|1 Comment

Gluten-Free Foodie Friday | Banana Torte with Salted Caramel Mascarpone Frosting

I know. I’ve got some ‘splaining to do. I’ve been MIA for a week and I’m so sorry! All will be revealed soon enough, but I promise it’s been for good reason. And I haven’t stopped thinking of you, even if I had to take a brief break from posting! In fact, I was thinking of you all just a couple of days ago as I was making this little sumpin’ sumpin’ for a lovely visit from English family this week.

My husband’s favourite dessert has always been some form of banana cake, so I really made this one to please him as much as anyone else. But I wanted to satisfy my own love of contrast to enliven the tastebuds. I accomplished that {I think} with the natural sweetness of the bananas juxtaposed against a salty-sweet and creamy mascarpone frosting that one could really eat by the spoonful all by itself.
The cake itself is moist and dense and really more like a flourless torte in many ways, making it rich and delicious.
The frosting? Well, it’s a repeater for sure. In fact, I’m already dreaming up other desserts to make just so I can use this frosting again. Super yum.
Here’s what I did for the cake:
THE INGREDIENTS:
WET
5 mashed ripe bananas
1 c. fat-free Greek yoghurt
1 tsp vanilla
DRY
2 cups almond flour
1 cup tapioca flour
2 cups coconut sugar
3 Tbsp ground chia seeds
1 1/2 tsp baking soda
THE METHOD:
Preheat the oven to 350°F. Combine all of the dry ingredients together in a large bowl. At the same time, mix together all the wet ingredients in a stand mixer, then slowly add the dry ingredients 1 cup at a time until fully combined with the wet mix.
Pour the batter into a greased 9×9 inch brownie pan and bake for 45-60 minutes or until a toothpick comes out clean. Set aside to cool, then turn out onto a cooling rack to cool completely. I chose to trim the outside edges off of the cake for a perfectly clean edge. {Let’s be honest, we also just really wanted to try some of the cake before we served it!}
OK, now for the magical frosting:
THE INGREDIENTS:
4 Tbsp salted butter
4 Tbsp maple syrup
250 g mascarpone cheese
THE METHOD:
We love making homemade salted caramel sauce to pour over ice cream or just to use as a base when plating a fancy dessert. This time, I decided to use it to sweeten and flavour my frosting. It was an experiment, and let’s just say it did not exactly fail. Super simple, super delish. Simply combine the butter and maple syrup in a microwave safe bowl and microwave at 1 minute intervals, stirring in between. Usually at the 2 minute mark {depending on your microwave} you’ll start to get the gorgeous, candy-creating frothing bubbles that tell you you’re headed in the right direction. After the 2 minute mark, stir it and let it rest to see if it cools to the right viscosity. You want it to thickly coat the back of a spoon. If it’s not quite thick enough, try another 30 seconds. If you go too far, you’ll get maple taffy {not the worst mistake ever} and you’ll want to start again. Once you’ve learned the heat levels of your microwave you’ll find this super quick and easy to do.
Let the maple caramel cool in the fridge while you bring the mascarpone to room temperature. Once they are approximately the same temperature, whip them together with your stand mixture to create this gorgeously creamy, salty-sweet finishing touch.
I decided to make another batch of caramel sauce to just drizzle over the top, and to make it more pourable I added in 3-4 Tbsp of cream after the 2 minute mark.
This dessert may look simple in its presentation, but it wakes up the tastebuds and says “Hey there. How you doin’. Yeah, that’s right. I am that good. Take another bite. You know you want to.”

I hope this finds you happy and well and surrounded by the ones you love as you head into your weekend. And I hope you can enjoy something salty-sweet, creamy and delicious as you savour the richness of such good company. After all, it’s really the people we love that make life taste sweetest.
xo
s.
By |June 14th, 2013|0 Comments