/Chronicle Books

Book Review + Giveaway | Furniture Makeovers

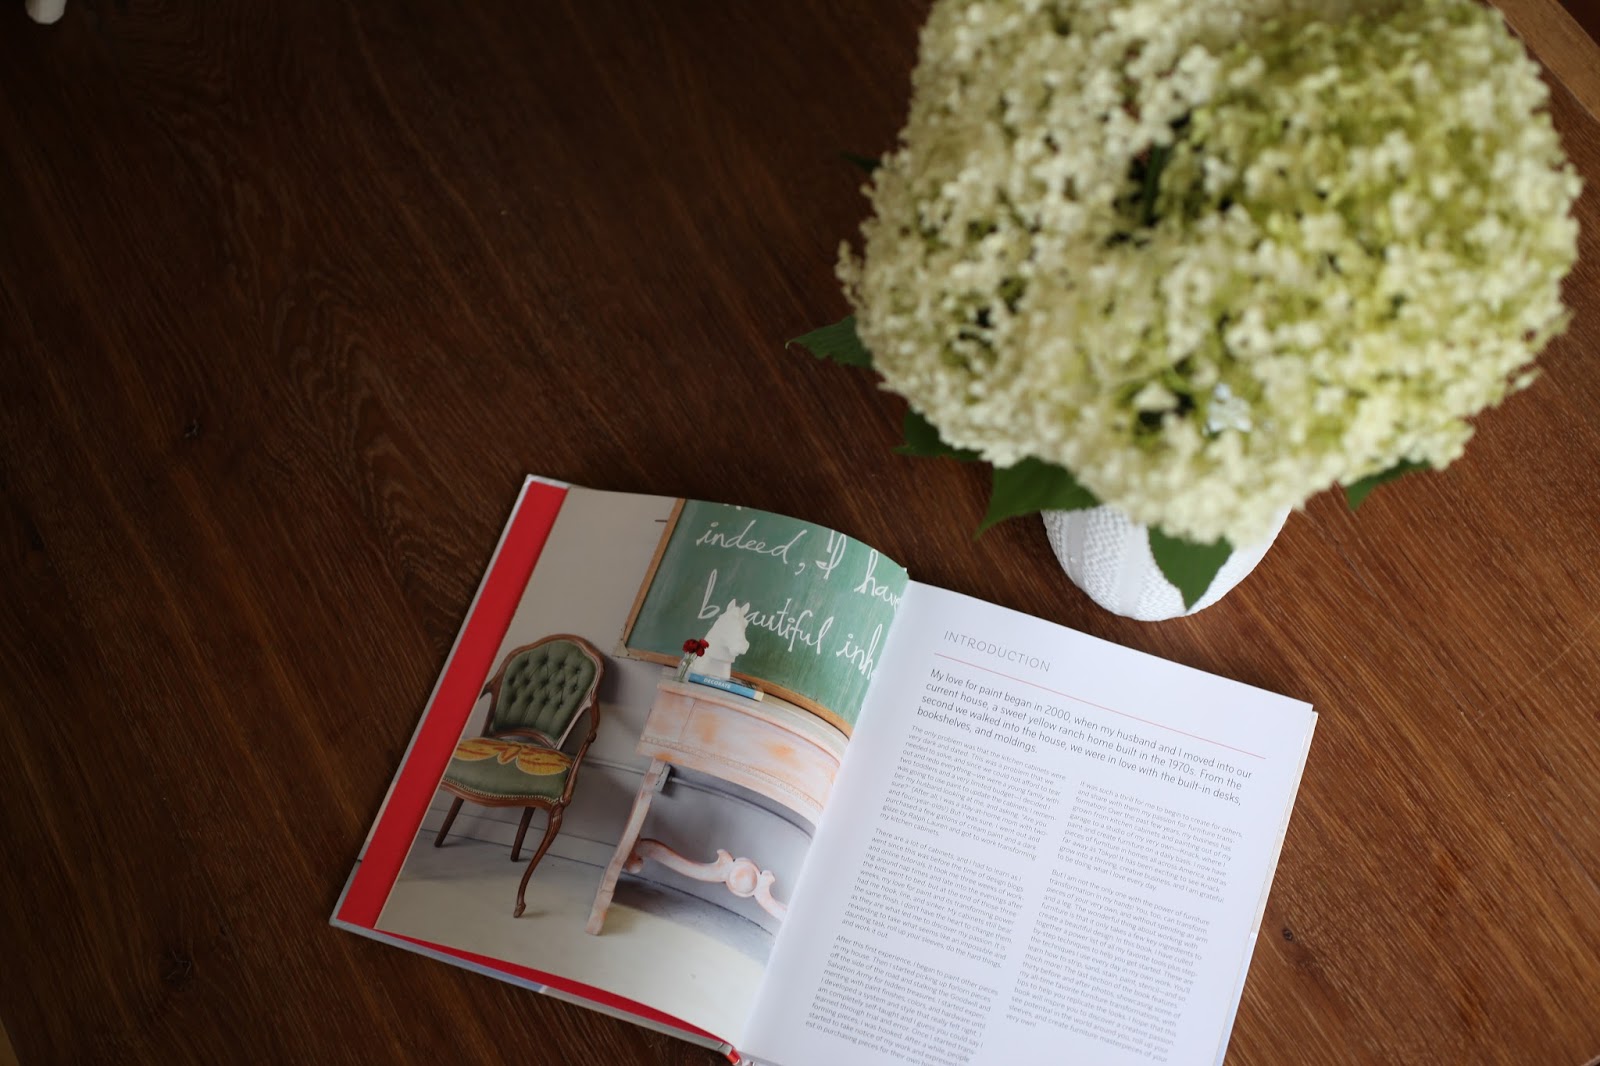
My favourite independent publisher – Chronicle Books – recently sent me a fabulous volume for the DIYers and the furniture obsessed, and the timing could not be better. Why, you ask? Because one of my very next steps for Project Debonaire Young Sir is to reinvent Noah’s existing dresser, upcycling the piece to fit into his much more sophisticated – dare I say debonaire – new room.

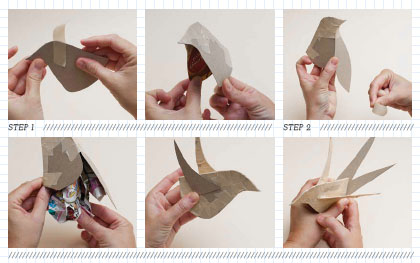
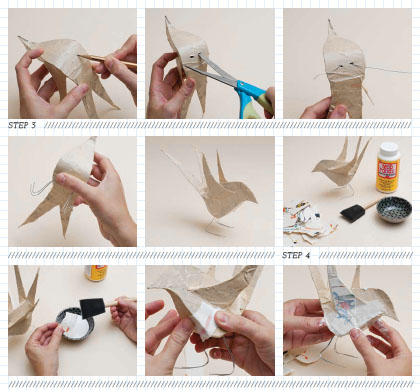
Furniture Makeovers is brimming with professional techniques and tried-and-true tips for transforming anything from those pieces you inherited from your grandmother to your latest and greatest flea market finds.

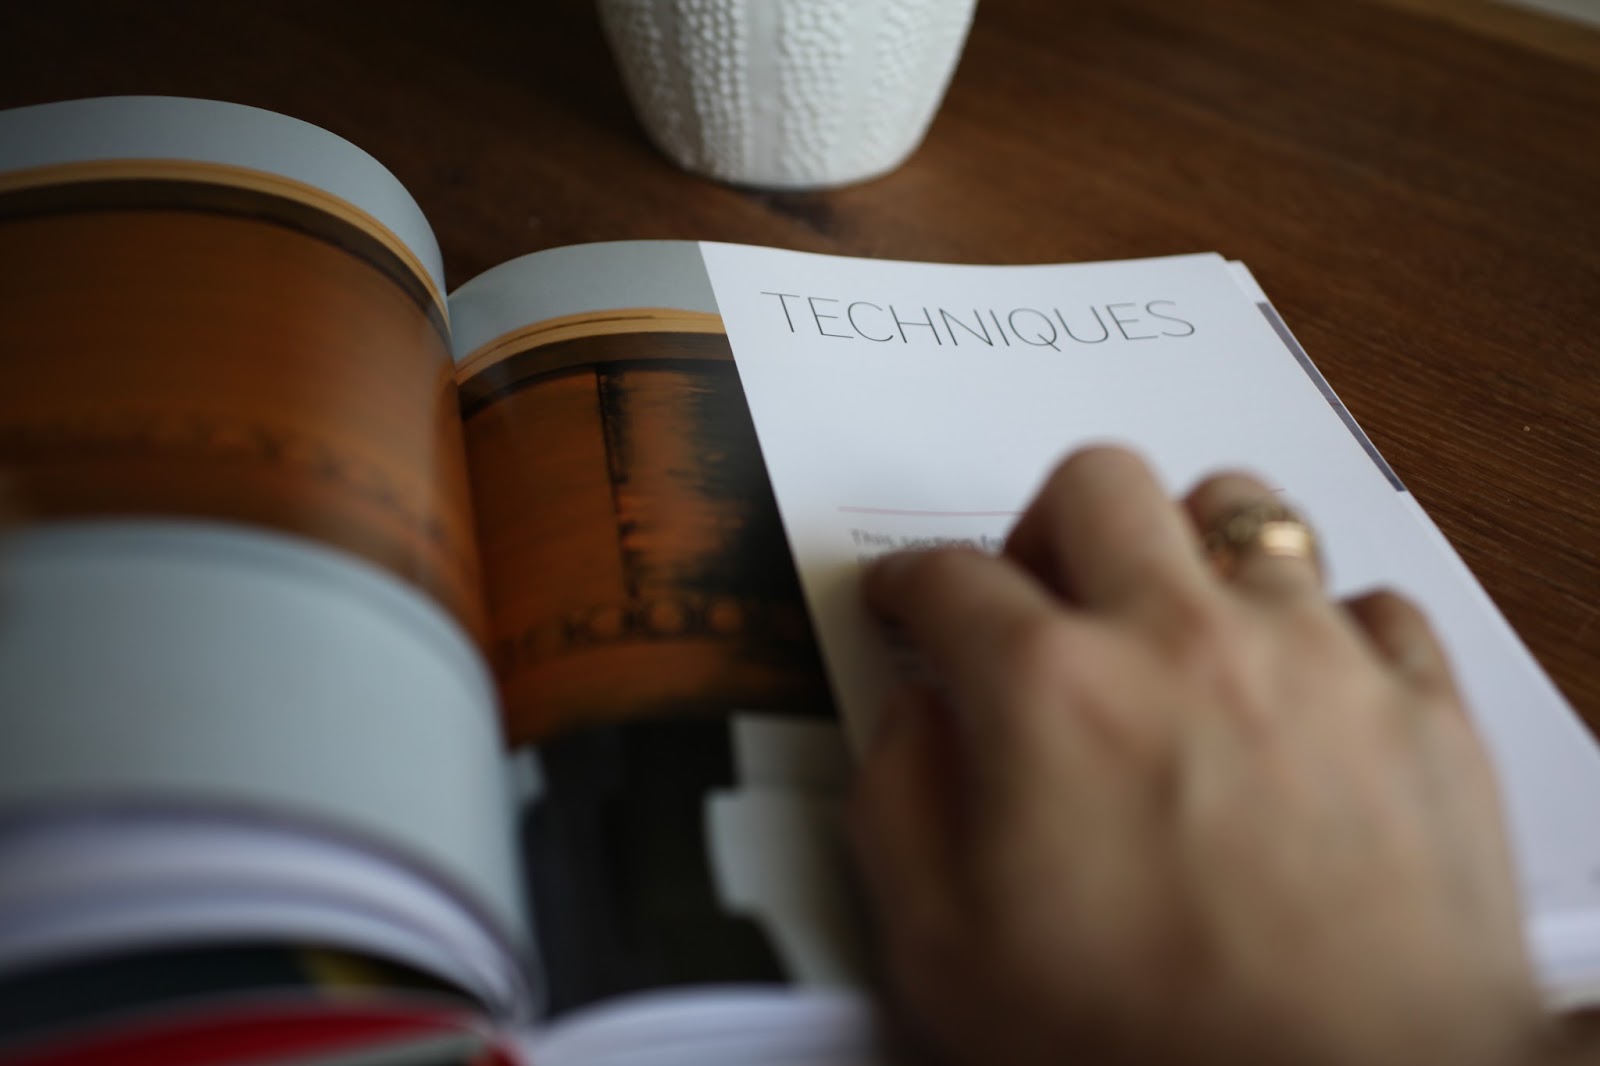
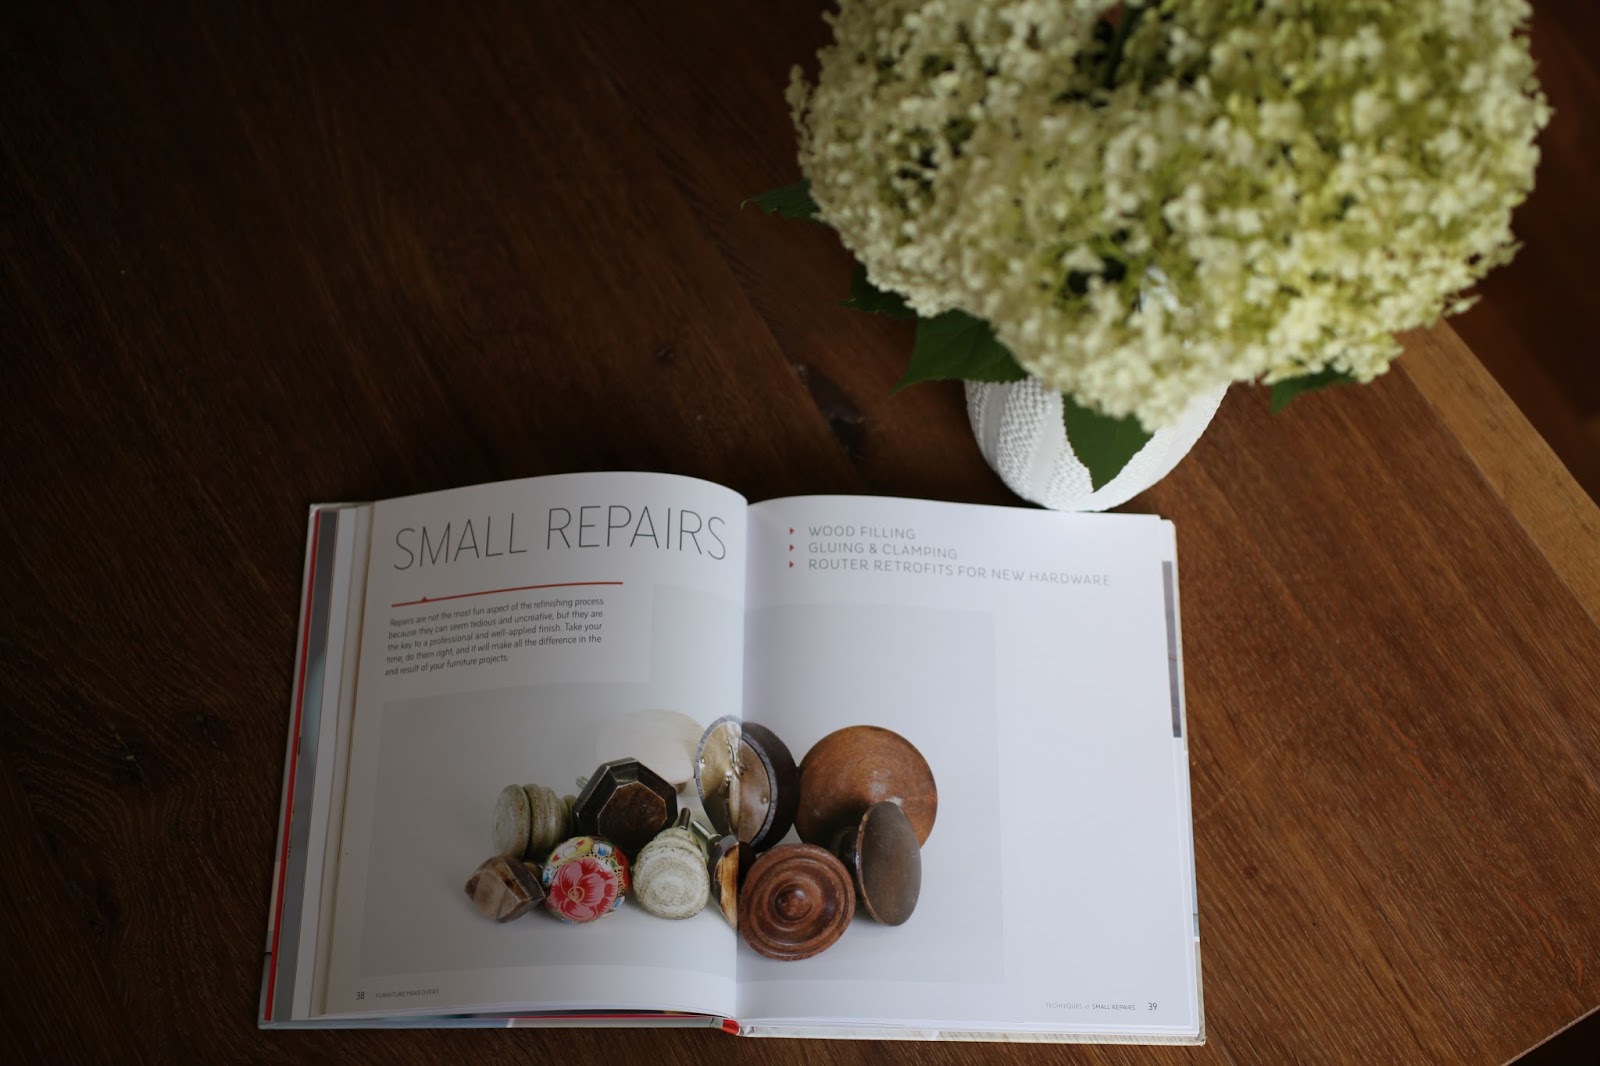
Beyond step-by-step techniques, author Barb Blair also shares plentiful inspiration with her own transformations, giving each project an endearing name as if naming children in her own little furniture family.

Barb is the founder of Knack Studios, and her work has been featured on Apartment Therapy, Decor8 and Design*Sponge among many! She has also been featured in design publications such as Southern Living, and Barb makes her own house a home in beautiful South Carolina.

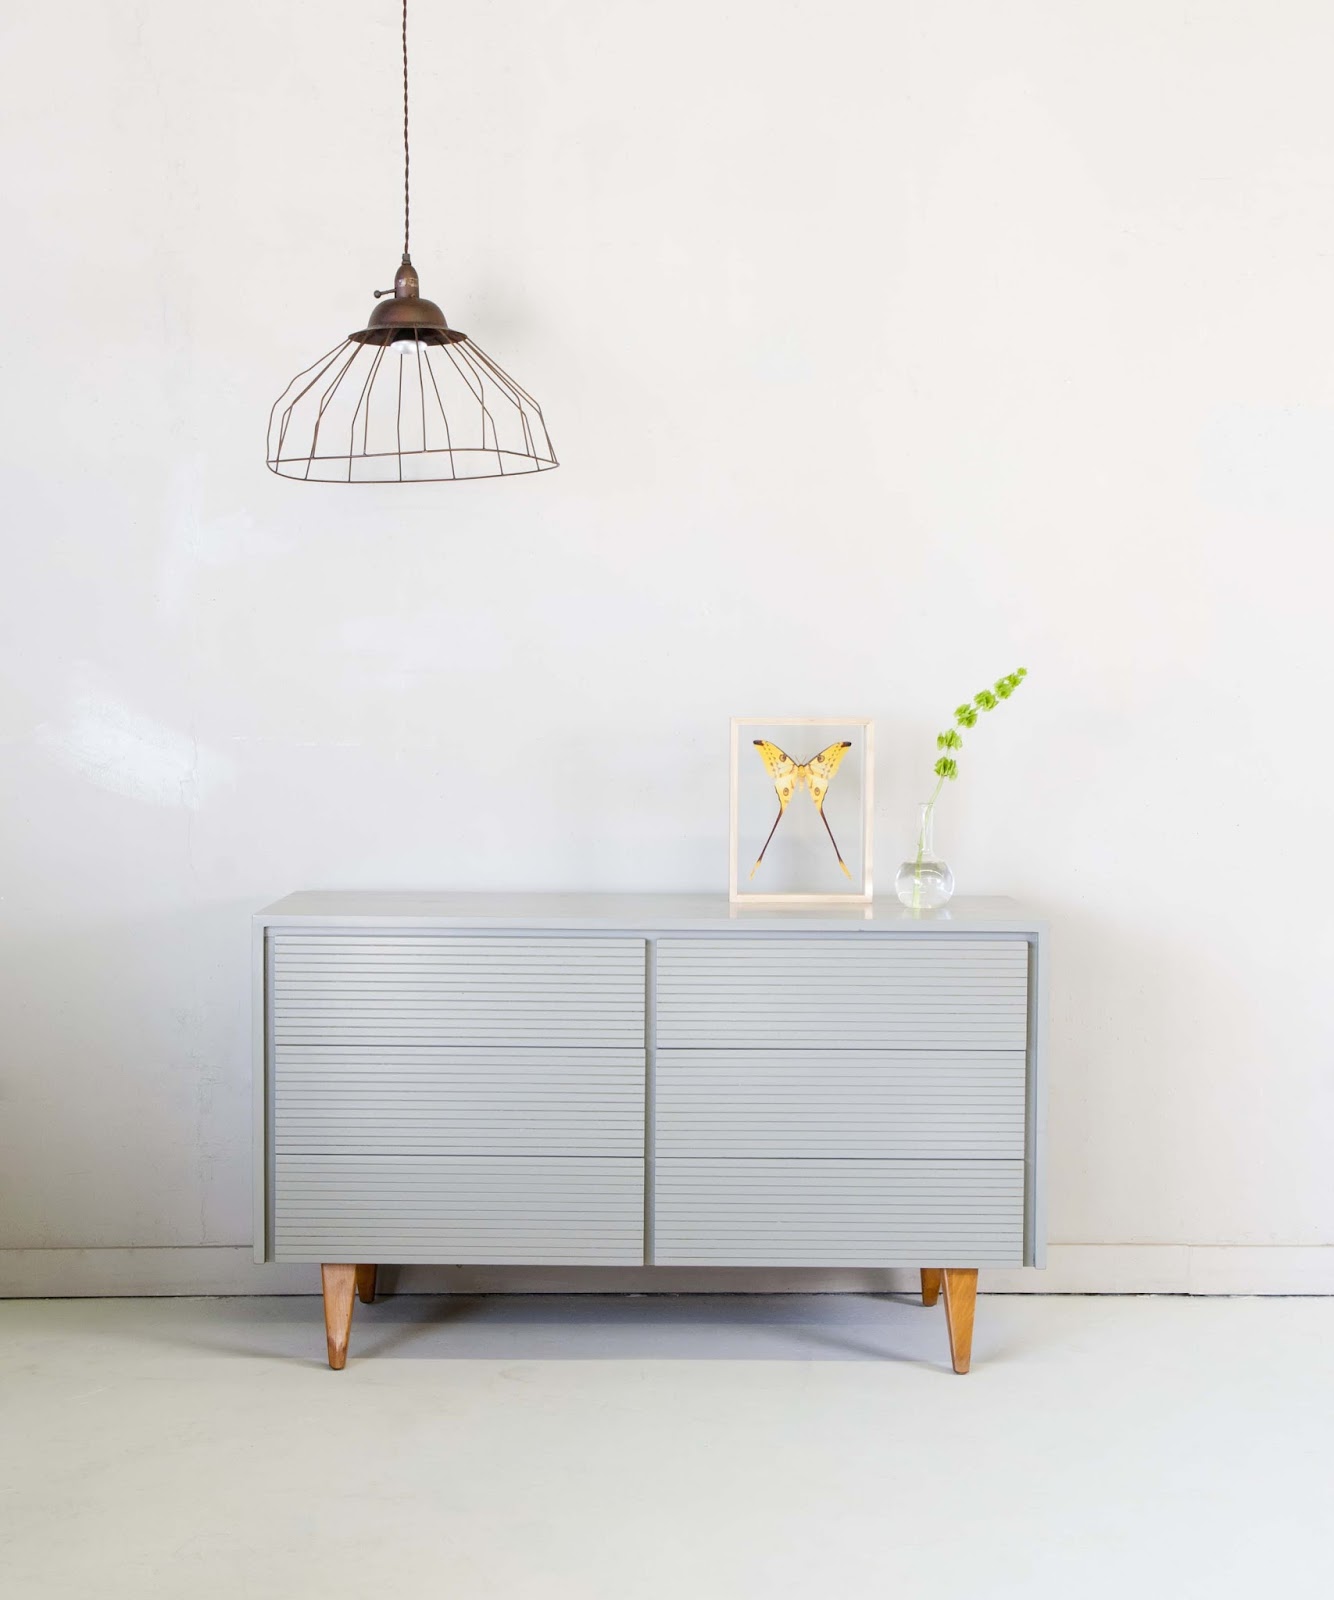
I’m very excited to learn from Barb’s ways in the hopes that I can achieve the same kind of results I get when sending pieces out to be sprayed. This designer-mama’s on a budget with another one on the way and another room to design and furnish, so I’m very grateful for Barb’s love of details and thoughtful instructions to guide me through my own Furniture Makeover!

//  GIVEAWAY ALERT! //

{Image via Knack Studios}

You too can learn from Barb’s ways! Chronicle Books has generously offered to share a copy of Furniture Makeovers with one of you, of my lovely readers. Here’s how to enter:

1. Tweet this post out on Twitter, being sure to mention @CuratedHouse + @ChronicleBooks and of course Furniture Makeovers!

2. Post this blog post to Facebook and share the goodness with all of your friends!

3. Pin your favourite image from this post to Pinterest, being sure to tag #TheCuratedHouse and #ChronicleBooks in your description.

4. Don’t miss this last step! Come back to this blog post and share your social media frenzy with me by linking to it in the comments below. Each Tweet, Pin and FB Post is an entry! The winner will be announced in two weeks, so enter as many times as you’d like and keep checking back!

Happy pinning, posting and tweeting!

xo
s.

By |August 6th, 2013|2 Comments

Sweet Paper Crafts | A Project, An Interview + AGiveaway!

I recently received a lovely book from the fine folks at Chronicle Books {my favourite independent publisher} and I’m very excited to share it with you! As you know, I have a confessed addiction to paper products, and Mollie’s delightful book Sweet Paper Crafts is brimming with inspiration on how to get creative with things you’ve likely already got at home.

What better way to start than by sharing the details of the lovely project featured on the cover? I was instantly charmed by this sweet little bird and thought perhaps you’d enjoy giving this one a try yourselves.

What you’ll need:

Percher Bird templates – download at www.chroniclebooks.com/sweetpaper
Cereal box
Pencil
Scissors for cardboard
Masking tape
Newspaper
Ruler
Scrap wire
Wire cutters
20-gauge straight stick floral wire
Thin liquid glue such as Mod Podge
Small dish
Papers
2 foam brushes
Polyurethane (optional)

How to make your little bird sing:

1. Download the Percher Bird templates at www.chroniclebooks.com/sweetpaper. Open the cereal box and lay it out flat. Using the pencil and templates, trace two bodies, two wings, one breast, and one tail feather on the box. Cut out the pieces with the cardboard scissors. Holding the two body pieces together, attach them along the head and back with a piece of masking tape. Keep applying masking tape where the bodies meet to secure pieces.

2. Slip the breast piece between the body pieces, inserting the pointed end at the head and curving the breast piece slightly so that it aligns with the bottom of the body pieces. Use masking tape to secure the breast piece along the edges where it meets the body. Stuff a little newspaper inside the body to fill out the bird and make it a bit stiffer. Tape the wings in place on either side of the body. Bend the wings a bit so that they come away from the bird. Reinforce with tape as needed to keep the wings in place. Fold the tail feather piece in half to create a crease. Tape in place at the back of the bird. Cover the entire bird with masking tape, using plenty of tape to make the bird stiff, especially in the wing and tail feather areas, but be careful to apply the tape evenly so that the bird is not front or back heavy.

3. On the underside of the bird, at about the center of the bird’s belly, make two marks with the pencil, each about ¾ in/2 cm from either side of the underside of the bird. Using a piece of scrap wire, punch holes for the legs. Widen these holes with your cardboard scissors. Using the wire cutters, cut an 8-in/46-cm piece of floral wire, then cut it in half. Hold the two pieces of wire together (as if you have one piece of wire) and push them into one of the leg holes. Push the wires through the bird and out through the other leg hole. Pull until you have an equal length protruding from each hole. Bend each end to make feet about 2½ in/6 cm long. See if the bird will stand. If the legs are in the right location and the feet are big enough and the right distance apart, the bird should support itself. It may take a few tests before you get the placement right. If the bird is front or back heavy, you may need to make cuts into the belly and move the legs back or forward until the bird stands on its own. Once the bird stands, secure the legs at the entry and exit points with masking tape.

4. (I recommend spreading newspaper on your work surface before starting this step.) Pour a small amount of glue into the dish. Tear your chosen papers into strips of varying lengths and widths. Pieces 3 in/7.5 cm long are easiest to work with. One at a time, dip the pieces into the glue, covering them entirely, and then use a foam brush to wipe any excess glue into the dish. Apply the pieces in over-lapping layers all over the bird, going around and behind the wings and under the breast and tail feathers. It is important to wipe away excess glue from each piece and to use a light hand to avoid creating bumps and wrinkles in the paper. Let the bird dry standing up. The first layer should take at least an hour to dry thoroughly. Check for places that need more coverage, apply more paper as needed, and let dry again.

5. When the bird has dried and you don’t need to add more layers, apply a final coat of liquid glue or, if desired, a layer of polyurethane, using a clean foam brush.

Mollie was kind enough to answer some questions so we could get to know a bit know about the creative mind behind these innovative paper projects. Here’s our little interview.

1. Do you remember the first piece you made with papier maché? What was it?
I know that I did some papier maché with a flour and water paste in elementary school, but I don’t remember what we made! The first papier maché I really remember doing was a collaboration on some large scale heads for an experimental theater production in graduate school. I remember loving it and wishing I had time to do more work like this, but I was busy studying theater and had little time for anything else.

2. How did you come upon your fascination and gift for upcycling old things (scraps of paper, buttons, ribbons, etc.) to give them a new lease on life?
I’ve been a collector of odds and ends since I was a child. Some things were from nature, others were little trinkets I’d find here and there. There were always birds eggs and feathers stashed away in my room when I was a kid. When I spent the night at her house, my grandma would let me rummage through the sewing box and string bits of ribbon and buttons together. She also had this great set of childcraft books that had the best Make & Do book in the series and we would use things found around her house to make the the projects in the book. I was a little girl who loved to make things out of whatever I could find and I just never grew out of it.

3. What are your favourite or most unexpected sources for inspiration?
I love flipping through children’s books from the 1960s and natural history books from the early 1900s. The color combinations are usually surprising and beautiful and there is always a shape or a landscape of patterns that give me ideas and inspiration for my work. I think the most unexpected places I find inspiration is in everyday conversations with people. Sometimes an idea is born just because I suddenly notice the patterns or colors someone is wearing, the way the person is fitting into (or standing out in) the environment, or the story someone is telling. It pays to pay attention to the little things going on around you.

4. What is your favourite upcycling project you’ve worked on to date?
My favorite thing to work on are mobiles. Taking old paper from ruined or forgotten books, cardboard from record jackets, cutting them into shapes, hanging them and watching them spin is something I don’t get tired of doing. I did a series of large horse mobiles using arrows and vintage magazine pages for a show a couple of years ago and it was really exciting to see them hang all across the ceiling of the gallery, the arrows looking like they were shot through the air while the horses leapt beneath them.

5. How does your love of upcycling and your approach to paper crafts translate into the way you decorate your home?
We have several favorite mobiles that hang in our house, and, if I’m honest, I’ve amassed quite a large collection of paper garlands. But I usually save the excessive festooning for the Christmas holidays. Most of our furniture and things have been rescued from thrift stores and junk shops and we have a pretty eclectic mixture of curiosities, mid century modern furniture and artwork by local artists and friends in our home. I feel like the paper mobiles and garlands are sweet little surprises in the midst of the other collections, but I really don’t go overboard with paper finery unless we’re celebrating a birthday or a big holiday that warrants busting out a mile or so of paper birds strung on golden string.

// GIVEAWAY //
As if sharing one of Mollie’s lovely projects with you wasn’t enough, Chronicle Books has decided to partner with me to give away a copy of Sweet Paper Crafts! Here’s how to enter:

1. Share this post on Facebook and show us your sharing love by linking back to it in the comments below.
2. Tweet this post on Twitter making sure to tag @CuratedHouse and @ChronicleBooks and let us know you’ve been tweeting it up in the comments below.
3. Pin the image of the book cover to Pinterest and show us your pinning prowess by linking back to it in the comments below.

Easy peasy! You’ve got until July 10th to share this with all of your friends and followers and win one of the first copies of this sweet little volume to be released! Now go! Share the Sweet Paper Crafts love!

xo
s.

By |June 26th, 2013|3 Comments

Foodie Friday | The Little Paris Kitchen

It should come as no surprise to you by now that I have an ongoing love affair with Chronicle Books. I discovered them last year while I was in San Francisco, and it was as if I had stumbled upon a publisher who had been quietly crafting beautiful volumes just for me. They most definitely have my number, and this latest discovery is no exception.

I confess this cookbook had an instant shortcut to my heart, parceque j’adore Paris. I have only been twice, but it is now the city against which all of my other travels are compared. It is the city where I imagine my most romantic getaways with my husband will forever take place. The architecture, the culture, the art, the people, the food. Lord help me, the food. Parisians know how to transform eating into an artform, from the simplest of unpretentious dishes to the most decadent in haute cuisine. From eating cheese from a local fromagerie {enjoyed with a nice bottle of red} in the gardens of Les Tuileries, accompanied by the melodious greetings of “bon apetit” as locals walked by, to indulging in gastronomic creations in restaurants, some of my favourite “food memories” are from Paris.

For those of us who are longing to recreate our French foodie fantasies in our own little kitchens here at home, Rachel Khoo – who didn’t speak a word of French when she courageously enrolled in the world-famous Le Cordon Bleu cooking school in Paris – has immersed herself in the language and art of French cooking and now translates French classics for real life foodies in her newly released cookbook The Little Paris Kitchen.

The “test kitchen” for Rachel’s cookbook was indeed a little kitchen in Paris. Tiny in fact. With just a two-burner stove and seating for “up to two,” Rachel began accommodating guests who came to experience her modern twists on classic French dishes from around the country. The 120-page volume is filled with modern and accessible recipes for quintessentially French home cooking to share with your family and friends.

Given that Spring seems to have finally sprung, I thought I would share a recipe that invites a bit of time outside working on the grill. As you already know, I love Coq Au Vin, and I can’t wait to try this uniquely fresh twist on the French Classic!

Serves 4 as a Main Course
Coq au vin on skewers

Cockerel stewed in red wine for several hours is traditional coq au vin. I thought I’d shake that
on its head and make a barbecue version with a red wine dipping sauce.

INGREDIENTS:

• 2 cloves of garlic, finely chopped 
• 1 onion, finely chopped
• a knob of butter 
• 4 small sprigs of thyme 
• 3 bay leaves 
• 2 cups red wine
• 1½ lb boned chicken legs, with skin on* 
• 5 oz lardons or cubes of smoked bacon
• 2 large carrots, cut into large chunks 
• 8 small new potatoes
• 8 small button onions, peeled and left whole 
• 1 tbsp red wine vinegar
• 1 tbsp cornstarch 
• 1 tbsp sugar 
• salt and pepper
• 8 small button mushrooms, brushed or peeled 
• 1 tbsp olive oil
• 8 barbecue skewers—if they’re bamboo, soak them in water for at least an hour before using
 
METHOD:
To make the marinade : Fry the garlic and onion in the butter until golden brown. Add the thyme and bay leaves and cook for another minute before adding the wine. Bring to a boil and simmer for 10 minutes. Leave to cool.

Cut the chicken into large chunks, place in a large plastic container with the lardons, and add the cold marinade. Cover and marinate in the fridge for at least 4 hours (best overnight).

Lift the chicken and lardons out of the marinade, then strain through a sieve. Measure 1 ¼ cups marinade, pour it into a pan and set aside. Put the carrots, potatoes and onions into a large pan of cold salted water and bring to a boil. Parboil for 5 minutes, then drain the vegetables into a sieve and hold under cold running water for 2 minutes. Leave to cool.

On a high heat, reduce the marinade by half before adding the vinegar. Mix the cornstarch to a thin paste with some water, whisk into the sauce, and boil for 5 minutes or until the consistency of heavy cream. Add the sugar and season with salt and pepper. Cover with plastic wrap, pressing it down in direct contact with the sauce. Keep the sauce warm until needed.

Thread the chicken onto the skewers, alternating with the lardons, parboiled vegetables and mushrooms.
Brush with the olive oil before cooking on the barbecue (or indoors on a griddle pan) for around 5 minutes, turning regularly. To check the chicken is cooked, cut a piece open—the juices should run clear, not red or pink. Serve with the sauce (reheated in a pan or microwave if necessary).

* Chicken legs have more flavor and tend to be juicier than breast, or you could use boneless chicken
thighs (skin on) instead. Breast meat will be fine too, as long as you are careful not to overcook it.

Preparation time: 1 hour 

Resting time: 4 hours–overnight
Cooking time: 20 minutes
Thank you, Rachel, for this delightful little cookbook from your delightful little Paris kitchen.
Bon apetit!
xo
s.

By |April 5th, 2013|0 Comments