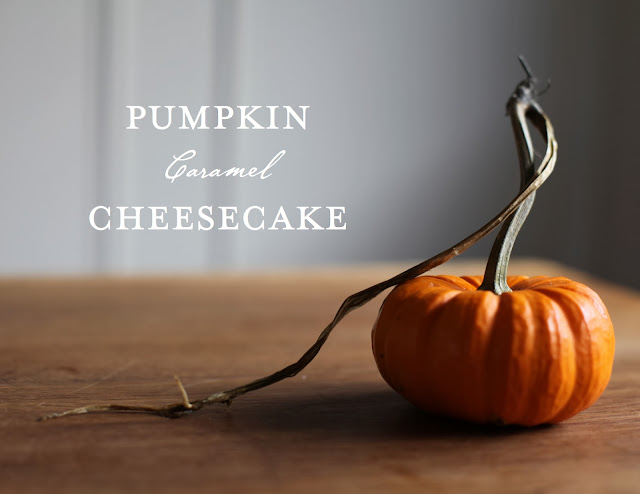
Foodie Friday | A Gorgeous Pumpkin Caramel Cheesecake plus Some Reminiscing on Gratitudes + The Best-Ever Roast Turkey
Confession time: it’s been a rough week. Health wise some old gremlins {aka car accident injuries that still have yet to heal} have been kicking up a fuss, and there have been some new challenges added to the mix. I’m not one for pity-parties and I much prefer to focus on the positives, but I share this by way of an explanation and an apology for being so MIA this week.
I don’t know about you, but in the midst of challenges sometimes it can be hard to unearth the gratitudes. Like hidden treasures buried beneath the dirt of the mess and struggle, they are there waiting to be revealed but we have to work to get at them some days.
 |
| {Photo: Gabriela Hansen} |
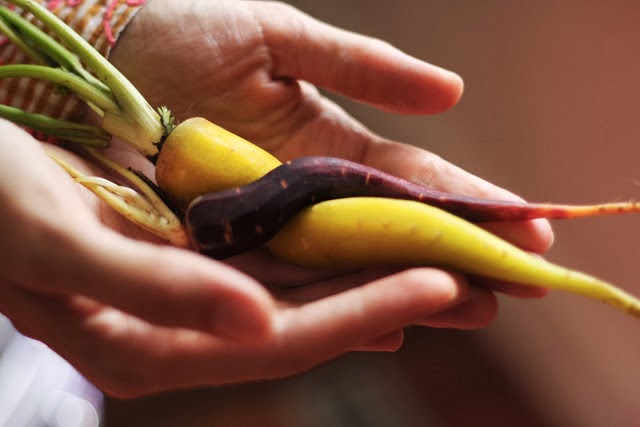
For me, this week they seem to have somehow been right there at surface-level; less evasive than usual. Perhaps the Harvest season is a metaphor for my life right now? Keep digging in the dirt and eventually you’ll turn up some pretty abundant, beautiful and life-sustaining revelations. Work with them a little, combining their flavours and unique qualities in a way that brings them all to their fullest potential, and you’ve got a recipe for a beautiful life.
 |
| {Photo: Gabriela Hansen} |
I do love this time of year, and I so love crafting a gorgeous Harvest meal for my loved ones. While I may be an incorrigible experimenter in the kitchen on any given day, I am a bit of a traditionalist when it comes to my Thanksgiving meal. My turkey and stuffing are always the same {my stuffing even won the little known but very meaningful “Golden Pear” award last year!}. I always make Roasted Garlic Butter and Caramelized Balsamic Onions instead of cranberry sauce {my version of “traditional” as I really can’t stand cranberry sauce}. I change up the veggies from year to year, but otherwise, the meal remains one we simply look forward to with fondness, building upon the memories of savouring it together each year.
 |
| {Photo: Gabriela Hansen} |
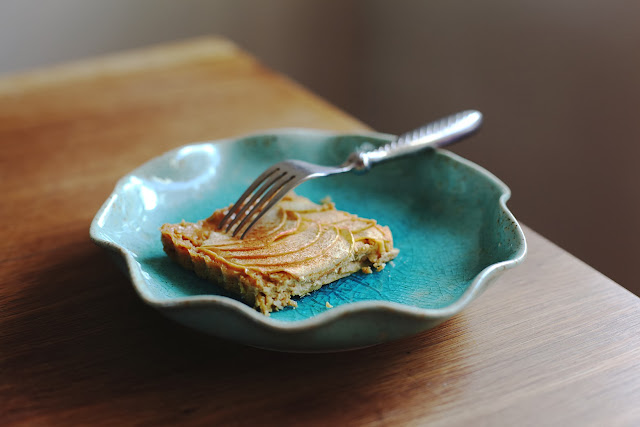
One thing I do change up from year to year, however, is dessert. At Harvest time there are always certain flavours that beckon, but I try to do something a little different each Thanksgiving. This year I went back to a favourite that I created 2 or 3 years ago to rave reviews: Pumpkin Caramel Cheesecake. This is a gluten-free and egg-free recipe, but it is far from calorie-free, my friends. And that is why we make these things just once a year, so we can indulge and enjoy them without guilt, knowing we have an entire year to work it off before we lull ourselves into another food coma 365 days later.
PUMPKIN CARAMEL CHEESECAKE
INGREDIENTS:
Crust:
2 cups walnuts
1/2 cup organic, unsalted butter
1 cup coconut sugar
2 Tbsp ginger
1/4 cup chia seeds
Filling:
3 8oz packages full fat cream cheese {preferably organic}, softened
1 cup coconut sugar
2 cups canned pumpkin purée
1/2 cup heavy cream
1/3 cup maple syrup
1 Tbsp vanilla
Egg substitute equivalent to 4 eggs
2 tsp ginger
2 tsp cinnamon
1/2 tsp allspice
1/2 tsp ground cloves
Sauce:
1/4 cup unsalted butter
1/4 cup maple syrup
1/4 cup heavy cream
METHOD:
Preheat oven to 325˚F.
To make the crust, grind the walnuts in a high quality blender. Melt butter and combine ground walnuts, chia seeds, butter, coconut sugar and ginger. Allow to rest for a few minutes so that the chia seeds can absorb the moisture and expand. Press into bottom and sides of a 9″ springform pan. {I find I don’t need to butter the pan as there is enough butter in the crust recipe to keep it from sticking.}
With a stand mixer, beat together the softened cream cheese and coconut sugar until light and fluffy. Add in the pumpkin, heavy cream, maple syrup, vanilla, spices and egg substitute and mix until smooth. Pour the batter into the prepared crust.
Place oven rack in the middle with another one underneath and put a rimmed baking sheet on the lower rack. Pour in enough water to fill the rimmed baking sheet. {This just adds steam to the oven and keeps the cheesecake from cracking. It also catches any drips while the cheesecake bakes.} Place the cheesecake on the centre rack and bake for 80-90 minutes or until a bamboo skewer comes out clean. Allow it to cool for an hour.
Meanwhile, make the caramel sauce by combining the butter and maple syrup in a microwave-safe glass dish {yes, I actually make this in the microwave!}. Start by microwaving on high for 1 minute and then whisk to combine. Continue cooking the caramel sauce in 30 second intervals for a total of another 2-3 minutes until it has thickened and is bubbling. Be sure to whisk it after each 30 second interval. Add the heavy cream and cook another 30 seconds. Whisk to combine and cool in the refrigerator for 5 minutes. Remove and pour into the “crater” that will have settled on the top of the cheesecake {the perfect vessel for the gorgeous, golden caramel sauce!}.
Chill overnight in the refrigerator and serve with maple whipped cream and lots of love.
Wishing all of my Canadian friends a very Happy Thanksgiving weekend! As you gather together with the ones you love, I hope you find yourselves struck by the harvest of gratitudes that you have unearthed from the soil of your life this year. Because in the midst of the dirt and decay, new life really does keep springing up. Searching for those treasures and savouring them really is what it’s all about.
xo
s.
Gluten Free Foodie Friday | Softbake Chocolate Chunk Cookies
My pregnancy cravings are a funny thing. One week I’m all “pregnant cliché” and desperate for good Montreal pickles, the next week it’s grapefruit, then the next it’s tree-ripened Niagara peaches. For the most part, my cravings have been healthy and totally random, apart from one faithful friend: chocolate. All. Things. Chocolate.
To chalk this up to simply a pregnancy craving might not be fair. I have had a fairly serious love affair with the creamy richness of good quality chocolate since my childhood. My favourite part of Christmas morning was always the really special chocolate truffle my Mum would hide in the toe of my stocking. I loved the crinkle of the paper-thin foil wrapper as I delicately unwrapped it, and the ecstasy of that first bite, sinking my teeth into that creamy goodness {all before breakfast, of course!}. That one treat was heaven on Christmas morning!
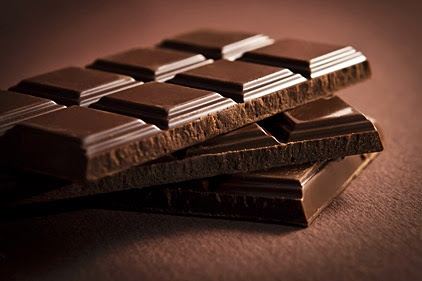
Well, as many of you know, I developed an allergy to cane sugar in adulthood that made my love of chocolate feel suddenly clandestine and forbidden. Sugar makes my tongue and throat swell up, so I don’t mess with it which makes finding options very challenging. Until a few years ago when in a moment of total bliss, I stumbled upon a company making organic milk chocolate bars sweetened with beet sugar. Naturally, I took it as a sign that God really loves me. A lot.
 |
| {Image Source} |
This post is bittersweet {no pun intended}, because said chocolate company has recently decided to change their formulation and they are now using organic cane sugar {just like practically every other chocolate manufacturer on the planet}. I wept big, crocodile-sized pregnant tears after calling their customer service department and confirming it wasn’t a mistake. OK, not really, but I did weep on the inside. A lot.
I have found an amazing company in Australia that is making what looks like GORGEOUS chocolate sweetened with coconut sugar and/or coconut syrup – amazing because that also makes it low glycemic! They have a milk chocolate bar that looks decadent {milk chocolate is really hard to find when not sweetened with cane sugar} AND a caramel chocolate bar {see image below} that looks like it may have descended directly from heaven…but…they don’t ship to Canada. Yet. So, if any of you know anyone living in Australia who would like to hook up a pregnant girl with a life-changing chocolate supply, please put them in touch with me! They can add to their resumé “dealer of happiness + pregnant joy.” Seriously.
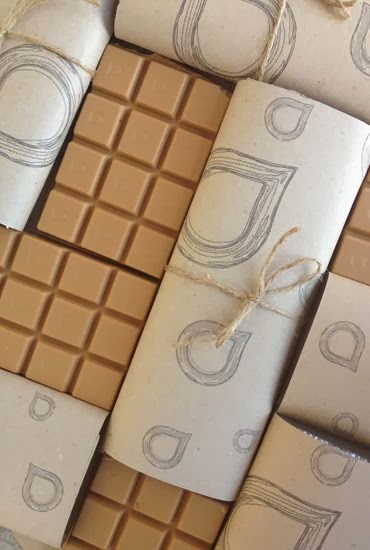 |
| {Caramel chocolate bar from Loving Earth} |
OK, so that lengthy preamble is really just my way of explaining why today’s recipe is so happy-sad for me. Happy because these are truly the most amazing gluten-free chocolate chunk cookies I’ve ever made or tasted in my life. Full stop. Sad because my supply of chocolate is nearly gone {I cleared out my local Whole Foods when I learned of the recipe change but only have enough left in the pantry to make another two batches}. Maybe this is God’s way of loving me in a new way…and keeping me from gaining too much weight during pregnancy? Probably. I’m going to take it that way.
For those of you who don’t have my unusual cane sugar allergy, this should really just be a happy post as you can use your favourite chocolate and be done with it! These will obviously work well with regular flour as well, but I would be amiss if I didn’t mention once again my gratitude for the amazing Cup4Cup flour. It has truly changed my baking, sweet-toothed life, and my non-gluten-free guys say these are the best chocolate chunk cookies they’ve ever had, gluten free or not. So that’s fairly high praise.
And now, on to the recipe!
Referigerate for a minimum of 2 hours and as much as a week {I usually bake one half of the batch the day I make it and then bake the other half later in the week}.
Preheat the oven to 350˚F. Slice the chilled dough into half inch chunks and arrange 2-3 inches apart on a parchment-lined baking sheet.
Bake for 8 minutes or until the edges are ever-so-slightly golden but the cookies are perhaps still looking a bit undercooked. Allow them to cool on the cookie sheet {they will hold together once they’ve cooled, so fear not!} and then store them in an airtight container to keep them soft and glorious. If, that is, they make it into the container at all. The hardest part of this recipe is letting them cool before everyone devours them!
I find each half batch gives me about 10 cookies. Let’s just say they don’t last long. Like I said before, it’s probably a good thing my chocolate supplies are on ration for now! With 14 weeks of pregnancy to go, I’d prefer not to balloon up thanks to a recently developed, decadent cookie recipe! All things in moderation, right?
Wishing you a lovely weekend filled with laughter and good conversation shared over good food with the ones you love.
xo
s.


