/kitchen

Foodie Friday | Roasted Beet and Goat Cheese Salad

I know that beets are really considered an Autumn root veggie, but I don’t care. I love them year round, and they are one of my favourite ingredients for a simple, satisfyingly gorgeous summer salad.

As it turns out, I am particularly smitten with heirloom beets. Their rainbow {or partial rainbow} of colours and slight variations on earthy-sweetness just make me happy. They also happen to be amazingly good for the liver, so if you need a virtuous reason to eat them, there you have it. Detox away. For me, they fall into the category of “a food I love that also happens to be good for me.” My liver can go ahead and soak up all the health benefits it wants while I’m busy just paying attention to how good they taste. It really is a win-win.

Having picked up a lovely bag of heirlooms at the market last weekend, I decided to make one of my favourite summer {or any season, really} salads and share it with you today.

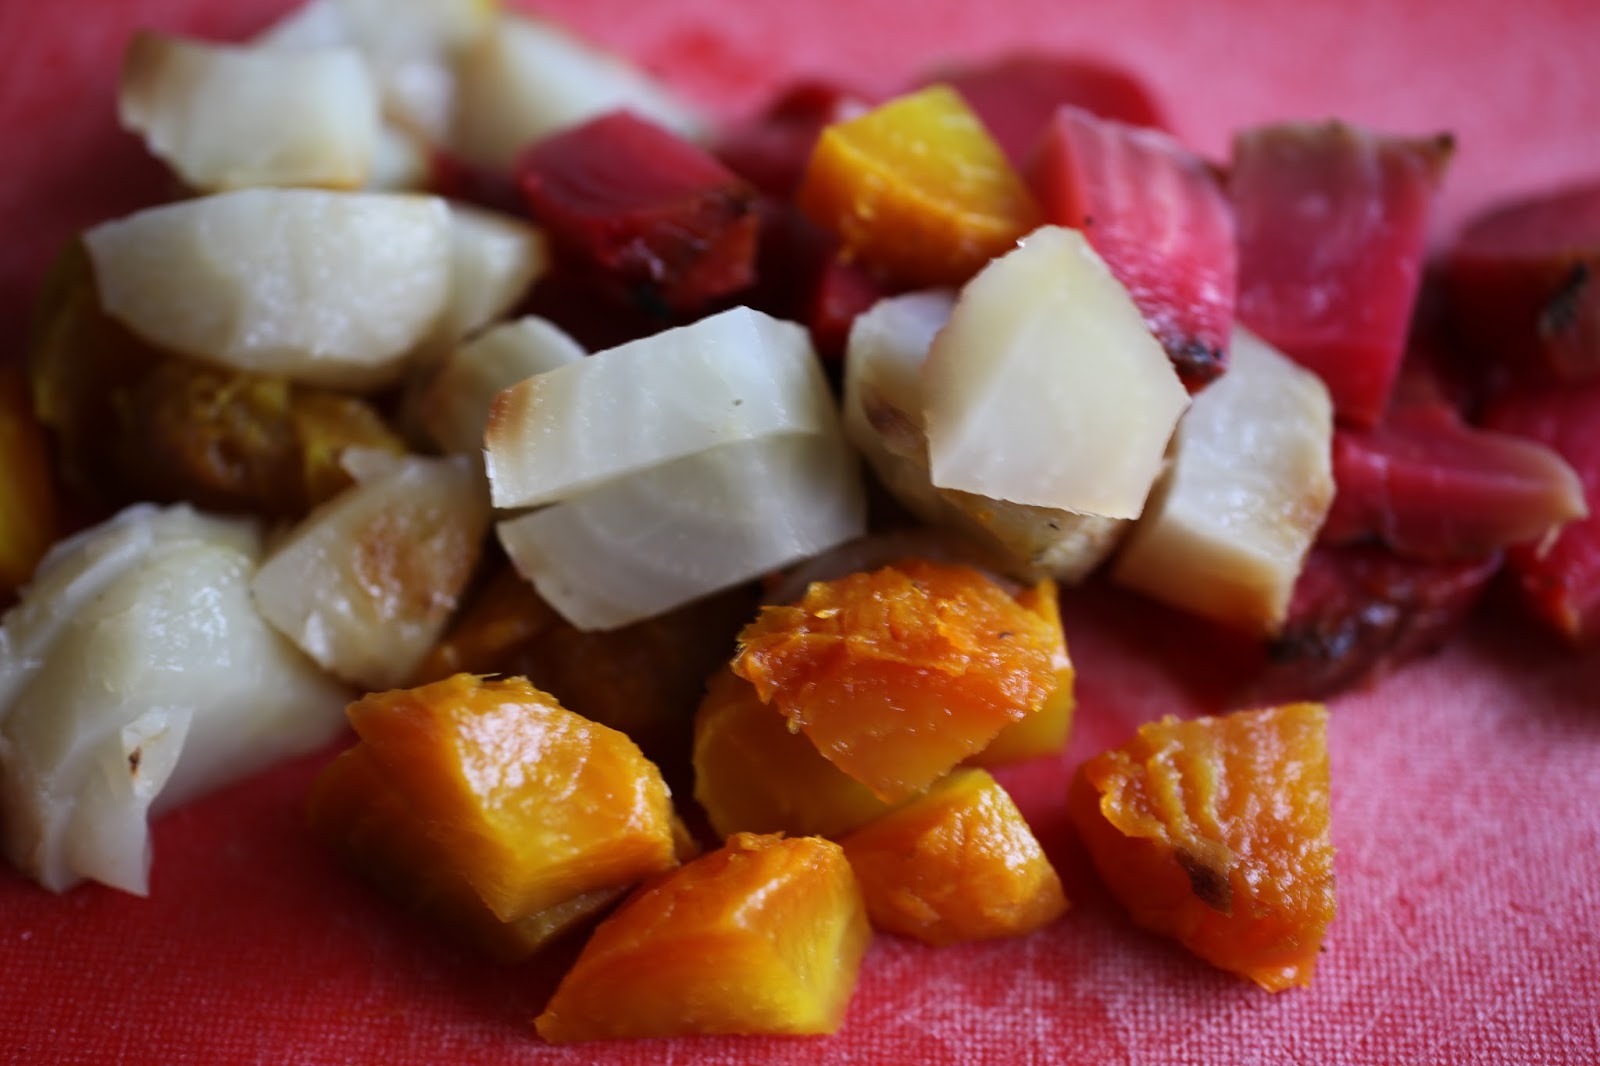
I started by giving them a quick wash and cutting the tops and bottoms off and then roasting them in a 375˚F oven for an hour or so. I then let them cool and peeled the skins off. {Quite easy to do once they’ve cooled. Some chefs go the extra mile and throw them in a paper bag while they are still hot so the steam helps loosen the skins. I don’t find I ever need to do that. Saving the trees, one paper bag at a time.}

Next I chopped them roughly into 1/2″-1″ chunks. {Don’t you love my über-beautiful cutting board? I so need to replace this one with something gorgeous and thick and wooden. I know, not so tree-saving as my paper bag measures, but I promise I’d keep it forever and a day.}

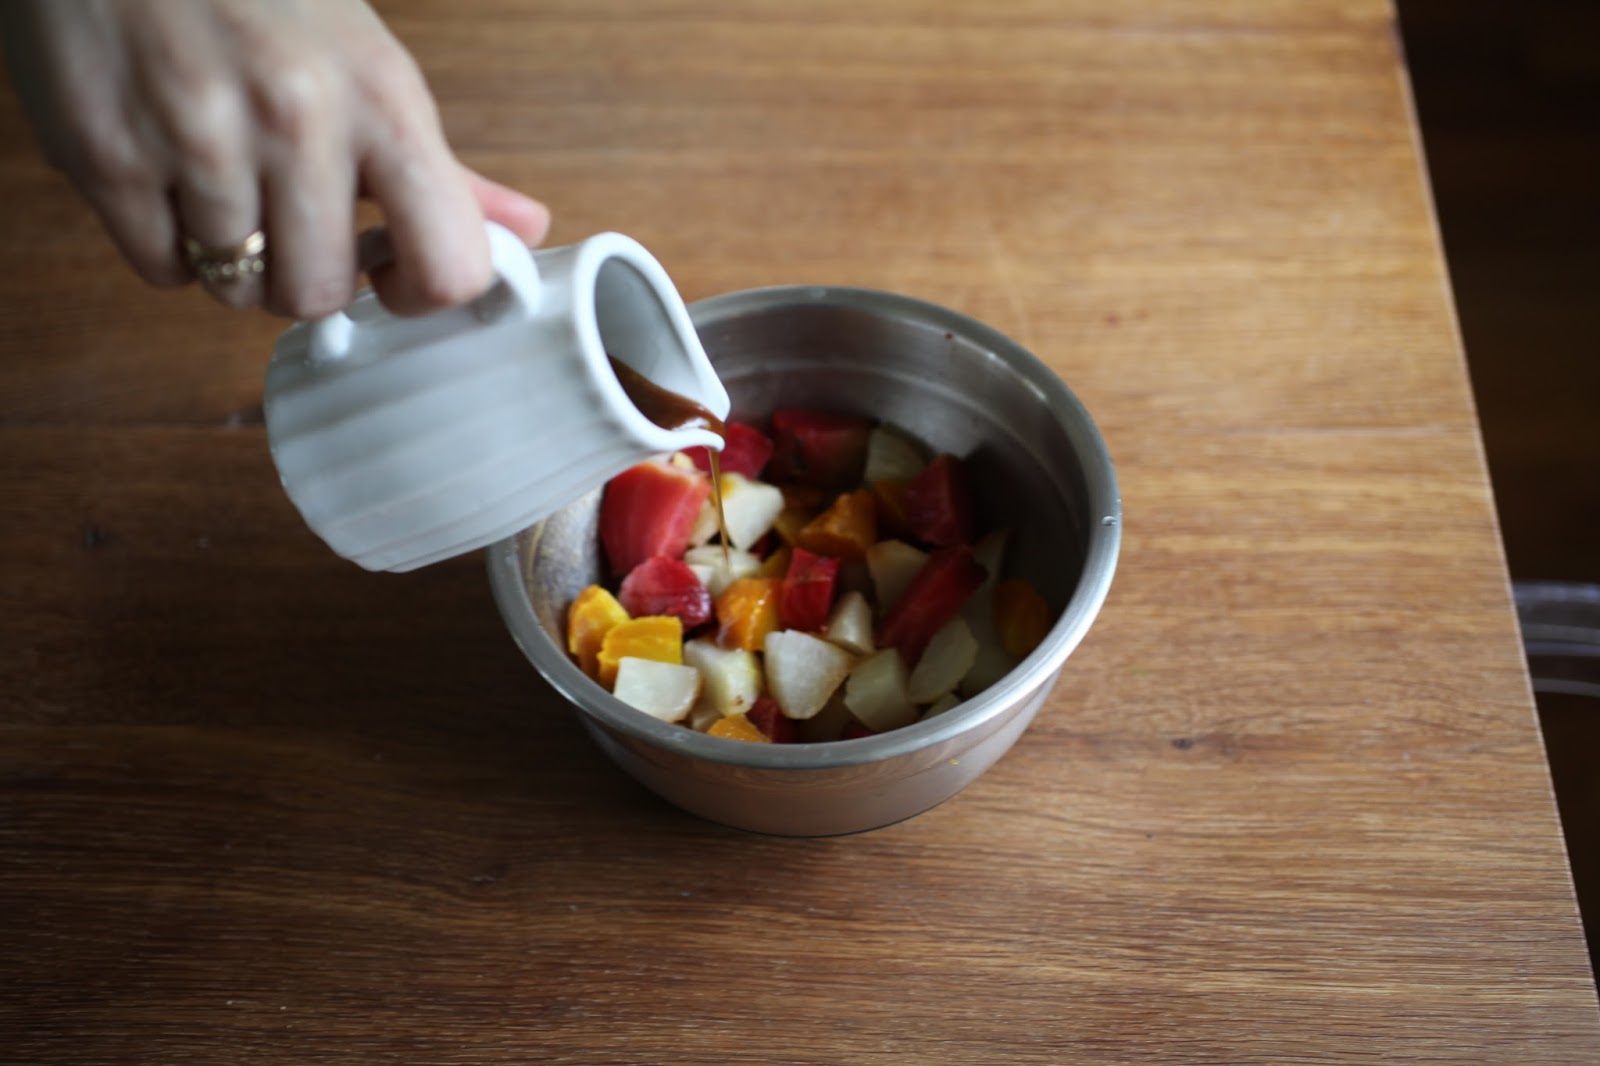
Next I quickly whisked up a simple dressing…

2 Tbsp extra virgin olive oil
1 Tbsp balsamic vinegar
1 Tbsp maple syrup
1 Tbsp dijon mustard
s + p

…and then tossed the beets in some of the dressing so they were beautifully coated.

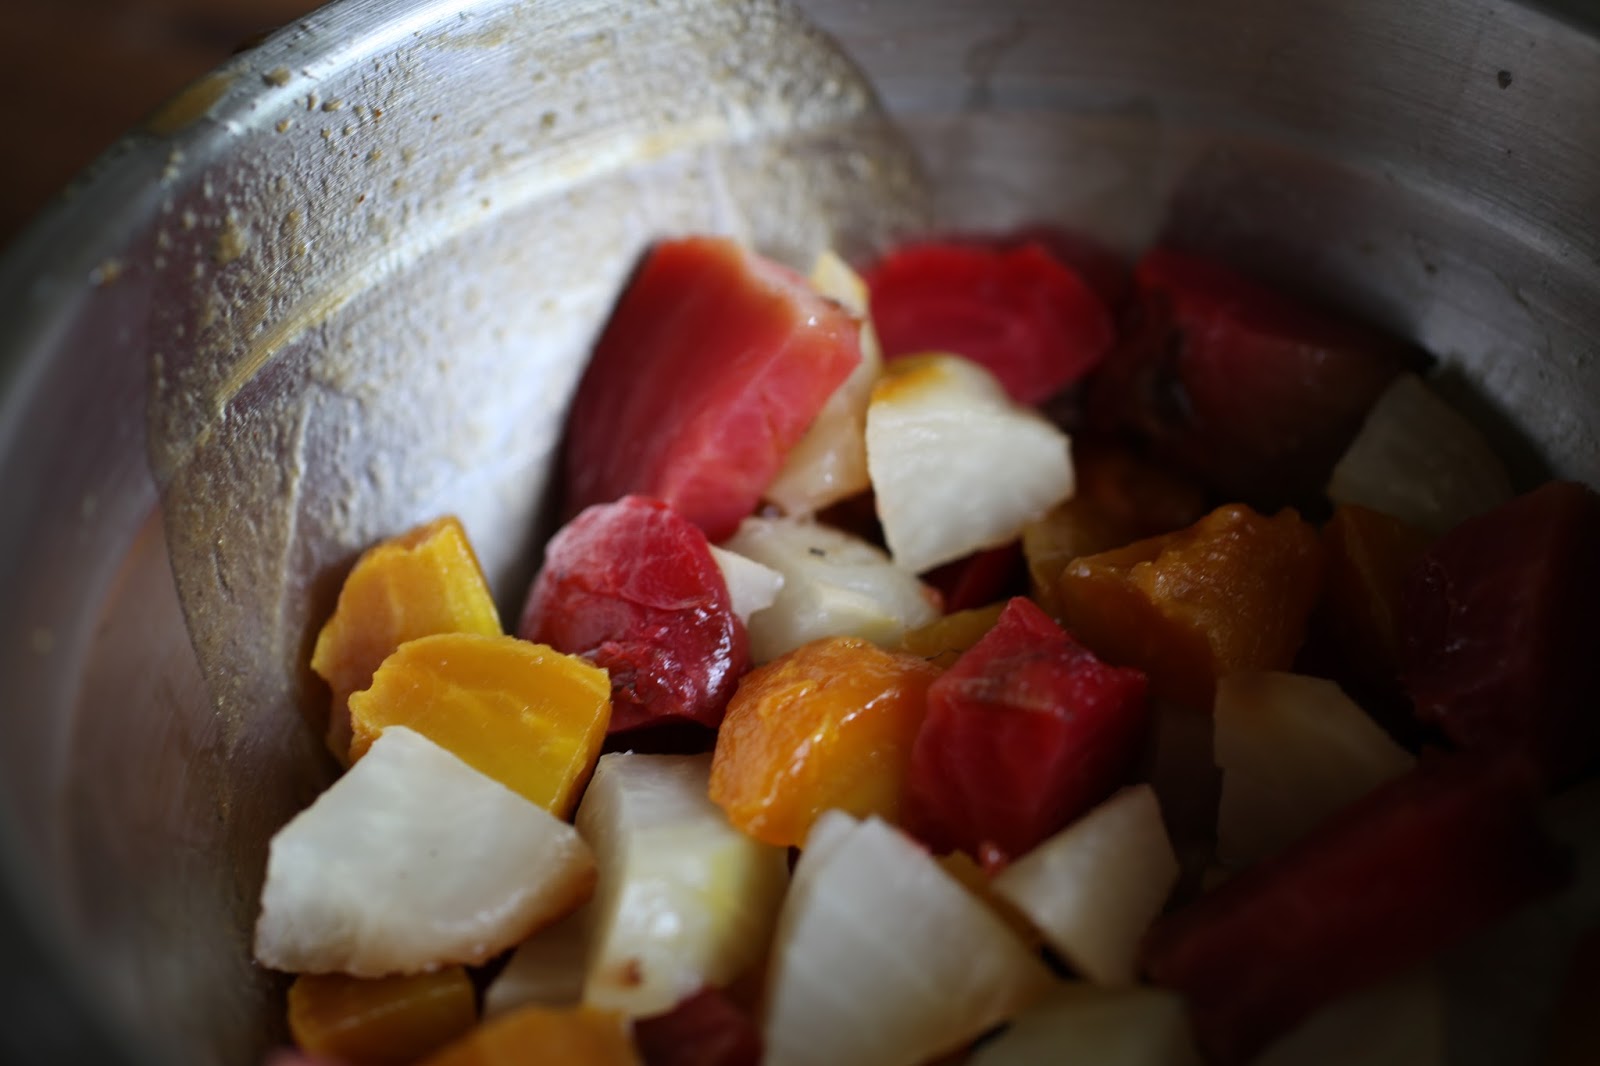
I didn’t use all the dressing on the beets but saved some for when I added them to the greens. I suppose you could just toss the beets and greens together with the dressing all at once, but I find tossing them in a bit of the dressing on their own first helps them separate and get more even distribution through the salad once it’s all mixed together. I added in some freeze-dried salad herbs {these are amazing but I can only get them in Quebec!} as I have neglected my fresh herbs to the point that there is very little to harvest from my wee little kitchen garden. Oops.

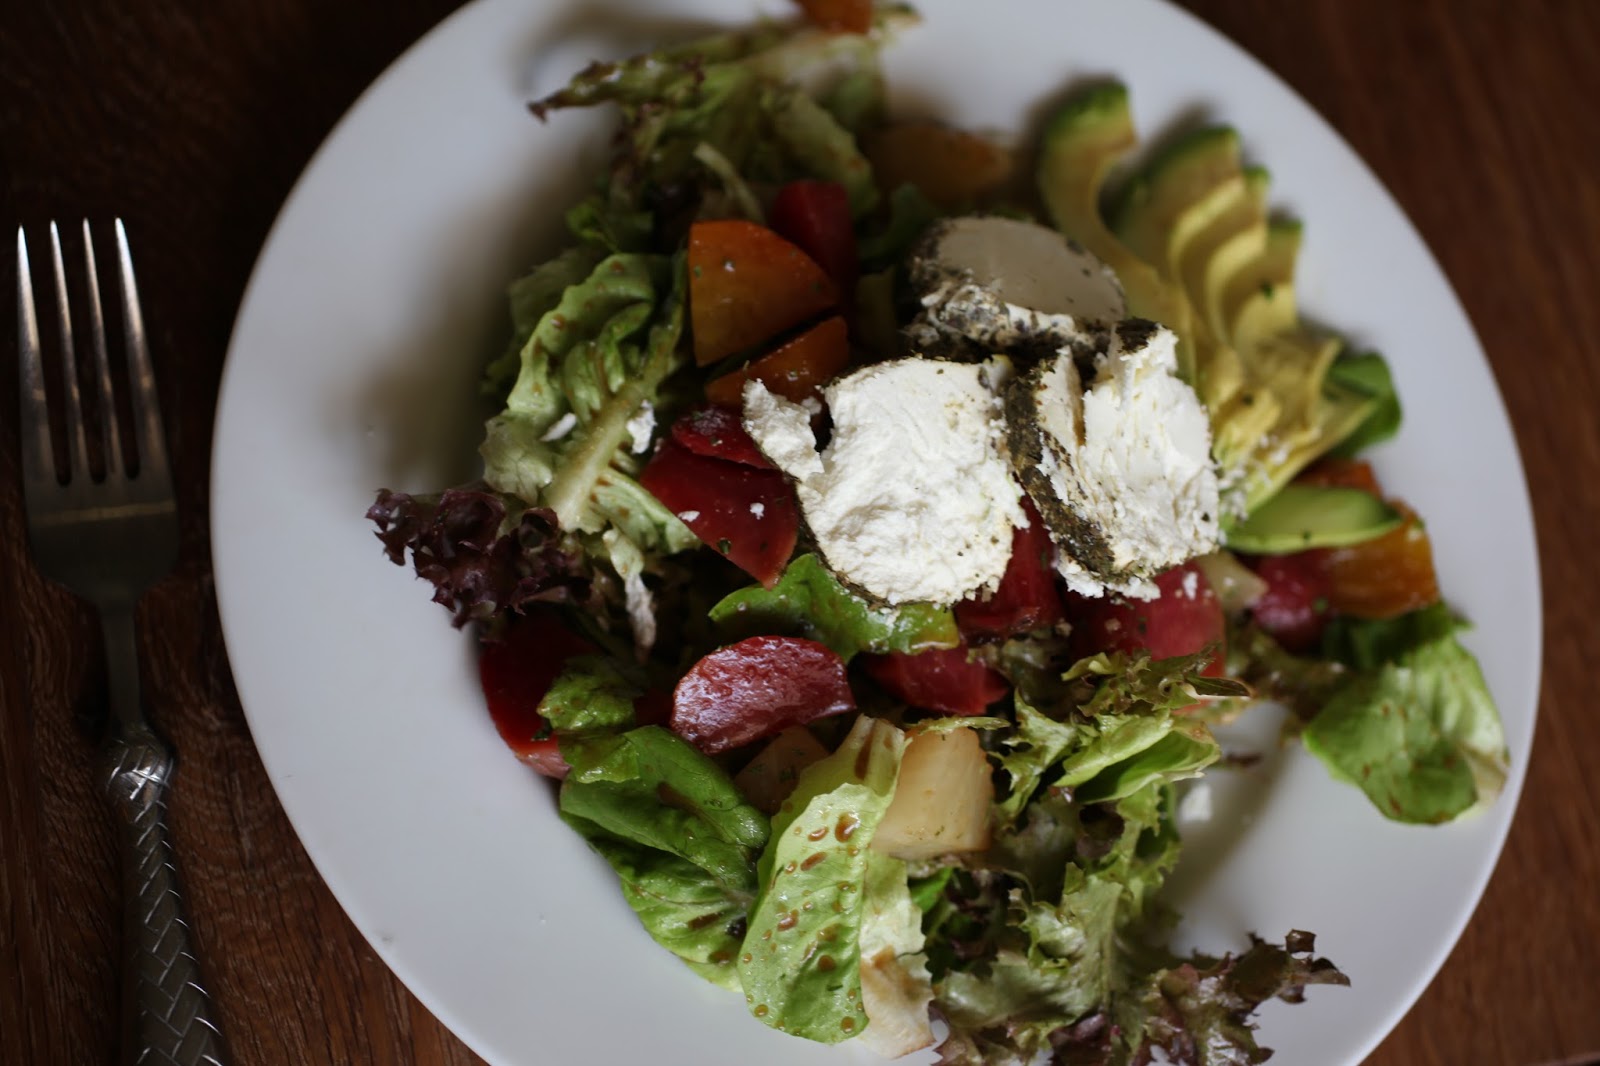
Next, another favourite food that also happens to be good for me. I adore avocado. Creamy, rich, satiating and all-around amazing. It’s a staple in my kitchen for sure. And it’s also loaded with antioxidants, cartenoids, fibre, folate and heart-healthy fats that can help stabilize your blood sugar. Total super food. Totally delicious.

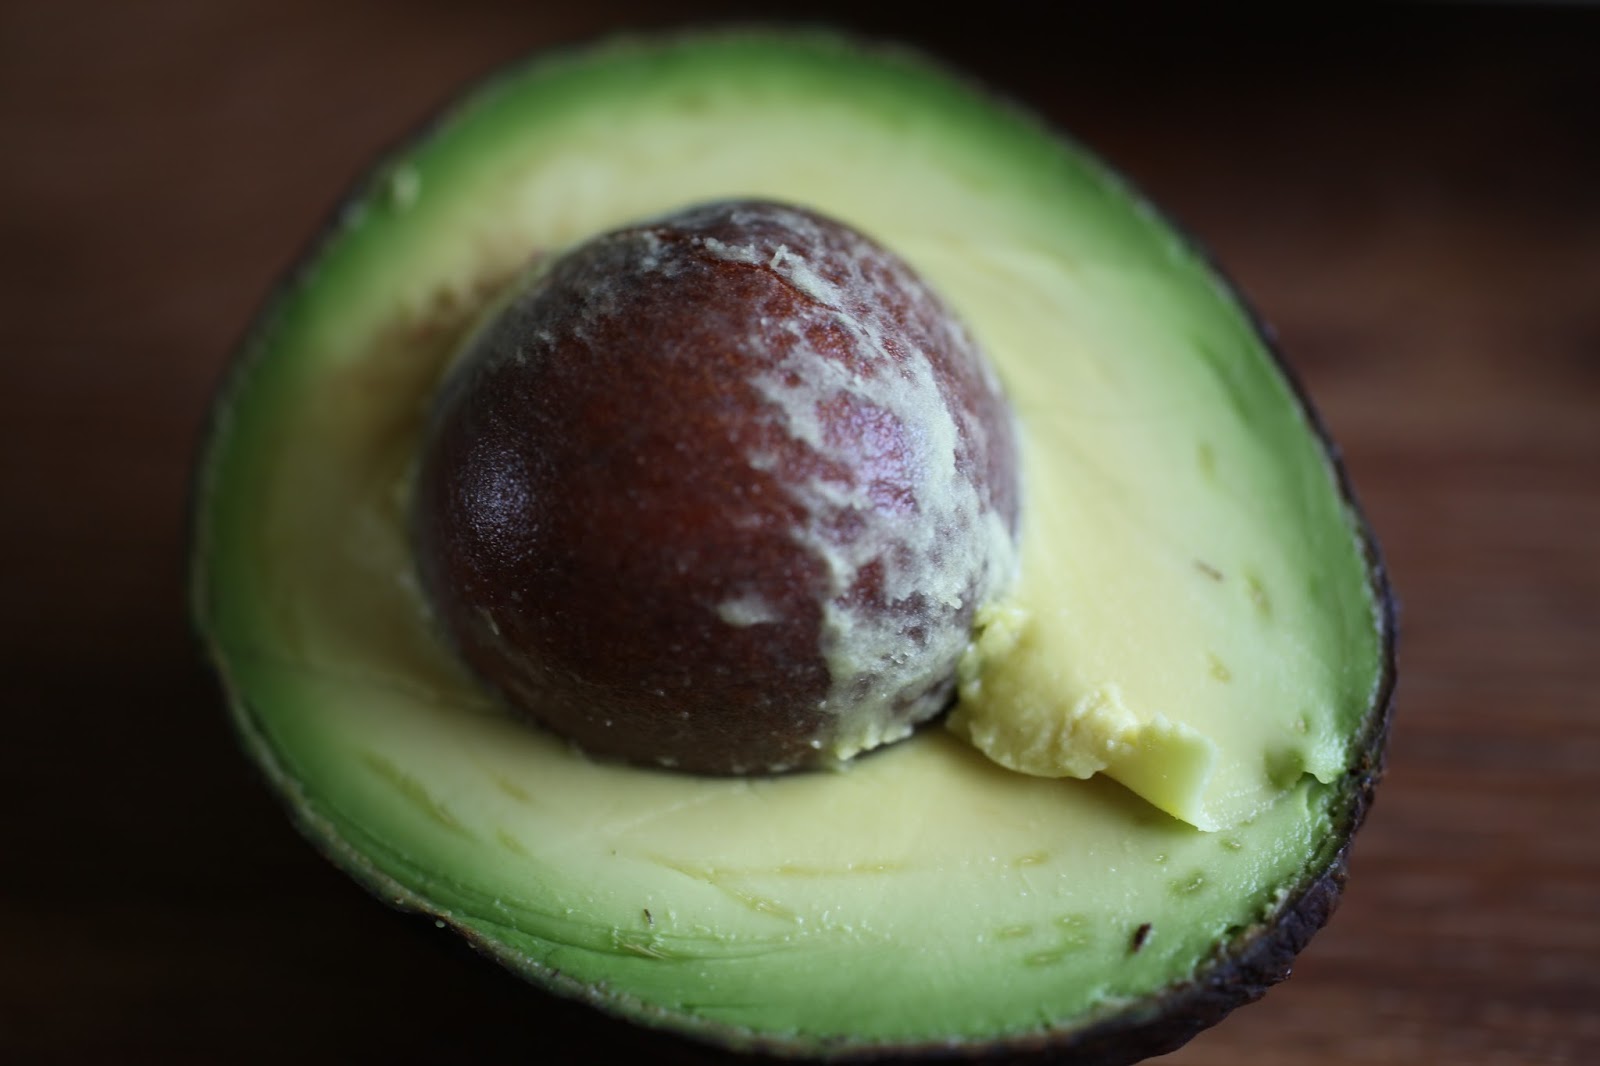
I just sliced a quarter of one up and added it to the plate, topped the salad with three chunky slices of herbed goat cheese {I love me some chévre!} and voilà! A simple and delicious {and not-so-secretly really good for you} summer salad.
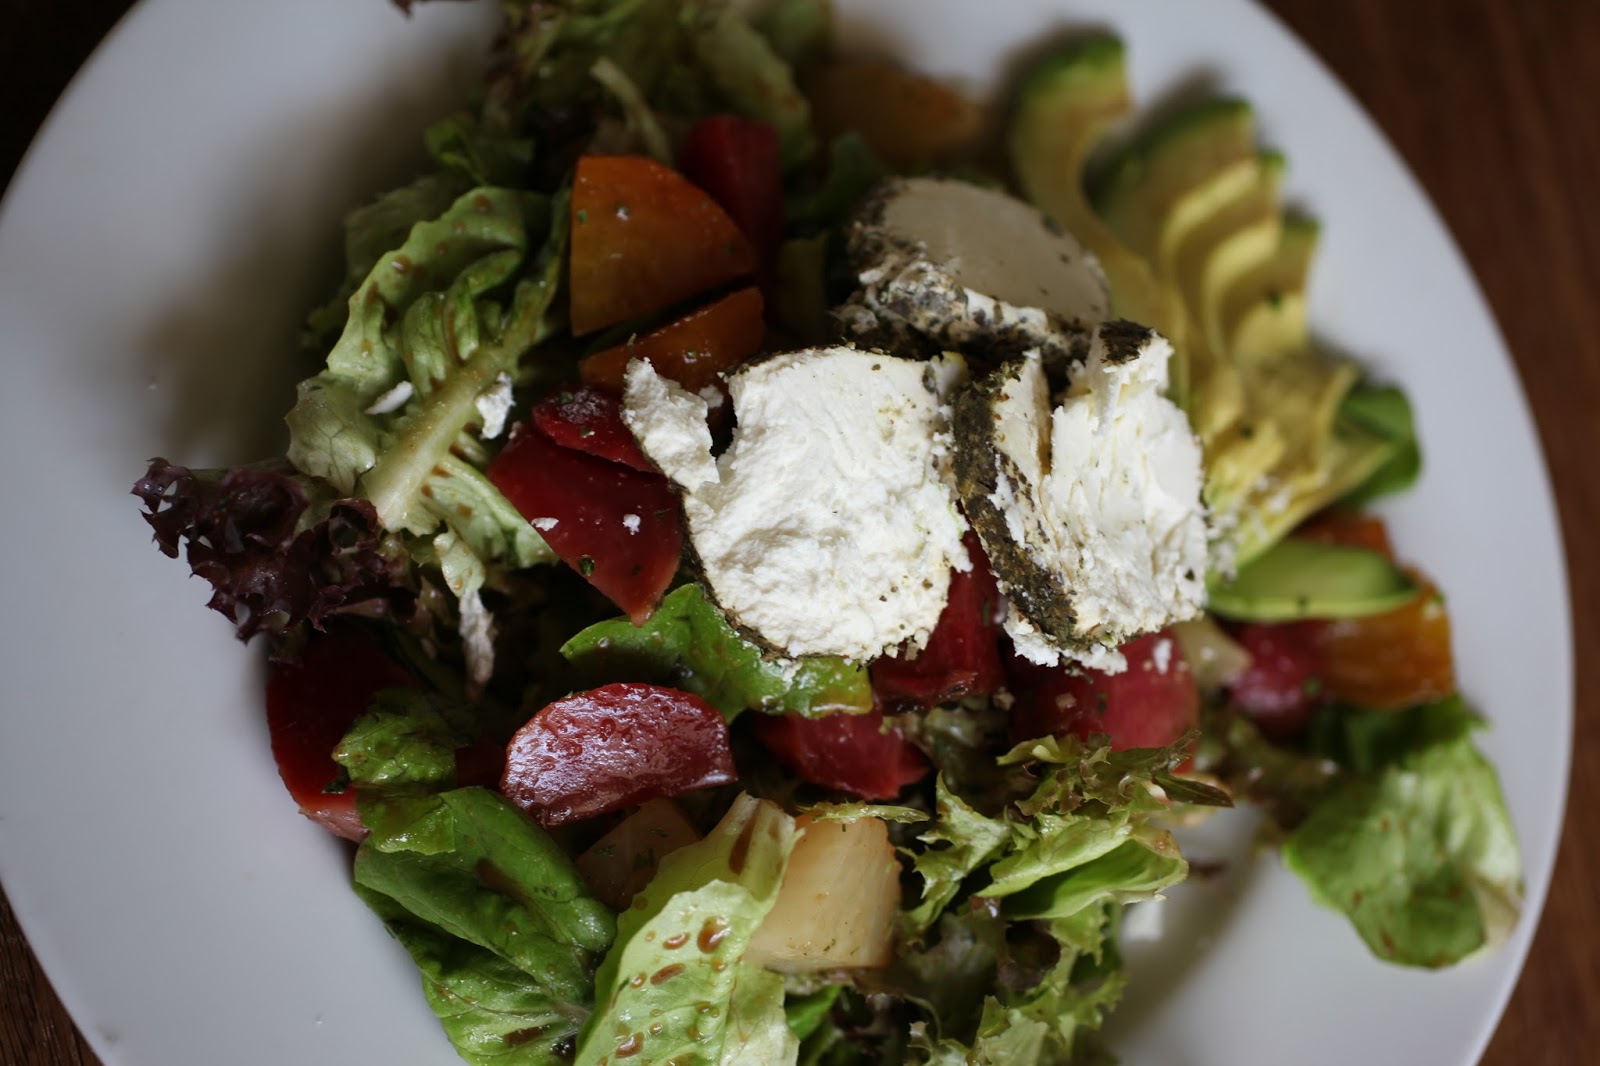
Bon apetit!

I hope you enjoy a fabulous summer weekend coming up, friends. I know we will! We are cottage bound and beyond excited for it. Lifelong friends; the soul-restoring inspiration of natural beauty; time to do nothing but read, relax, swim, eat, talk, laugh and repeat. It’s the stuff summer dreams are made of!

xo
s.

By |August 9th, 2013|0 Comments

Gluten Free Foodie Friday | Salted Maple Scones

I don’t know if it was all that recent reminiscing about my British heritage that did it, but I have been craving scones for about a week now. I love them for their humility: such a simple, understated baked good. Not flashy. Not excessively decadent. But oh-so-delicious. A somewhat sophisticated comfort food, I guess you could say!

This week, Noah and I set about the task of creating a gluten-free, sugar-free, egg-free version of a sweet scone that would work not just for me, but for all of us. Just because they are practically everything-free doesn’t mean they should be taste-free, right? In fact, the core ingredients are beautiful in their simplicity.

I chose to create a sweeter scone mostly because my dessert options are so limited that it’s nice to have something sweeter that I too can eat in the house every once in awhile. Also, Graham and Noah both have pretty wicked sweet teeth {the plural of “sweet tooth,” but it just sounds weird, doesn’t it?} so I wanted to please their palates as well as my {admittedly pregnant} current preferences.

Noah was a wonderful helper and even took some photos of me rolling the dough and cutting out the scones. I love putting a camera into his hands as he gets SO excited about trying out a different angle or composition on each shot. He has such a creative streak running through him!

{Rolling pin from Herriott Grace}

I had some last minute reservations when I pulled them out of the oven, but in the end, we were all quite delighted with the outcome. Slightly golden brown, salty-sweet and tender inside. Just what I’d been craving!

GLUTEN-FREE SALTED MAPLE SCONES

Makes 12-14 scones

INGREDIENTS:

2 cups Cup 4 Cup flour
1 cup maple sugar
1 1/2 tsp baking powder
1/2 tsp salt {I used Maldon}
1 cup butter, cut into pea-sized bits and then frozen
1/2 cup milk {or milk substitute of your choice – I used almond milk}

METHOD:

As I noted in the ingredients list, I started by cutting the butter {straight from the fridge} into small, pea-sized bits and then popping it into the freezer for an hour or so. Another technique I’ve used is to freeze the chunk of butter whole and then use a cheese grater to grate it into small bits. This creates smaller pieces of butter, but it’s messier. For me, the end result is the same, so I like cutting it up first and then freezing it best.

Once the butter is completely frozen, preheat your oven to 400°F and then combine the flour, maple sugar, baking soda and salt thoroughly. Next, add the frozen bits of butter. You can either work them into the flour with your hands or use your stand mixer. Once it is combined well the flour/butter combo will look like grains of rice or powdered peas. {I took photos for you, but in a moment of brilliance I did so without the memory card in the camera! I blame pregnancy brain. Or post-concussion syndrome. You choose.}

At this point, you will slowly add the 1/2 cup of milk while the mixer is running on med-low speed. The dough should come together quickly and should not be sticky – scone dough is very simple and rather dry. You may have to use your hands at the end to work in the little dry bits at the bottom of the bowl that didn’t get incorporated, but try not to overwork the dough.

{As a side note, I have to say that Cup 4 Cup flour truly makes an incredible dough. I’ve used it for pie crusts and cakes and all kinds of baked things and it always shocks me with it’s perfection. Truly a one-for-one substitute that does not taste even remotely of the typical sawdust gluten-free experience. I absolutely love Lena for creating this product!}

Dust your rolling surface as well as your rolling pin with a bit of Cup 4 Cup flour and gently roll out the dough until it is about 1/2″ thick. Using a round pastry cutter, cut out your scones and place them on a cookie sheet lined with unbleached parchment paper.

{The edges of the un-cooked dough totally remind me of Reese’s Peanut Butter Cups!}
Bake the scones in the oven for 15-20 minutes, until the tops and edges are turning slightly golden brown. Allow them to cool {always the hardest part!} and then decide how you’d like to serve them. They are quite delicious on their own, as their salty-sweetness is quite a nice surprise. But what I had been craving was the classic English Cream Tea version of scones. This approach definitely elevates this little baked treat from humble to hello! Devonshire cream. Fruit preserve. Say no more. Totally decadent and a little taste of heaven, I’m sure of it!
My favourite fruit preserve is fig, and this one from France’s St. Dalfour is amazing and totally sugar-free! It’s sweetened with just fruit juice and is delicieux!! 


Other topping options include:

  • Whipped cream and strawberries {turns it into a kissing-cousin of a strawberry shortcake!}
  • Mascarpone with blackberries {Rich, lush, decadent flavours}
  • Butter and jam {a classic}
  • Devonshire cream and blueberry jam {Noah’s choice, pictured at the top of this post}
  • I’d also love to experiment with taking them in a slightly savoury direction. Perhaps mascarpone, halved bing cherries and fresh rosemary roasted under the broiler {a derivation of an hors d’oeuvre that I used to make on crostini}. Perhaps I’ll have to make a savoury scone for that one? Hmmm…
The options are endless really! When in doubt, just enjoy them with a cup of tea or coffee and the company of a good friend! What more could you need.
xo
s.
By |August 2nd, 2013|0 Comments

Foodie Friday | Sea Asparagus

On a recent visit to the Farmer’s Market, my guys and I discovered a new-to-us superfood that had us totally intrigued. This delicate-looking sea vegetable packs a seriously nutritious punch, offering many health benefits.

Sea asparagus is loaded with Vitamin A, Vitamin B2 {great for energy}, Folic Acid and Vitamin B9 {good for stomach and skin}. Apparently this hydroponically grown sea vegetable even helps detoxify your liver and improve muscle function. And the best news? It tastes fantastic!

You can definitely just nibble on the sea asparagus raw for a crisp, light, super-salty snack {Noah loves it this way!}. It also makes a lovely and unexpectedly salty addition to a salad. If, however, you want to add it as a side dish to a meal, you will likely want to soak it to remove a bit of the salt content. Just soak for about an hour in cool water before cooking.

Then what? Well, we happened to purchase our bag of sea asparagus just as a Toronto restauranteur was purchasing it by the bushel-full for his new seafood restaurant. I can’t begin to describe his enthusiasm about this lacy little sea-wonder – he was practically giddy about it! He generously suggested just sautéing it with butter, shallots and garlic, so that’s what we did! It turned out beautifully and made for a gorgeous side with some broiled salmon. A light but very flavourful, super-food lunch!

INGREDIENTS:
2 c. soaked sea asparagus {soaked for 1 hour}
2 small shallots, chopped
2 cloves of garlic, chopped
Knob of butter
Tbsp extra virgin olive oil

METHOD:
Add butter and olive oil to a pan over medium-high heat. {The olive oil will keep the butter from burning.} Melt butter and add shallots and garlic. Cook until translucent. Add sea asparagus, tossing in the shallot and garlic butter mixture and sautéing until softened but not limp. Plate and top with a beautiful piece of broiled or grilled fish. Enjoy!

The season for sea asparagus is a short one, so be sure to get out to your local Farmer’s Market to see if you can find some! Local Toronto forager Jonathan Forbes of Forbes Wild Foods is currently selling it at these locations:

Mondays at Sorauren Farmer’s Market {3-7pm}, Tuesdays at Riverdale Farmer’s Market + Trinity Bellwoods Farmer’s Market {3-7pm}, Thursdays at Dufferin Grove Farmer’s Market {3-7pm}, and Saturdays at Evergreen Brickworks Farmer’s Market {8am-1pm}. 

Happy foraging, and happy weekend!

xo
s.

By |July 19th, 2013|2 Comments