THE ONE ROOM CHALLENGE | Week Two Update

Hello friends and design lovers! How is it Thursday again already? Man, this week has flown by! I hope yours has been a bit less of a whirling dervish than mine. Mixed in with the flu passing through our household {it still hasn’t read its eviction notice properly}, we have been working hard at moving the needle forward on progress with the laundry room.
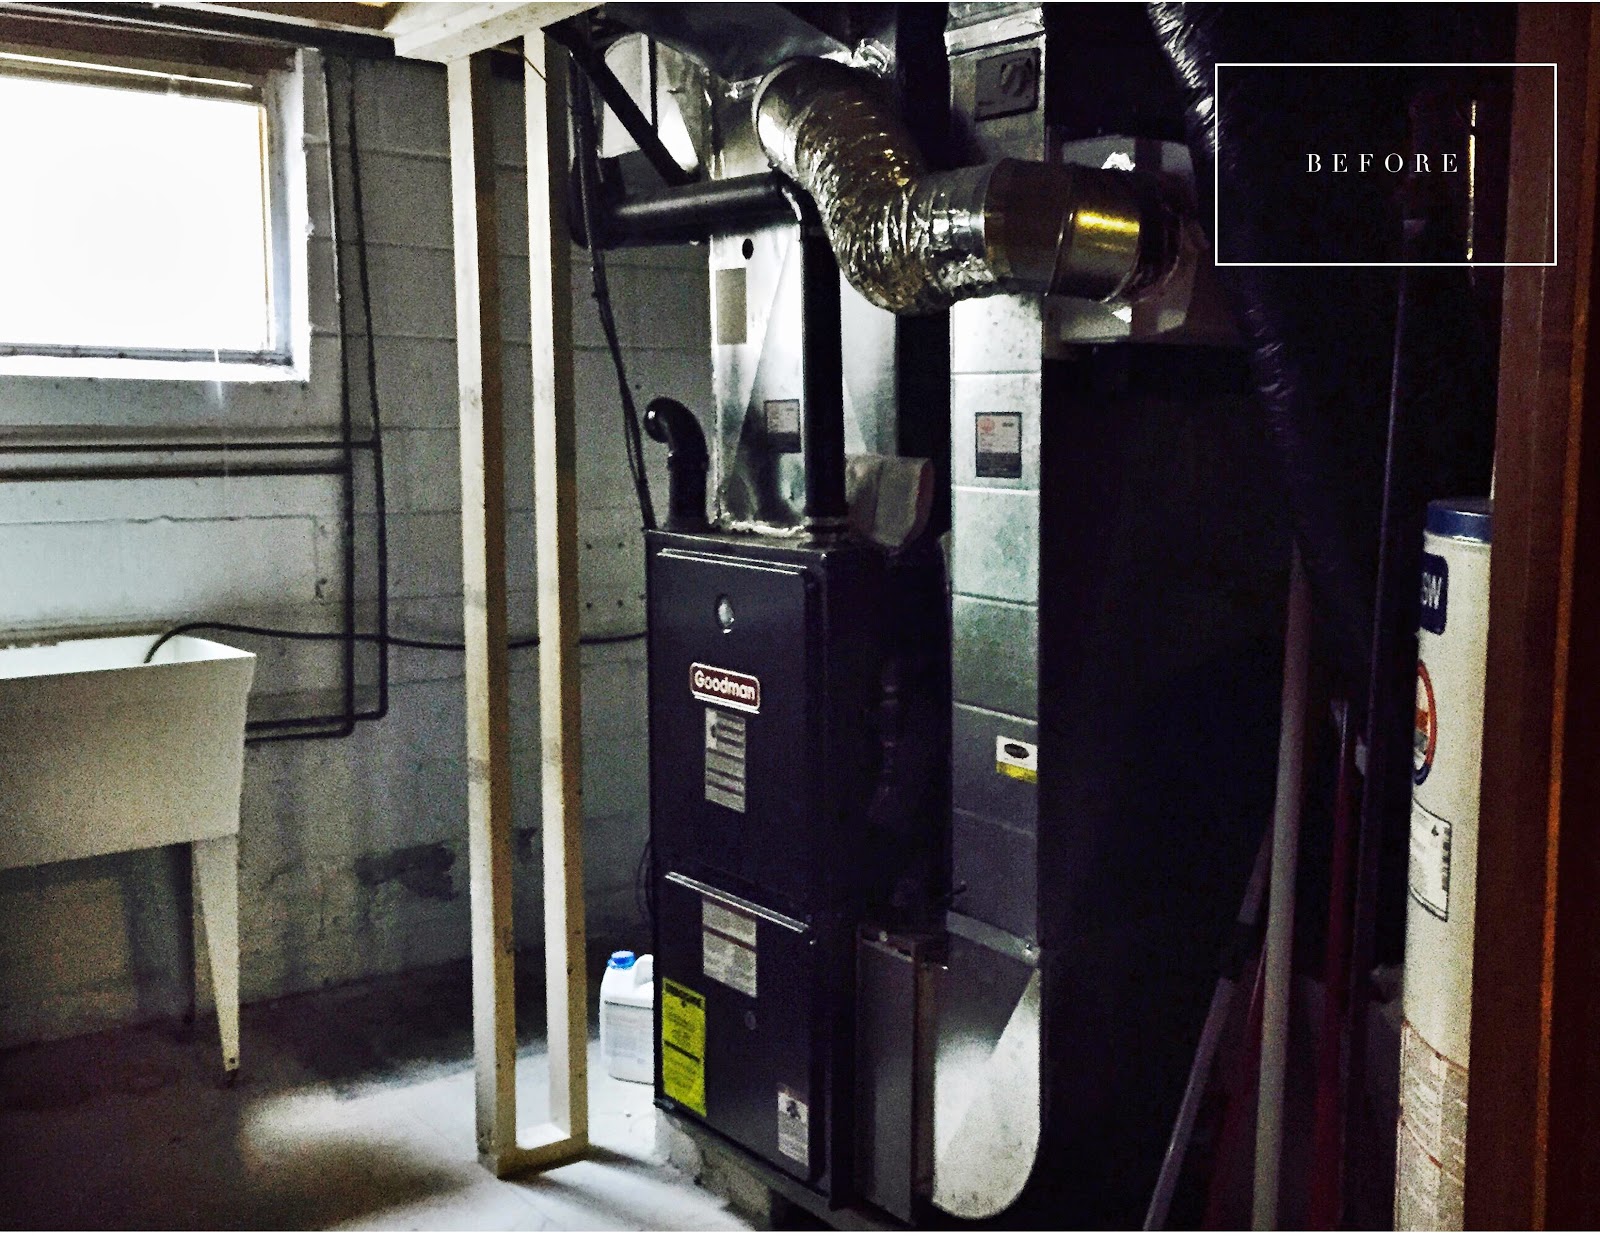
As with real life, it has not been without its challenges. The plumbing was a fairly tall order as we had to remove all the old copper pipes. Let’s just say it proved more of a chore than anticipated and we actually had to move the back wall in a bit to accommodate some of the “choices” made by the previous home owner that could not be changed without ripping up the concrete. That said, my super-hubs got it done and we were able to check that off the list. We are just waiting for the electrical inspection and then we can check that off the list as well, which will be great as I can’t wait to finish the drywall and get our Cree LED pot lights installed…but I’m getting ahead of myself.
Right now, we are still very much in the early stages of construction. The amazing DriCore Subfloor R+ is in, though, so although the space doesn’t look glamorous yet, it feels so much better. By that I mean it is so much warmer.
The Subfloor R+ comes in square tiles that click together, making the installation super fast and easy, and amazingly it actually raises the temperature of the finished flooring by up to 5.6° C {10.6° F for all of my American friends}. That is so important in basements, especially when you aren’t splurging on radiant heat. Bye-bye popsicle toes, hello happy feet!
 |
| Hello cozy toesies! |
The only thing to slow us down with finishing the installation of the subfloor was our vintage 1969 concrete foundation which is ridiculously hard and dense. The older the concrete, the harder it is, which wouldn’t be a big deal if we weren’t tiling. But tiling means securing the Subfloor R+ with tapcons drilled into the concrete to stabilize it so the tiles won’t crack. Let’s just say getting those suckers into the concrete was a little bit like trying to nail jello to the wall. We had to go up a size in tapcons before we could get them to stop snapping off at the halfway point. And by “we” I mean Graham. And by “snapping off” I mean making Graham lose his proverbial jello.
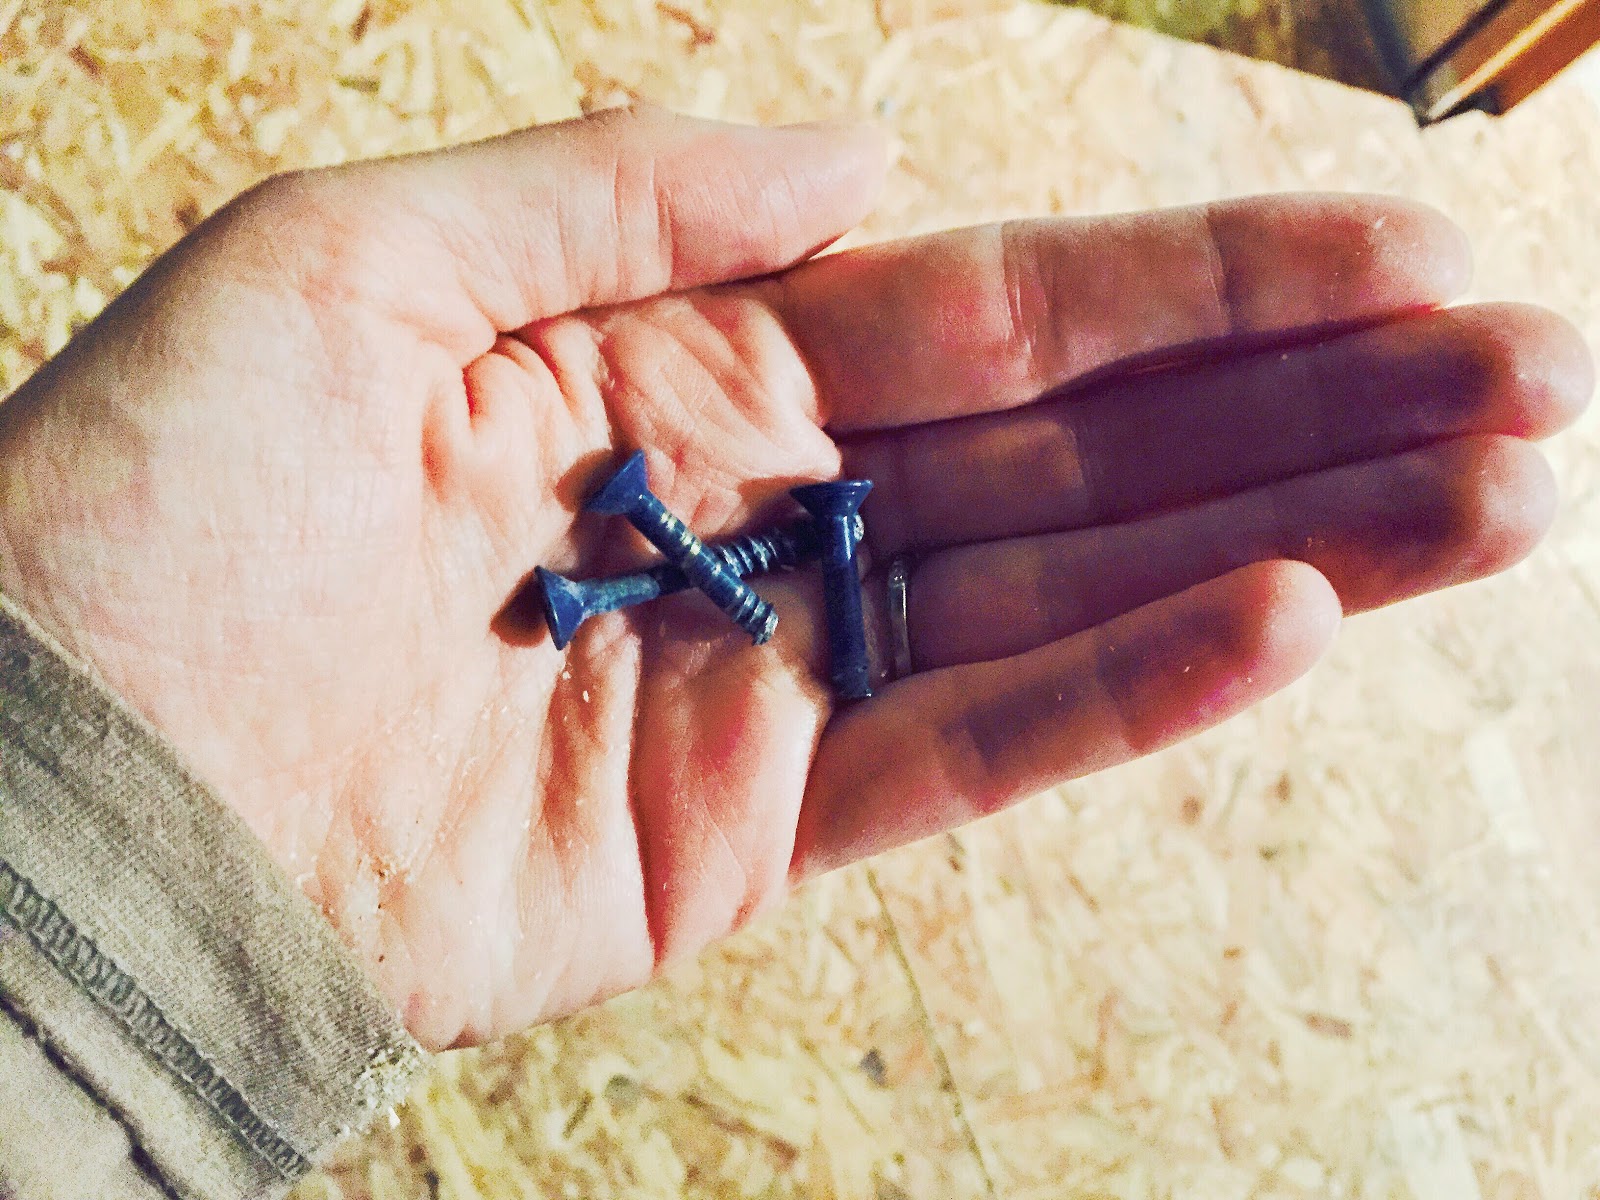
My involvement in said scenario was making the run to the Home Depot to get bigger tapcons when the first ones failed completely. That and offering lots of words of encouragement to the hubs as he wrestled the concrete into submission. Gratefully, Graham can now add “concrete tamer” to his resumé and our Subfloor R+ is totally stable and secure and ready for the tile to be laid.
We {aka Graham} have also been working away on installing the DriCore SMARTWALL system. Smart is an understatement. This product is like the superhero of basement refinishing, and it will make you feel like the superhero of your basement reno.
Of all the jobs involved in finishing this space, the drywall would be what Graham likes the least, mainly because of the mudding and taping. If you have ever tackled this task yourself, you will know that it is something of an art form. A very messy, very challenging art form. Looks easy, really isn’t, and looks terrible if you get it wrong. Not only that, but there are several time consuming steps involved: 1. Install insulation and vapour barrier, 2. Attach drywall to the studs, 3. Mud and tape the seams, 4. Wait for the mud to dry, 5. Sand that down, 6. Repeat the mudding with a feather coat, 7. Wait for that to dry, 8. Sand again… You get the idea.
Well, not so with the Smartwall system. Here’s a side view of the product so you can get an idea of the anatomy:

SMARTWALL is brilliant because it allows you to install your insulation and drywall all in one fell swoop, but that’s not even the best part! The panels click together {just like the interlocking Subfloor R+ system}, and the very small seams are then filled with a simple-to-use putty that takes the mess out of the usual experience of mudding. Hello! Happy, insulated, drywalled walls in a fraction of the time it would take to accomplish traditionally. Thank you DriCore!
We hope to finish installing the SMARTWALL panels over the weekend {remember that part about the flu slowing us down?} and I will be sure to share a photo of that stage of things next week.
In the meantime, I would love your input! I am trying to decide between two similar but different-enough-that-it’s-a-decision choices for my countertop. Both are amazing engineered quartz from Silestone, and both are in quiet grey tones. Weigh in with me? Which one do you like better?
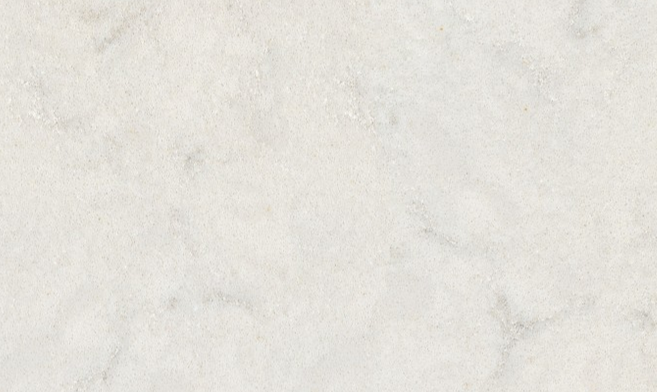
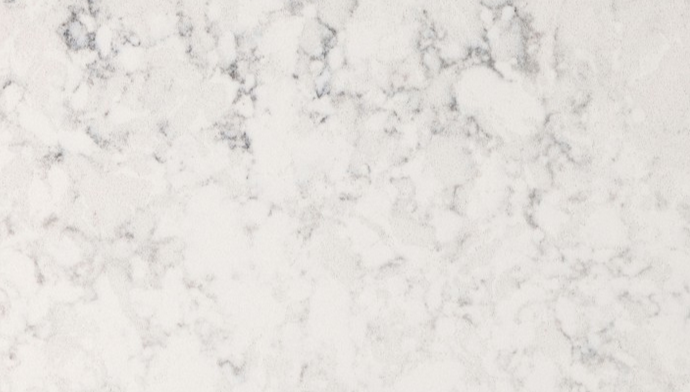
The top one is called Lagoon, and the bottom one is called Helix. I like the subtlety of the tones in the Lagoon, but I like the movement in the Helix. What do you think? I feel like they both do a great job of replicating natural stone and I love that Silestone is perfect for a high-traffic laundry room with its stain resistant, scratch resistant, bacteriostatic technology. This is truly a win-win decision I have before me! Can’t wait to see where it lands. Cast your vote in the comments to help me finalize the decision!
That’s it for me this week. Be sure to go and check out what these amazing creatives are up to and get inspired by their progress:
Coco + Kelley * Jana Bek * Autumn Clemons * The English Room * Vanessa Francis * Greige Design * Hi Sugarplum* I Heart Organizing * Jenna Sue Design * Stephanie Kraus * The Pursuit of Style * Julia Ryan * Savvy Home * Simple Details * Simply Grove * 6th Street Design * Jill Sorensen * Swoon Worthy * Waiting On Martha * Kimberly Shlegel Whitman * and my friends and linking participants Lisa Canning and Abby M. Interiors. Go to Calling It Home to check out all of the 150 Linking Participants for the April 2015 edition of the One Room Challenge!
I absolutely love the Moroccan-inspired wallpaper that Vanessa Francis is using in her bathroom update. The art addict in me is all over what is happening over at Waiting On Martha, and the pattern play of fabrics in Cassie’s design plan over at Hi Sugarplum is totally my cuppa. Which projects are getting your creative juices flowing? Can’t wait to hear from you all this week. Here’s to less flu and more follow through!
xo
s.