/Thanksgiving table decor

Thanksgiving Table Décor | Part 3 | Menus + Linens


PHOTO BY GABRIELA HANSEN

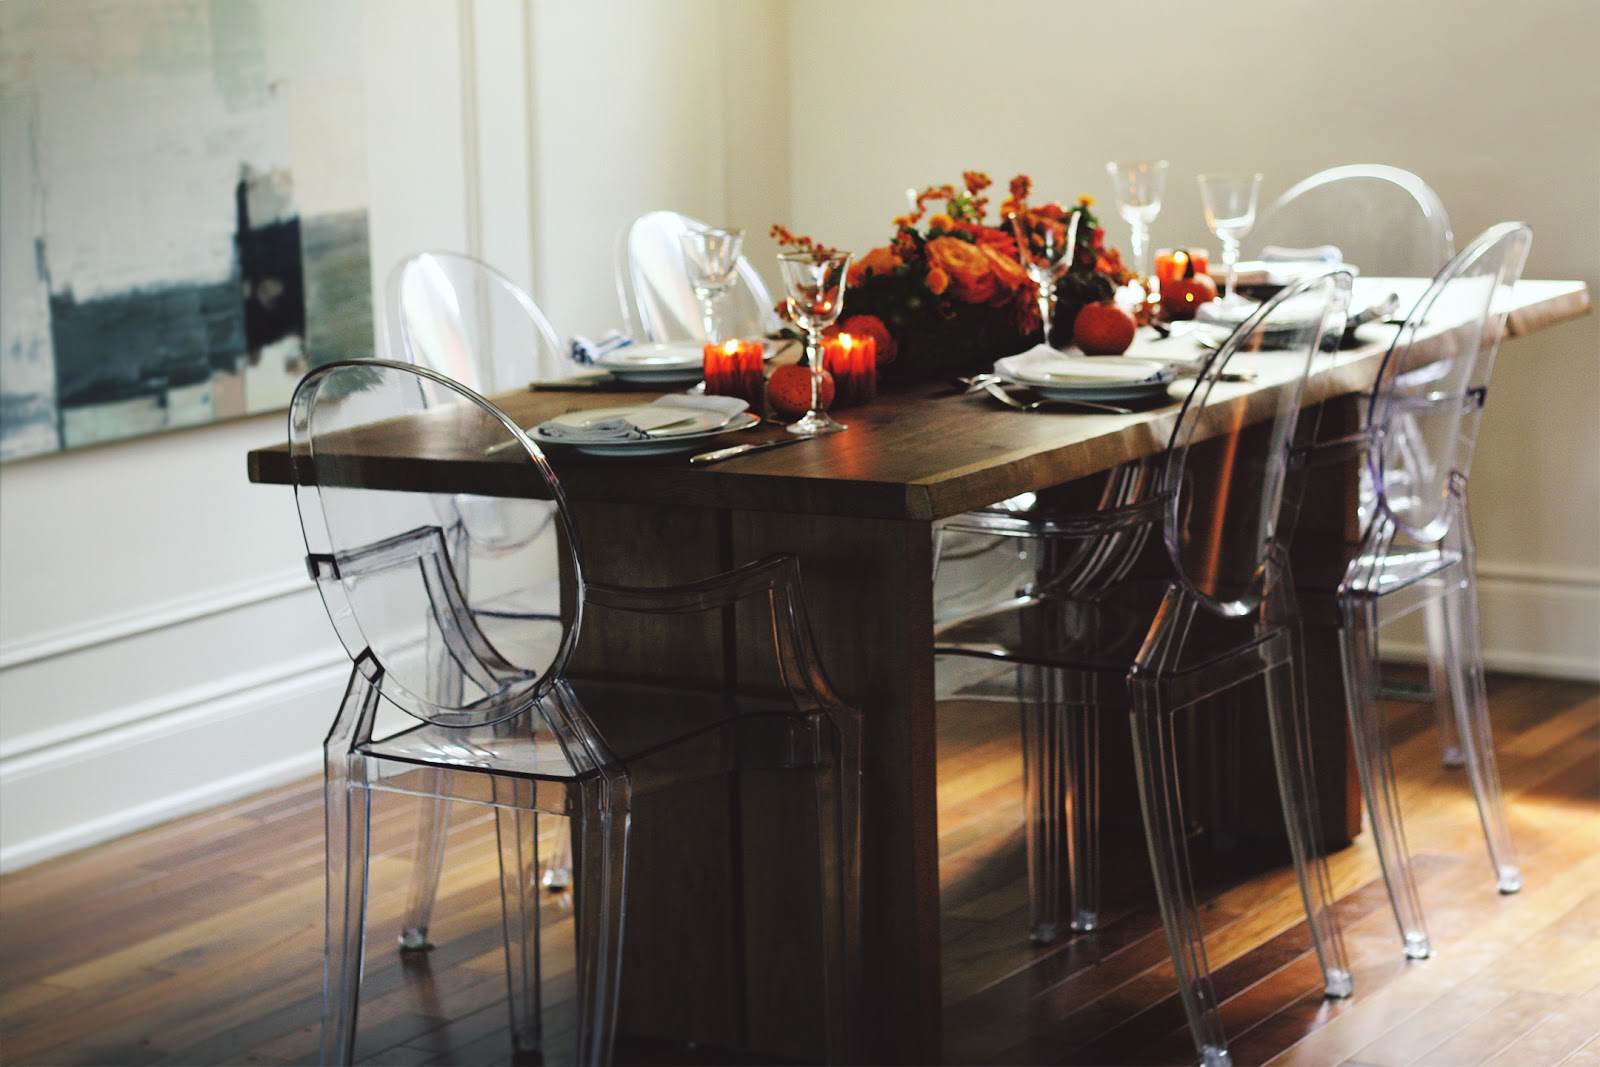
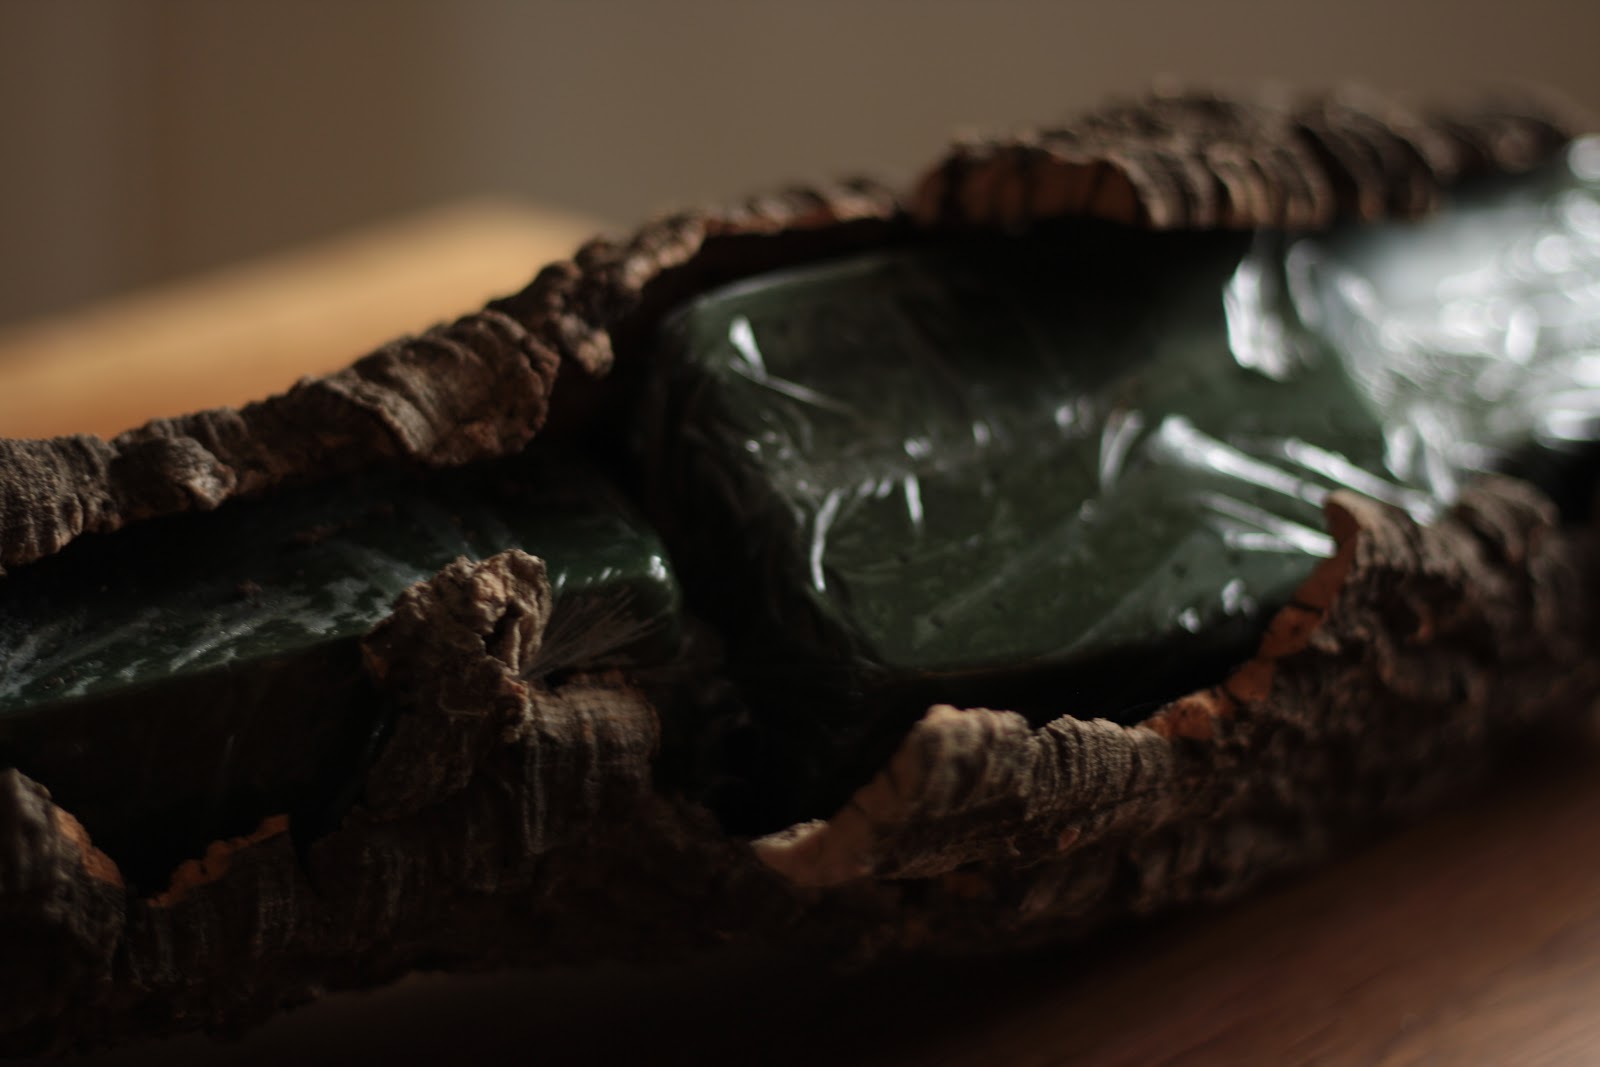
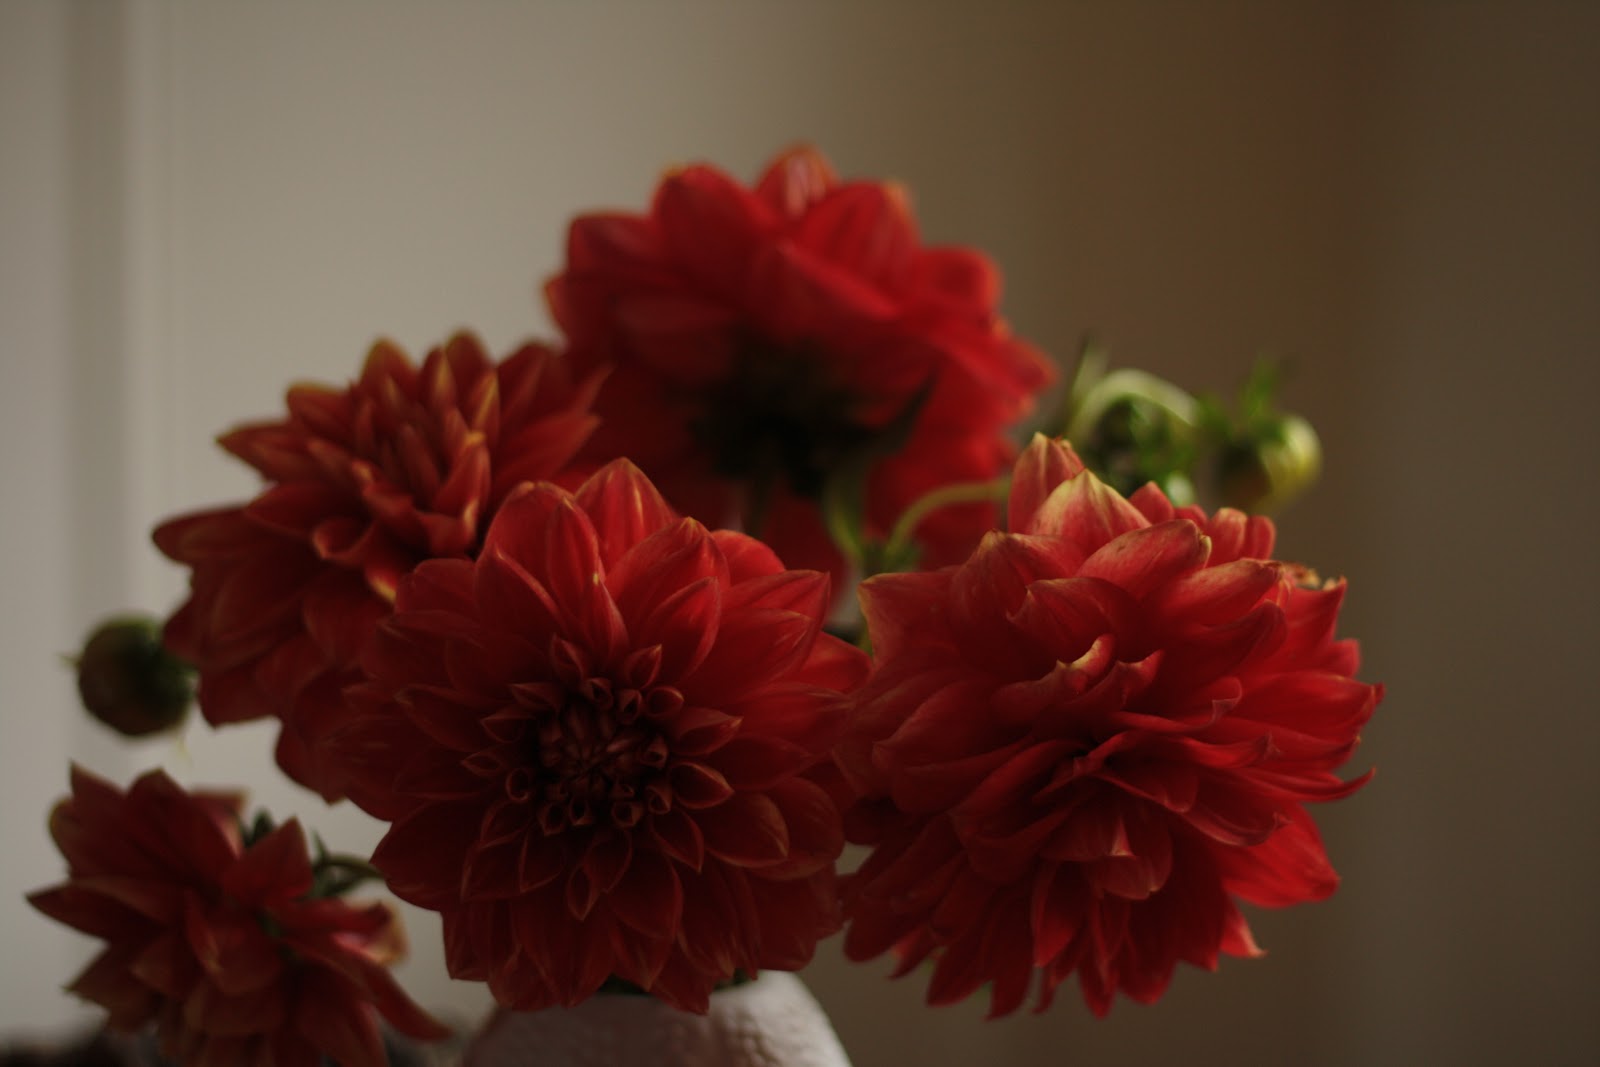
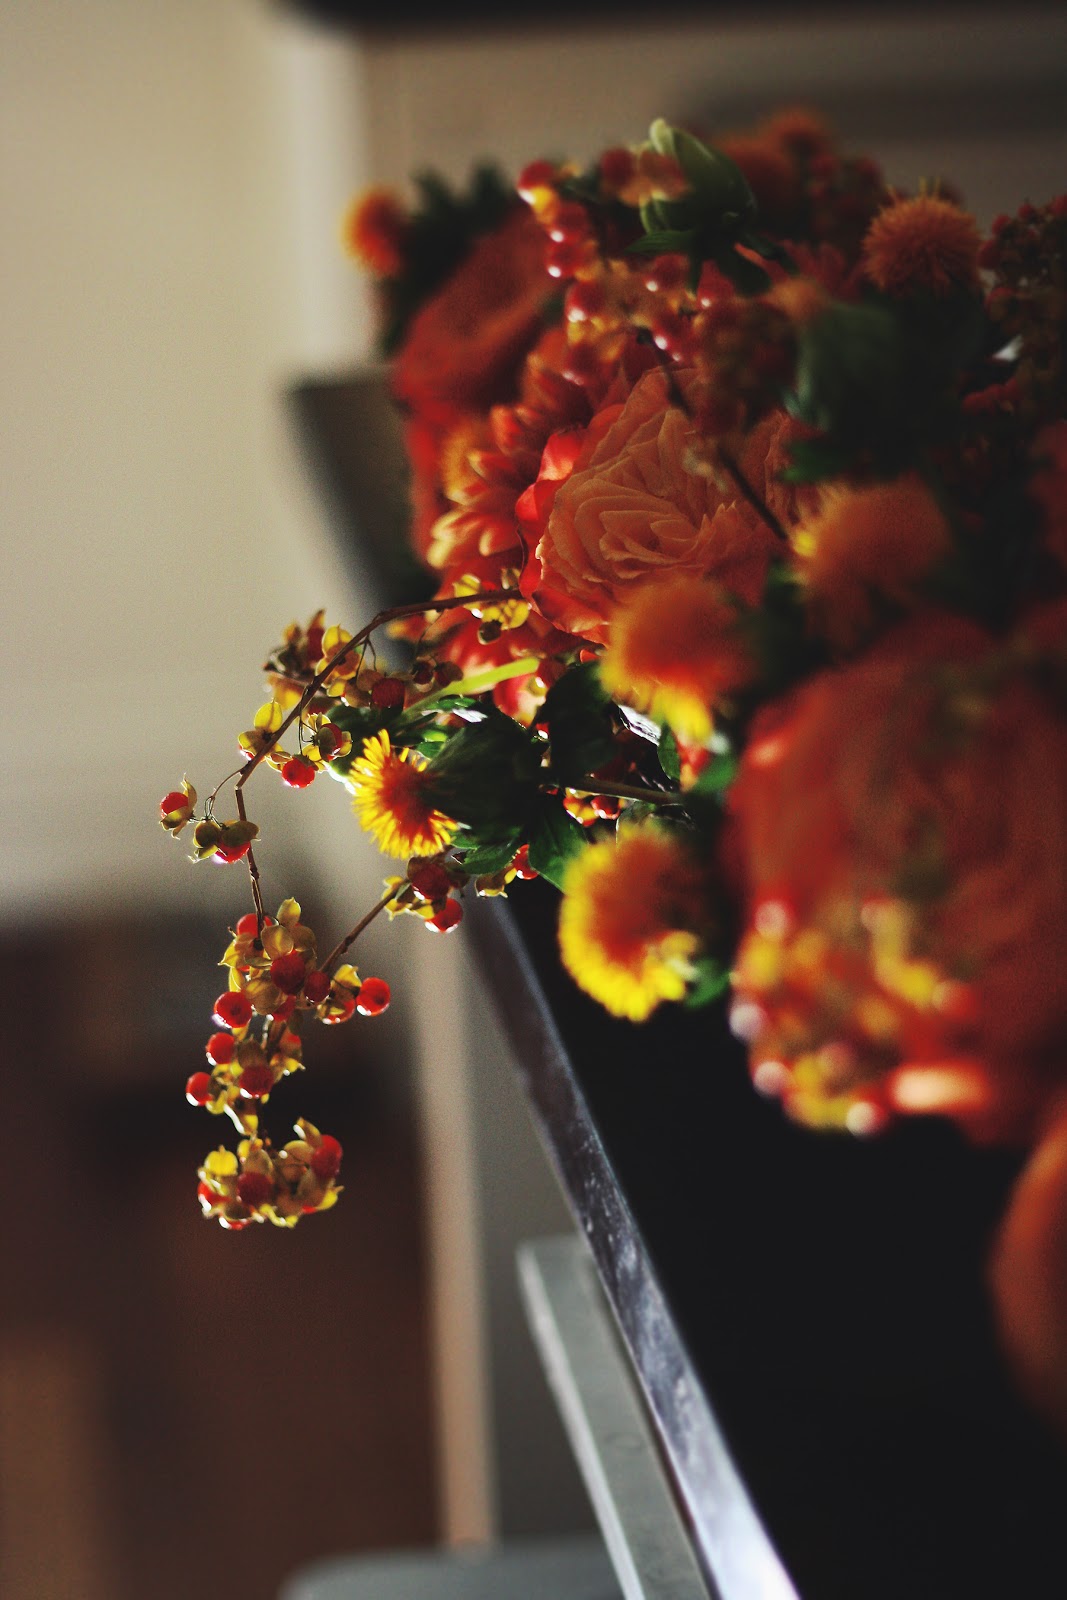
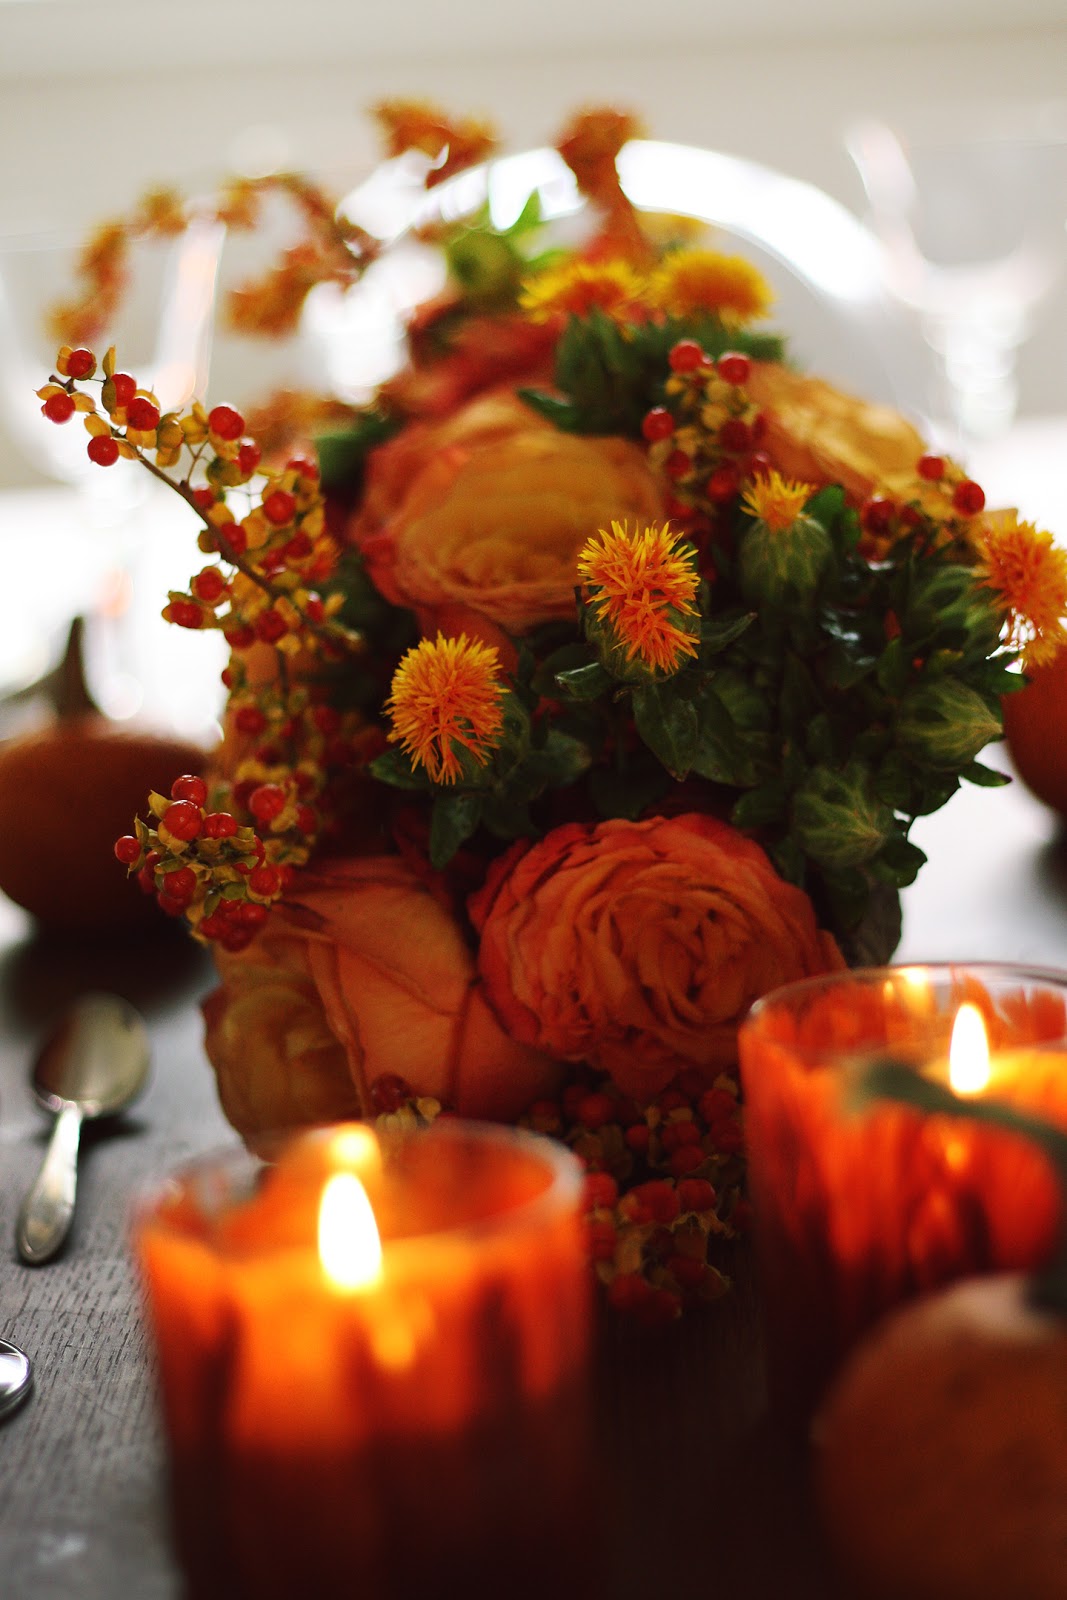
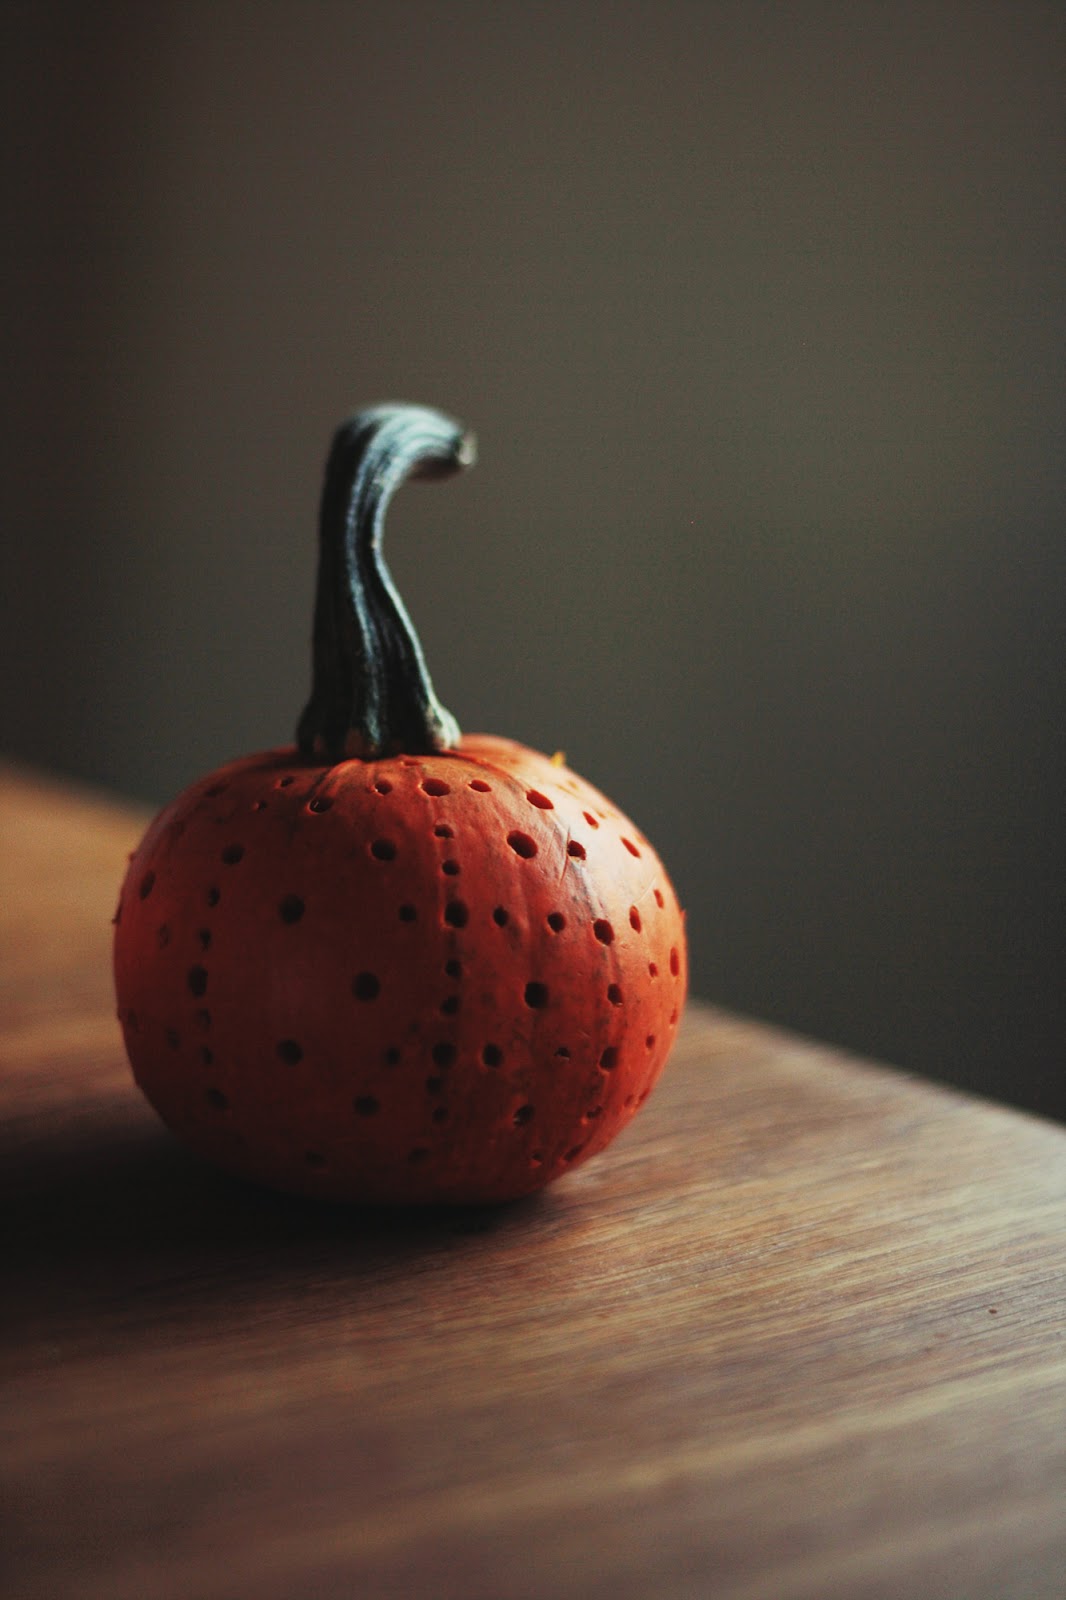
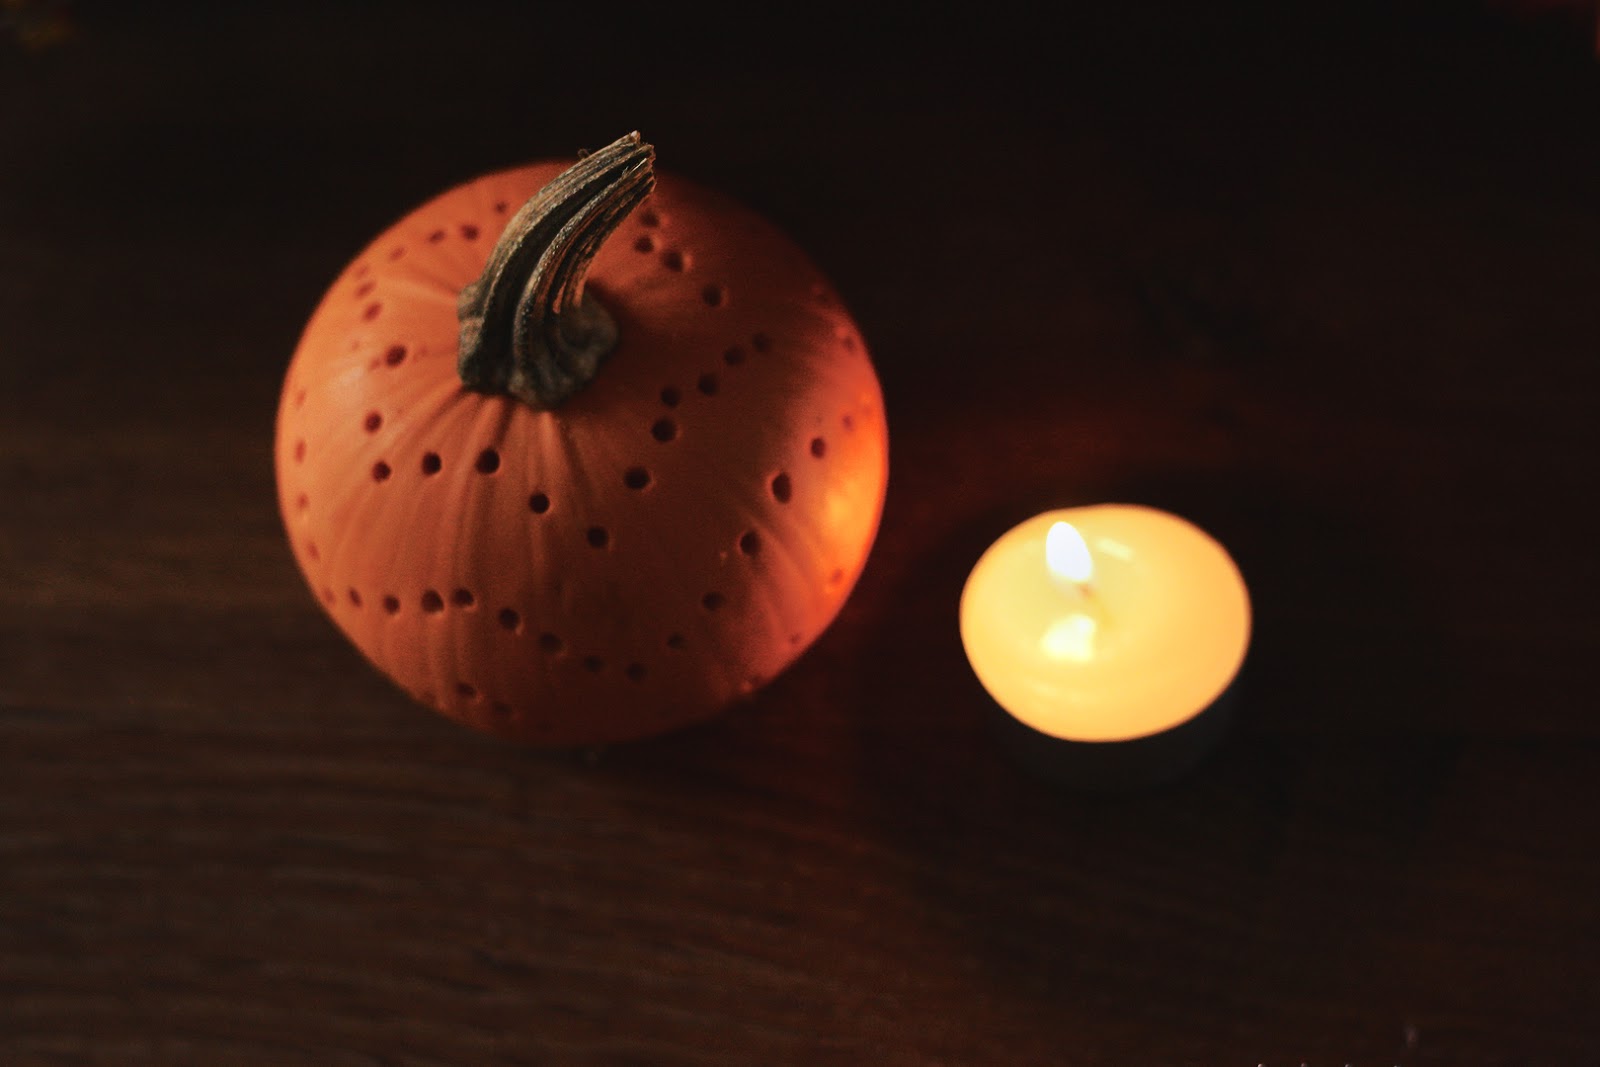
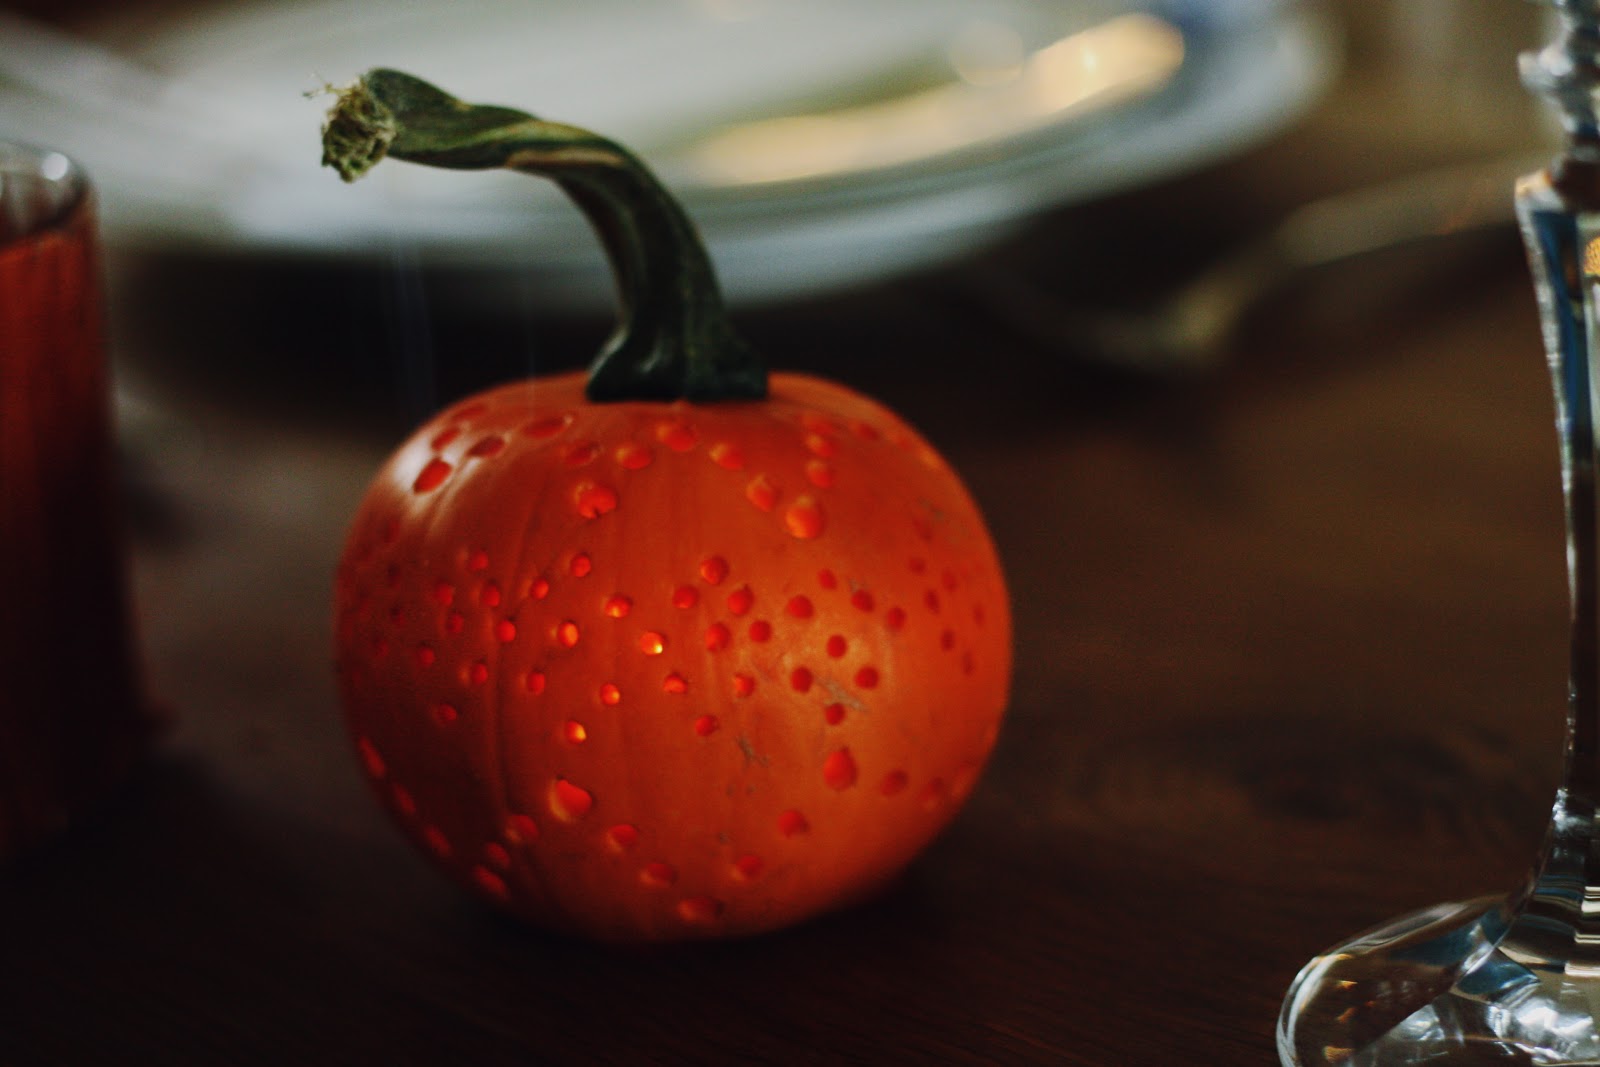
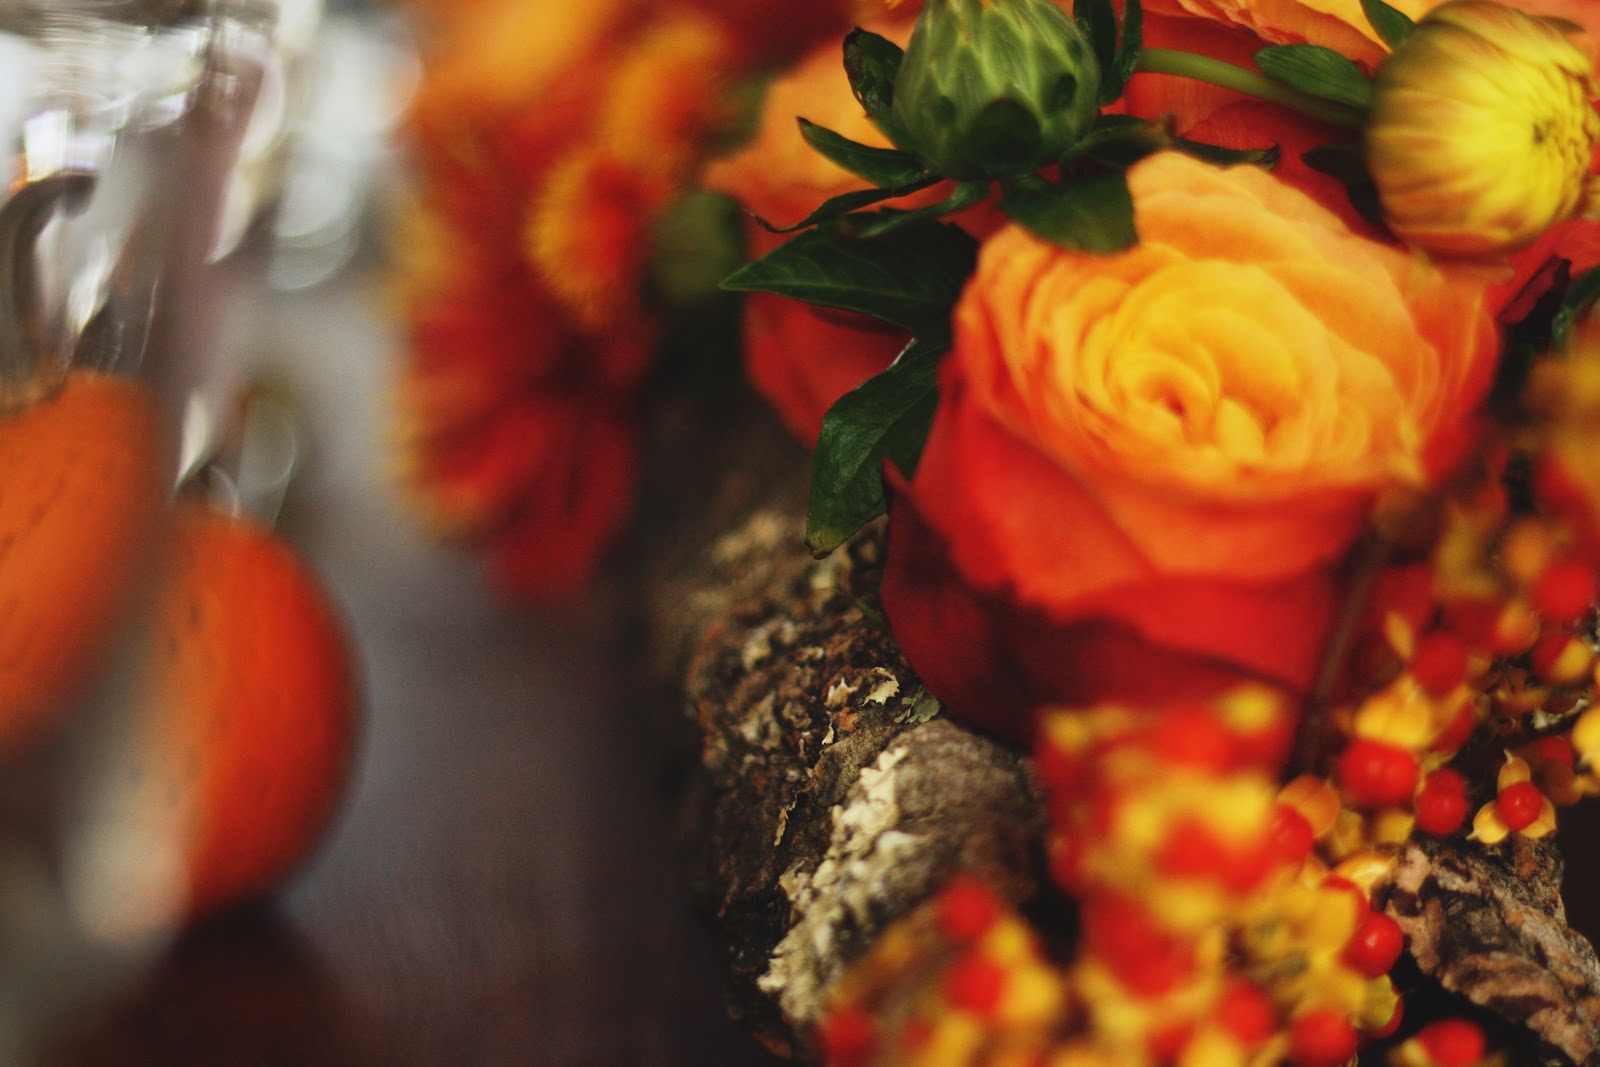
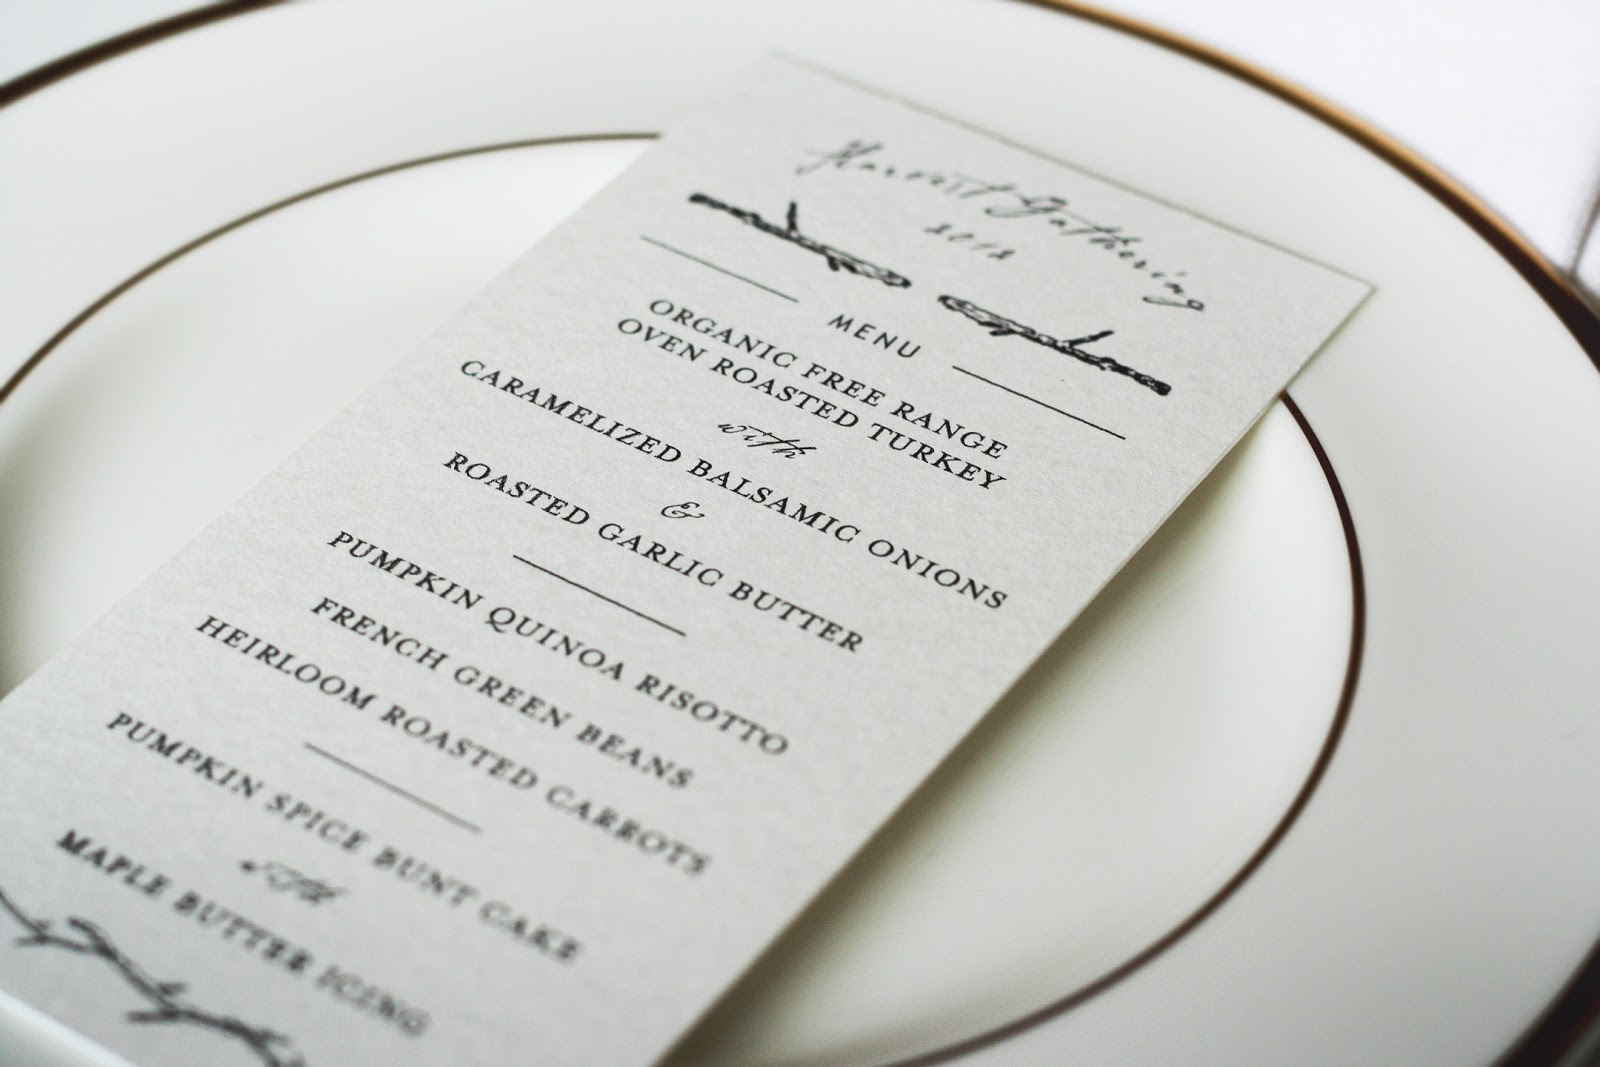
I love it when all of the lovely details start to come together. With the floral centrepiece and Moroccan-inspired “punched tin” mini pumpkins complete, it was time to finish the place settings. I love a simple yet layered place setting, and I am a big fan of the use of beautiful typography to set the mood for the special meal. Enter my lovely friend Melody Hansen, who graciously offered to design menus for this year’s Harvest Gathering in order to give it an extra special touch of thoughtful detail and design.

PHOTO BY GABRIELA HANSEN

I love collaborating with people who understand my aesthetic. The natural and organic simplicity of Melody’s hand drawn illustrations framing the top and bottom of these elegant menus were the perfect choice to communicate the casual elegance of our seasonal celebration. The watercolour paper on which we chose to print the menus had the same quality as a natural linen fabric – simple yet substantial and sophisticated.

PHOTO BY GABRIELA HANSEN

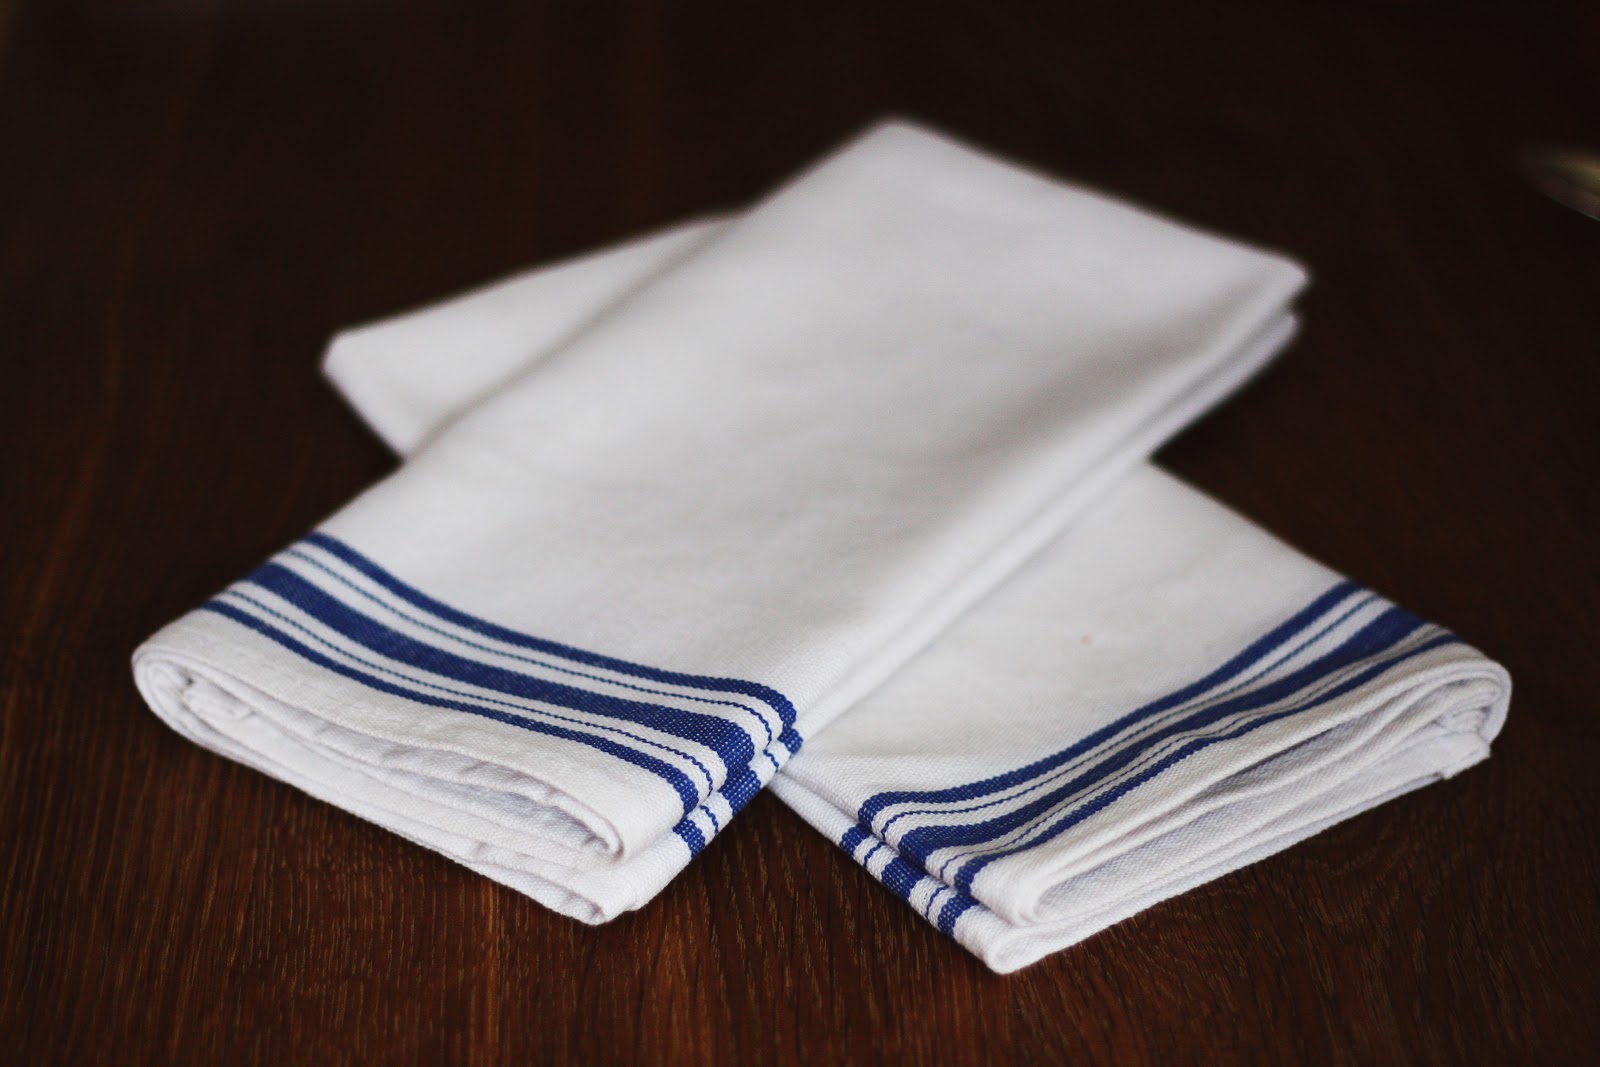
I’m a big believer in linen napkins – firstly because they are better for the environment, and secondly because they make the meal feel more elegant. That said, I didn’t want the table linens to feel formal. With 14 people sitting around the extended table that we added, I also needed to come up with an option that was cost effective. The solution? $5/yard fabric from Designer Fabric Outlet, a bit of time in front of my sewing machine, and voila! French bistro style cotton-linen blend table napkins that were the perfect bridge between formal and casual, just like the menus.

PHOTO BY GABRIELA HANSEN
With the table settings complete, tomorrow I’ll dive into the food preparations. Can’t wait to share some of my favourite Harvest recipes with you!
xo
s.
By |November 7th, 2012|4 Comments

Thanksgiving Table Décor | Part 2 | Flowers

I love flowers. In fact, before launching my interior design career, I spent a few years working in the floral design industry. The thing about floral design is you’re really just transforming beauty into beauty, giving form and structure to something whose natural form and structure are already spectacular. It’s always a delicate balance between design and overdoing it while showing respect for Nature’s splendour.

For this year’s Harvest gathering, I really wanted the flowers to have a slightly wild and natural feel to them. My inspiration was the concept of a fallen tree that had become a nest into which some of the beautiful flora and fauna of the forest would be nestled.

Working with my amazing wholesale floral rep, I found this incredible cork bark. It is carefully peeled from the trees, leaving the trees unharmed and producing exactly what I was looking for! A natural, hollowed-out, rustic, tree-looking base to cradle my Harvest flowers. 
I started by soaking my wet oasis in warm solution water {you can use the packets of dry solution they give you at your local florist to create yours}. *Side note: Make sure you place your oasis into the water with the holes up and let it naturally sink into the water. This process ensures it absorbs water all the way through.* 
I cut the oasis into pieces that would fit the organic shape of the cork and then wrapped them in cellophane to hold in the water. I added an extra layer of folded cellophane underneath the oasis as well. I needed the top layer to be penetrable by the stems, so I was less concerned about perfection there as I knew the process of arranging would pull it apart anyway, but I wanted a good seal on the bottom so the water wouldn’t leak all over the table. It worked! Phew.

Next, the flowers. I purchased everything but these Dahlias from my wholesalers, but the Dahlias were in short supply and in bad condition there and I thought I was going to have to go without. Dahlias are my favourite Fall flower, so I was rather heartbroken about it, but the harvest wasn’t good this year and that’s the reality of dealing with nature. It often reminds us that we are not in control, and that really is a good thing, even when it means not getting what we want.

Well, you can imagine my surprise when I went to St. Lawrence Market that Saturday and met a huge and charmingly gruff Amish farmer who was exclusively selling fresh cut Dahlias. This was the only bunch left in a colour that would work with the rest of my flowers, and what a colour! Radiant, mouth-watering blood-orange Dahlias, ready to take centre stage in my arrangements. As his massive, work-worn hands offered me these delicate blooms, my heart swelled with gratitude at the sight of beauty coming from an unsuspecting source. It was a good reminder to always be on the look out for it, even when I don’t expect beauty to be there, it’s probably waiting to surprise me. It’s a constant exercise in transforming the way I think, this search for beauty in everyday life. So good for the soul.

Paired with some Bittersweet Orange, orange thistles and some Ecuadorian roses as big as cabbages, these gorgeous and unexpected gifts made my floral palette complete.

Starting with this kind of gorgeousness, how could I go wrong? Right? Seriously. Nature is amazing.

I must admit that once I’m into the arranging of things, I get into a bit of a zone and inevitably forget to take process photos. You will have to use your imaginations and I will use my words to the best of my ability to describe how I got from the raw materials to the finished product. I started with the thistles and used them as I would typically use greens to create the “frame” for the arrangement, creating a base and an organic shape as a starting point. This step is VERY important, as your base of greens {or thistles, in this case} are usually what hide your mechanics. I don’t like to use the word “hate” much, but I HATE it when people can see my mechanics {i.e. the oasis and whatever else I used to craft the arrangement beyond the featured elements themselves}. Needless to say, this step is important.

Next I added a layer of the bittersweet orange, carefully leaving spaces for the roses and dahlias to nest. The roses were next and I used them to create a beautiful line through the arrangement, finishing with a glorious “centrepiece to the centrepiece” of the precious and prized Dahlia’s from my lovely Amish farmer friend.

I then went back to the bittersweet orange and created a few more carefree lines arching away from the arrangement to offer a delicate, organic flourish. Here’s how the finished product looked.

PHOTO BY GABRIELA HANSEN

I’ll show you more photos of the arrangement tomorrow when I show you the table setting, the napkins I made and the gorgeous menus designed by my friend Melody!

In the meantime, have a cozy, happy Tuesday, and keep your eyes peeled for beauty in unexpected places! You never know what gorgeous surprises might await you around every corner.

xo
s.

By |November 6th, 2012|0 Comments

Make Something Mondays | Thanksgiving Table Décor | Part 1

I love the Harvest season and all it brings. The cool, crisp air seems to heighten my senses to the deepening colours and this season’s magical, temporal light. I am easily won over by the heartier flavours of all the root vegetables and roasted goodness coming from the oven, making up for the shorter days and signs of winter’s approach. For now, nature is showing off in all her splendour, inviting us to slow down and stand in awe of the beauty of this season’s transitional state.
One of our favourite things about this season is our annual Thanksgiving gathering. We love our more impromptu gatherings that happen so often with friends descending spontaneously to connect over a meal. We decide together what we should make with the ingredients we’ve got in the fridge and the making of the meal is as much of an event as the eating of it. But every once in awhile, it’s lovely to plan things out more thoughtfully, with careful attention to the details that make it feel like a celebration. It doesn’t have to be serious to be thoughtful. Just an intentional expression of gratitude through the mediums of food and friendship. Thanksgiving is a beautiful opportunity to do just that.
This year I felt like playing with mini pie pumpkins for a potentially cliché but hopefully charming addition to the table decor. Here were my weapons of choice:

Four mini pie pumpkins
A cordless drill with 3 different sizes of bits {all quite small}
A couple of spoons for scooping out the guts of my pumpkins {I saved the seeds and roasted them with sea salt, of course!}
A small paring knife to cut my openings

I chose to open the mini pie pumpkins from the bottom as I didn’t want the cut out to interfere with the patterns I was hoping to create.

Using the drill {and inspired by Moroccan tin lanterns}, I set about trying to create delicate yet simple patterns that would allow the light to come through and create interesting patterns of candlelight on the table. This was my attempt at a slightly fresh take on pumpkin carving!

PHOTO BY GABRIELLA HANSEN

What I learned was that my mini pumpkins were in fact too mini for the flame. Great idea, wrong scale! Within a few minutes, the less-than-festive odour of burning pumpkin began to fill the dining room. Yikes! In our scramble to keep them from totally combusting, I didn’t manage to get any pics to show you the charming and patterned glow they cast on the table. Plan B. Candles beside the minis instead of inside them. This is what experimentation is for, right? Now we know, 3″ to 4″ pumpkins are too small, but I stand behind the idea as one that would totally work on a slightly larger scale!

PHOTO BY GABRIELA HANSEN
PHOTO BY GABRIELA HANSEN {CAPTURED JUST BEFORE THE BURNING STARTED!}

I’m dying to see a Moroccan-tin-lantern-inspired pumpkin all lit up {and not burning}. Maybe one of my lovely friends south of the border will make these for your upcoming American Thanksgiving celebration in a couple of weeks? If you do, please take pics! I’d love to see them.

xo
s.

By |November 5th, 2012|0 Comments