
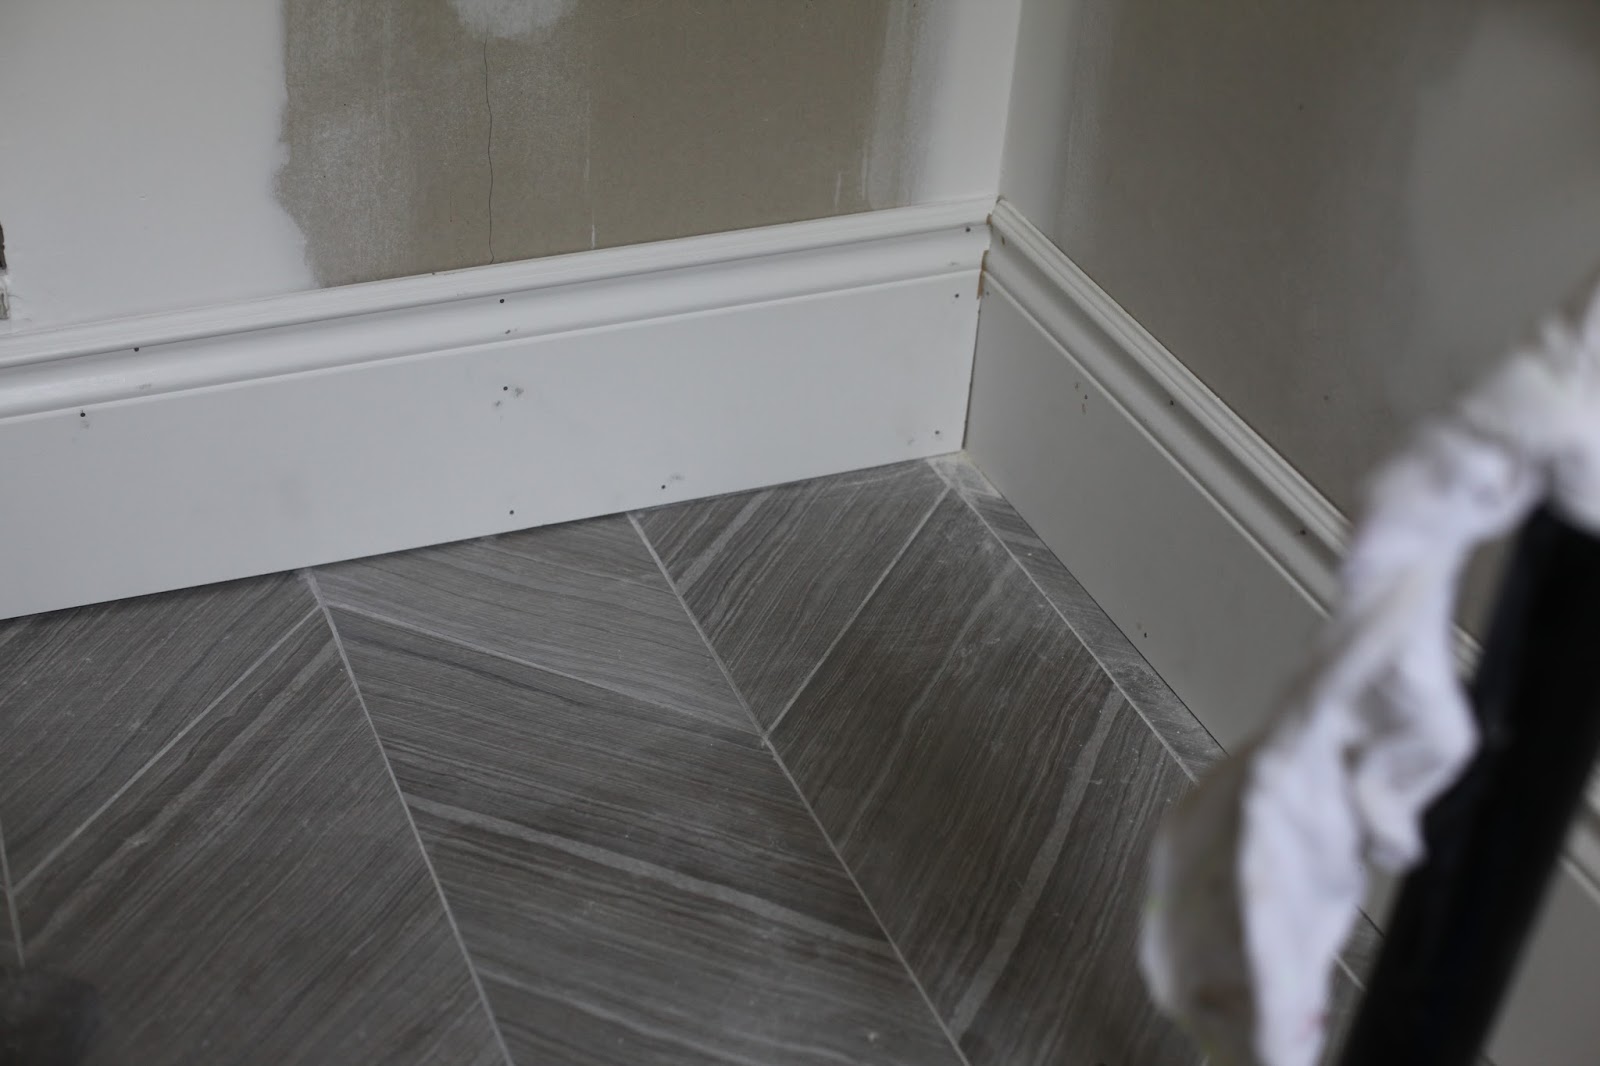
We are slowly moving closer to the finish line and I am sooooo excited! Graham finally got some time {between his endless flights all over North America} to work on the trim this weekend. There are a few pieces that still have to be nailed into place {like the baseboard below} but things are definitely coming along.
Up next? Wood filler, priming and painting. In the meantime, I couldn’t resist showing you the progress. I’m particularly excited about the hallway. I know. Who gets excited about a hallway? But that gorgeous tile that my gorgeous hubby installed is going to look all the more swishy once the paneling is done. Next to my love for herringbone, my love for paneling is pretty hard to top. It’s such a quick way to add sophistication and a sense of substance to your home. And if you can do it yourself it isn’t nearly as pricey as it looks in the end.
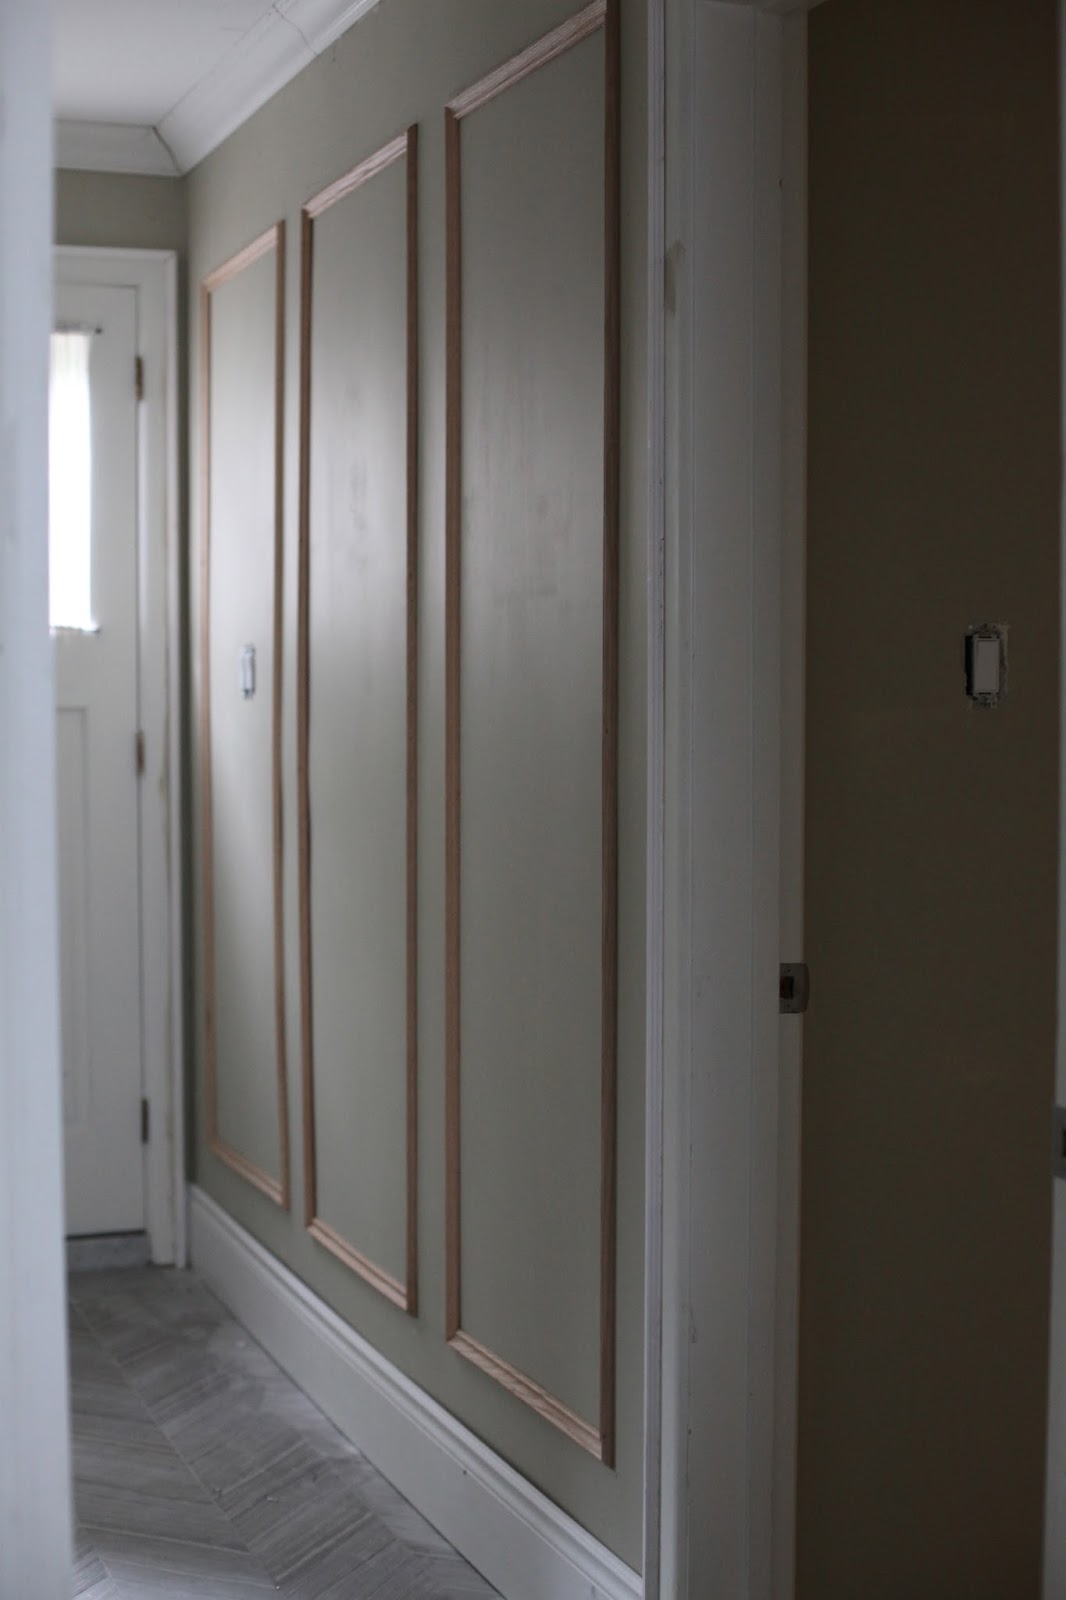
The door at the end of the hallway is an exit door and so it’s taller than the bedroom and bathroom doorways. We decided to line up the panels with the tops of the interior doors as that is consistent with the rest of the house. I’m still deciding if I’ll do a frieze moulding at the top between the crown and the panels for extra dose of dimension and gorgeousness. I just don’t want to draw attention to the differing door heights in this particular space.
I just have to take a moment for a flashback. Remember the wallpaper that used to adorn these walls?

Well we’ve come a long way, baby, haven’t we? There also used to be a random closet that opened into this hallway right next to the bedroom door. We have flipped it into the bedroom for much better use of the space and I’m looking forward to showing you the solution there. It will be smart and sophisticated and not at all 1960’s.
While I’m at it, I will share one more of my favourite trim secrets. For anyone renovating an older house, you will no doubt want to update your baseboards from the original 3 inch “plain and skimpies” to something more substantial {like the 7 1/4″ baseboards we’ve chosen here}.
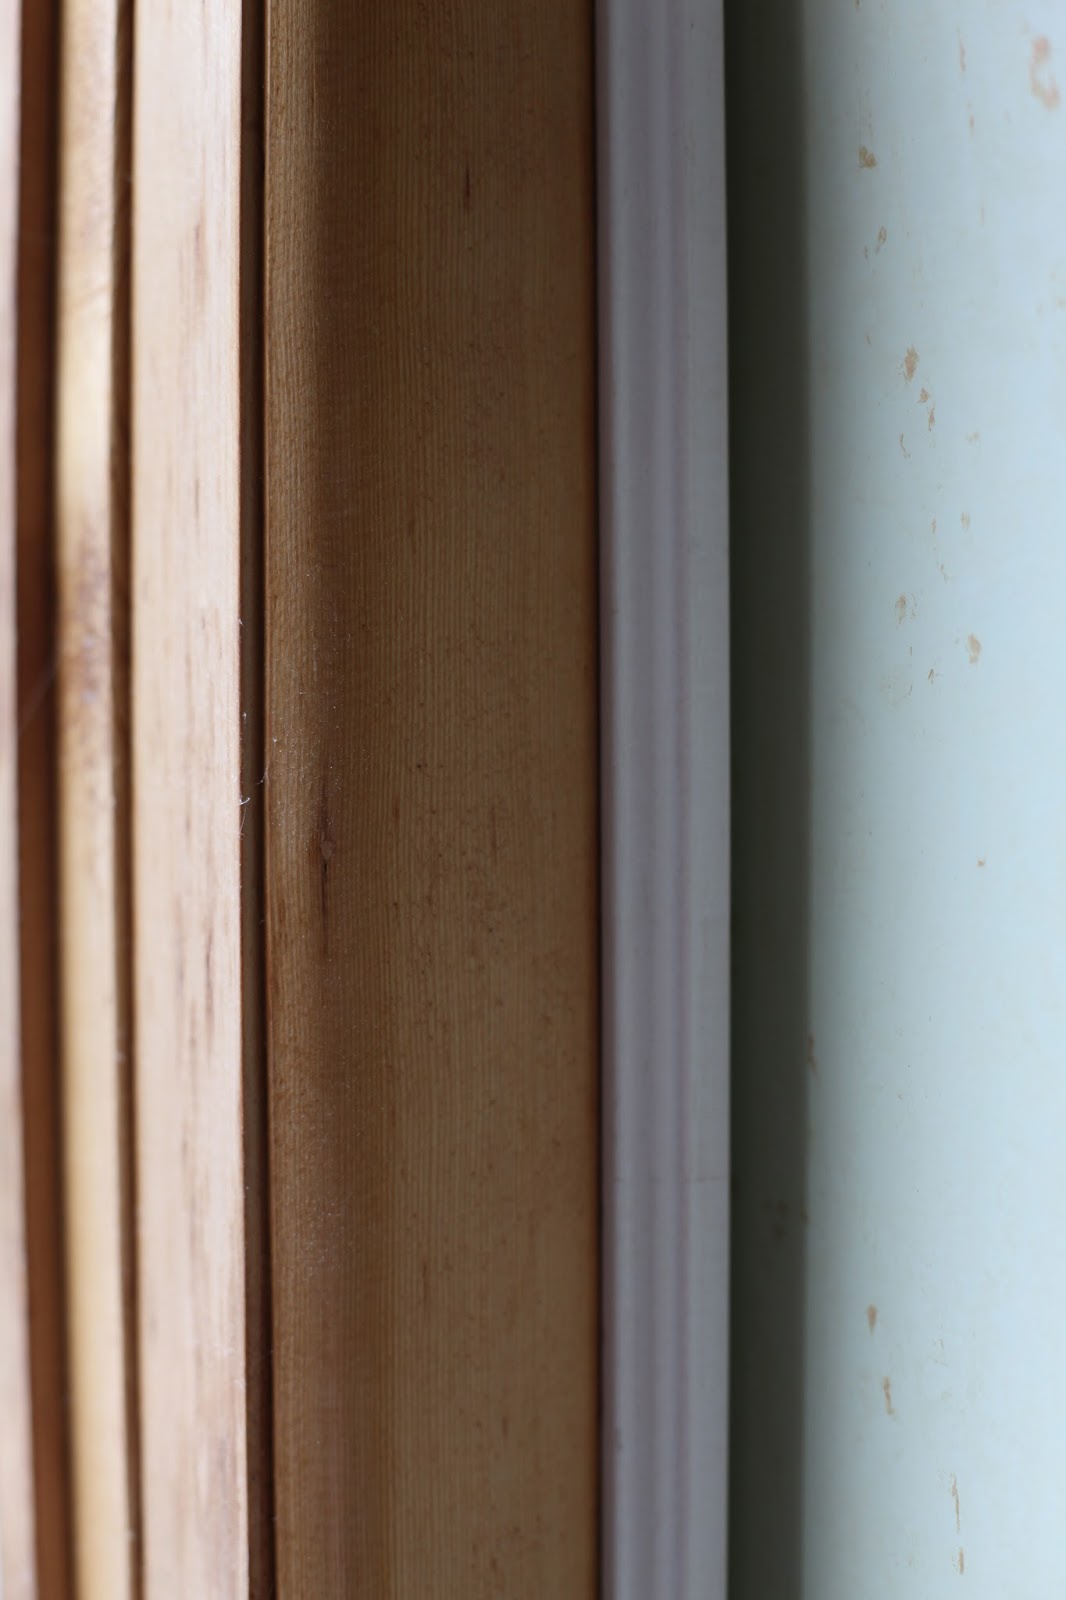
Along with that, though, you’ll have to address your casings. In our case {sorry, bad pun} our casings were exactly the same as the baseboards – flat and simple with zero profile or interest. But rather than ripping them out, I chose a really great backband to add to them instead. Not only does this save big bucks, loads of time and a lot of waste from being sent to the dump, but it takes a very Plain Jane casing from this:
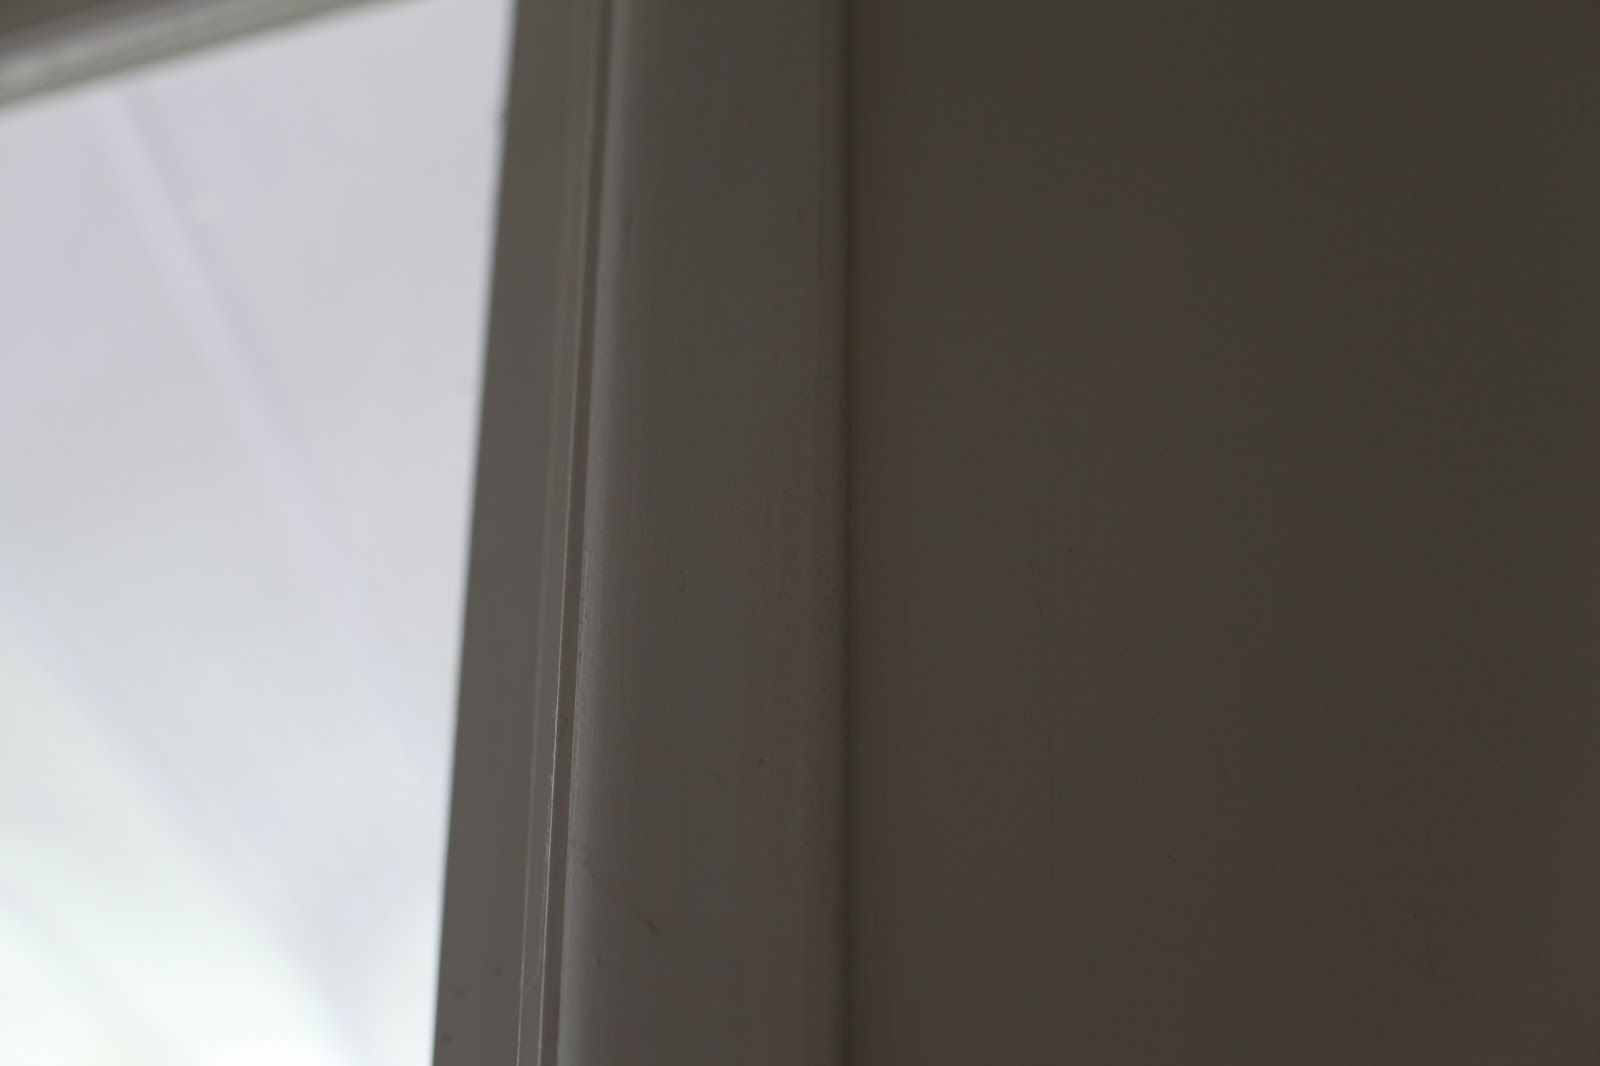
To this:
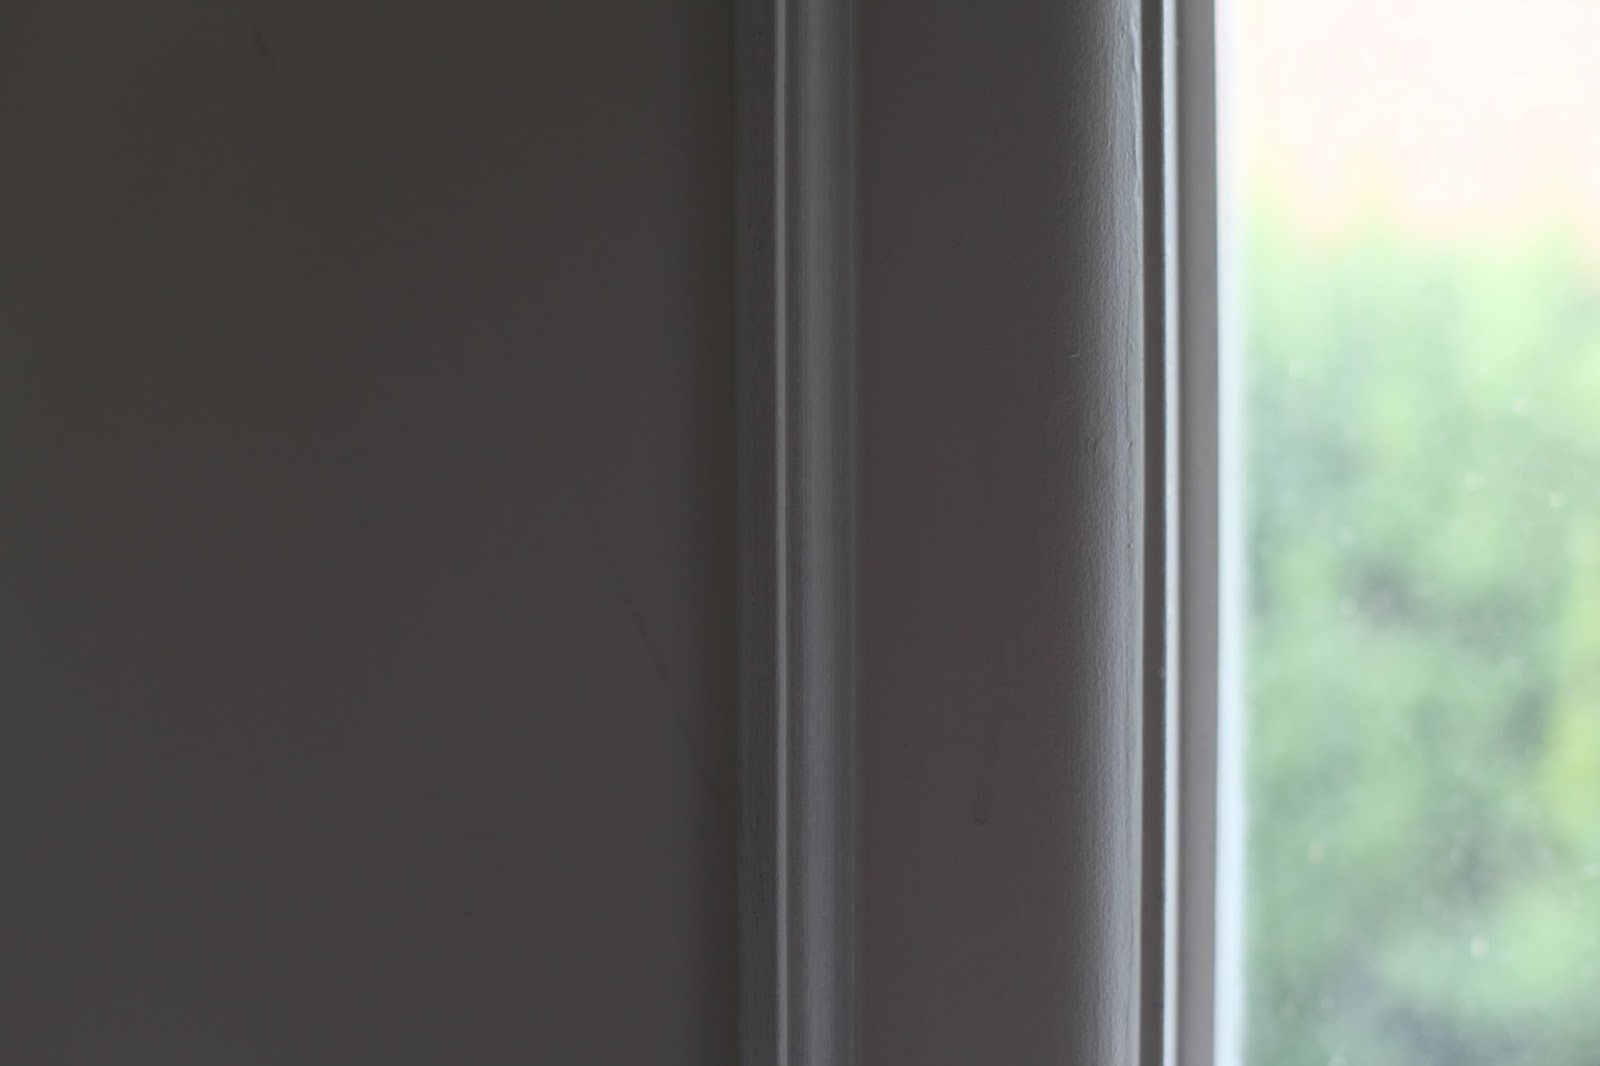
{backband added to the left}
This is currently happening in the bathroom and hallway around all the windows and doors as we speak and I love it! Can’t wait to fill, prime and paint these babies!
That’s it for now. The vanity is actually sitting in the garage waiting for us to catch up and get everything painted and the wallpaper installed so that the vanity can finally nestle into it’s newfound home. The pieces are all here! Now it’s just about carving out the time to put them together. Fingers crossed Graham doesn’t have too many more work trips over the next couple of weeks!
xo
s.


Leave A Comment