/Sarah Walker The Curated House

About Sarah Walker The Curated House

This author has not yet filled in any details.
So far Sarah Walker The Curated House has created 396 blog entries.

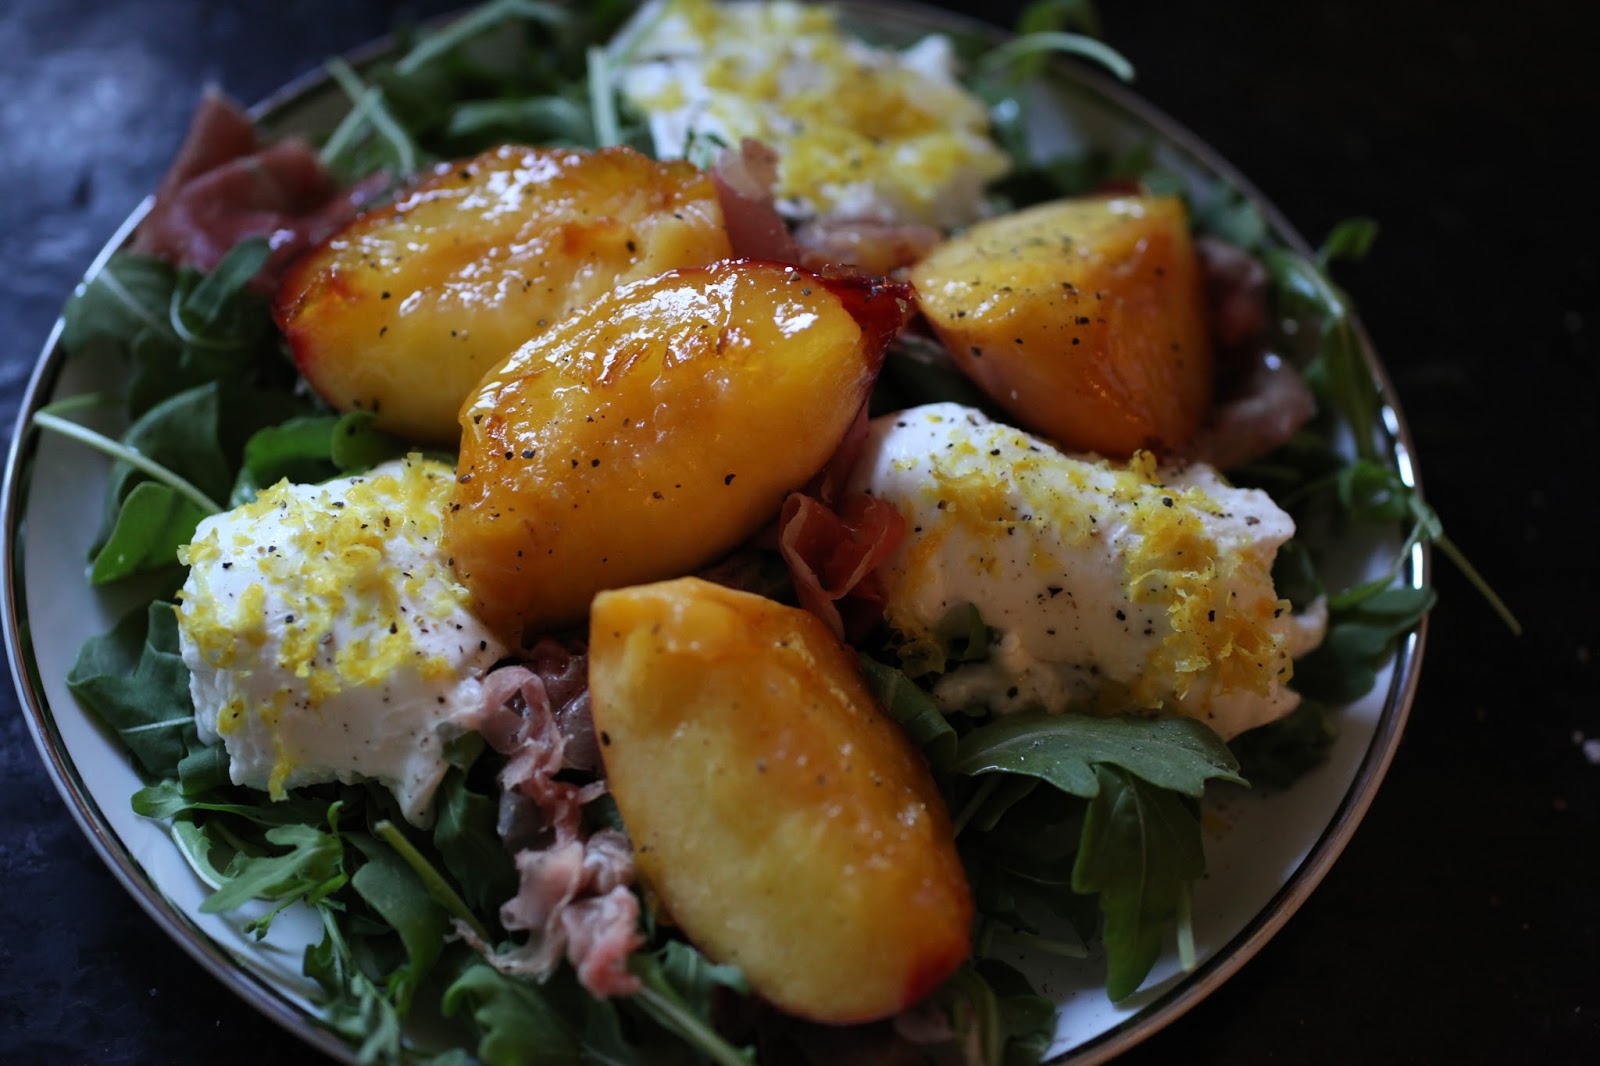
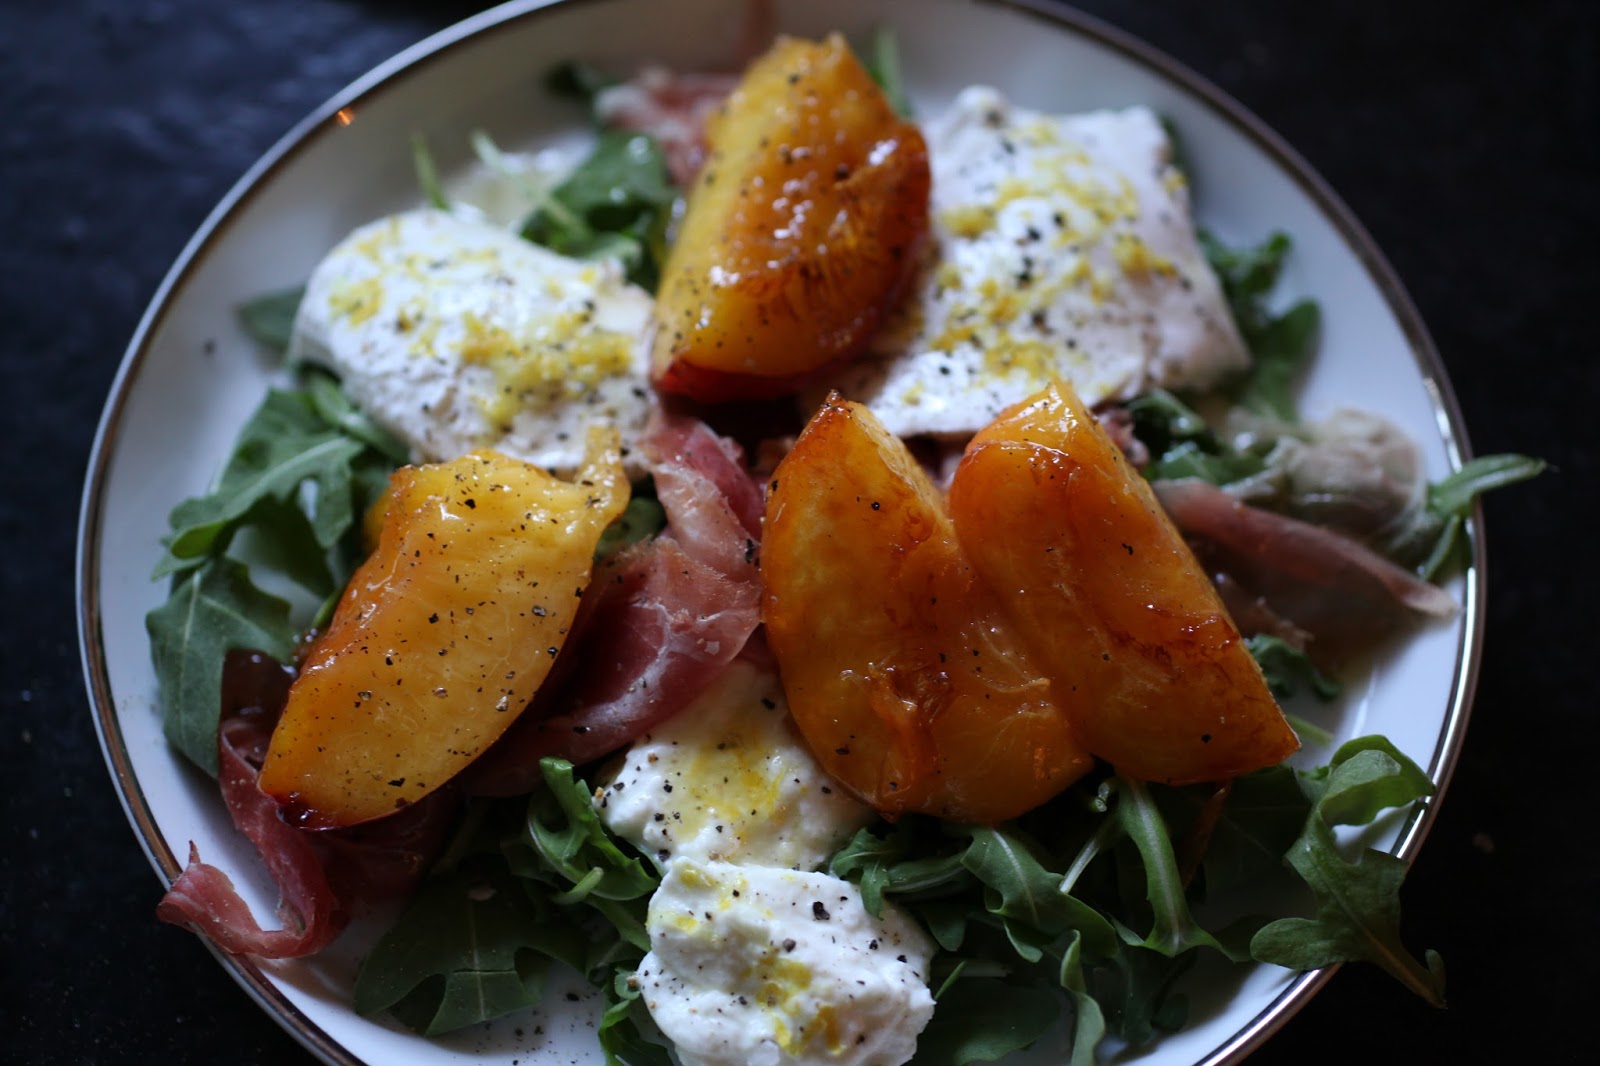
Foodie Fridays | Braised Peach, Buffalo Mozzarella and Prosciutto Salad

We recently had dinner with dear friends and the hostess, my friend Meredith, made a salad that left me positively moaning. After her husband had picked up 2 flats of gorgeous ripe peaches that week, Mer did some research on what to do with them and stumbled upon a recipe from Australia.

You know me – I love any dish that elevates the simple goodness of the core ingredients. Well, this salad does that in spades.

I would have linked to the original recipe, but a) I couldn’t find it and b) Mer modified it anyway, so let’s just call this her version of a combination of flavours that seems to have been married with one another by many-a brilliant chef around the globe. {You’ll find if you google it that finding the “original author” is near impossible.}

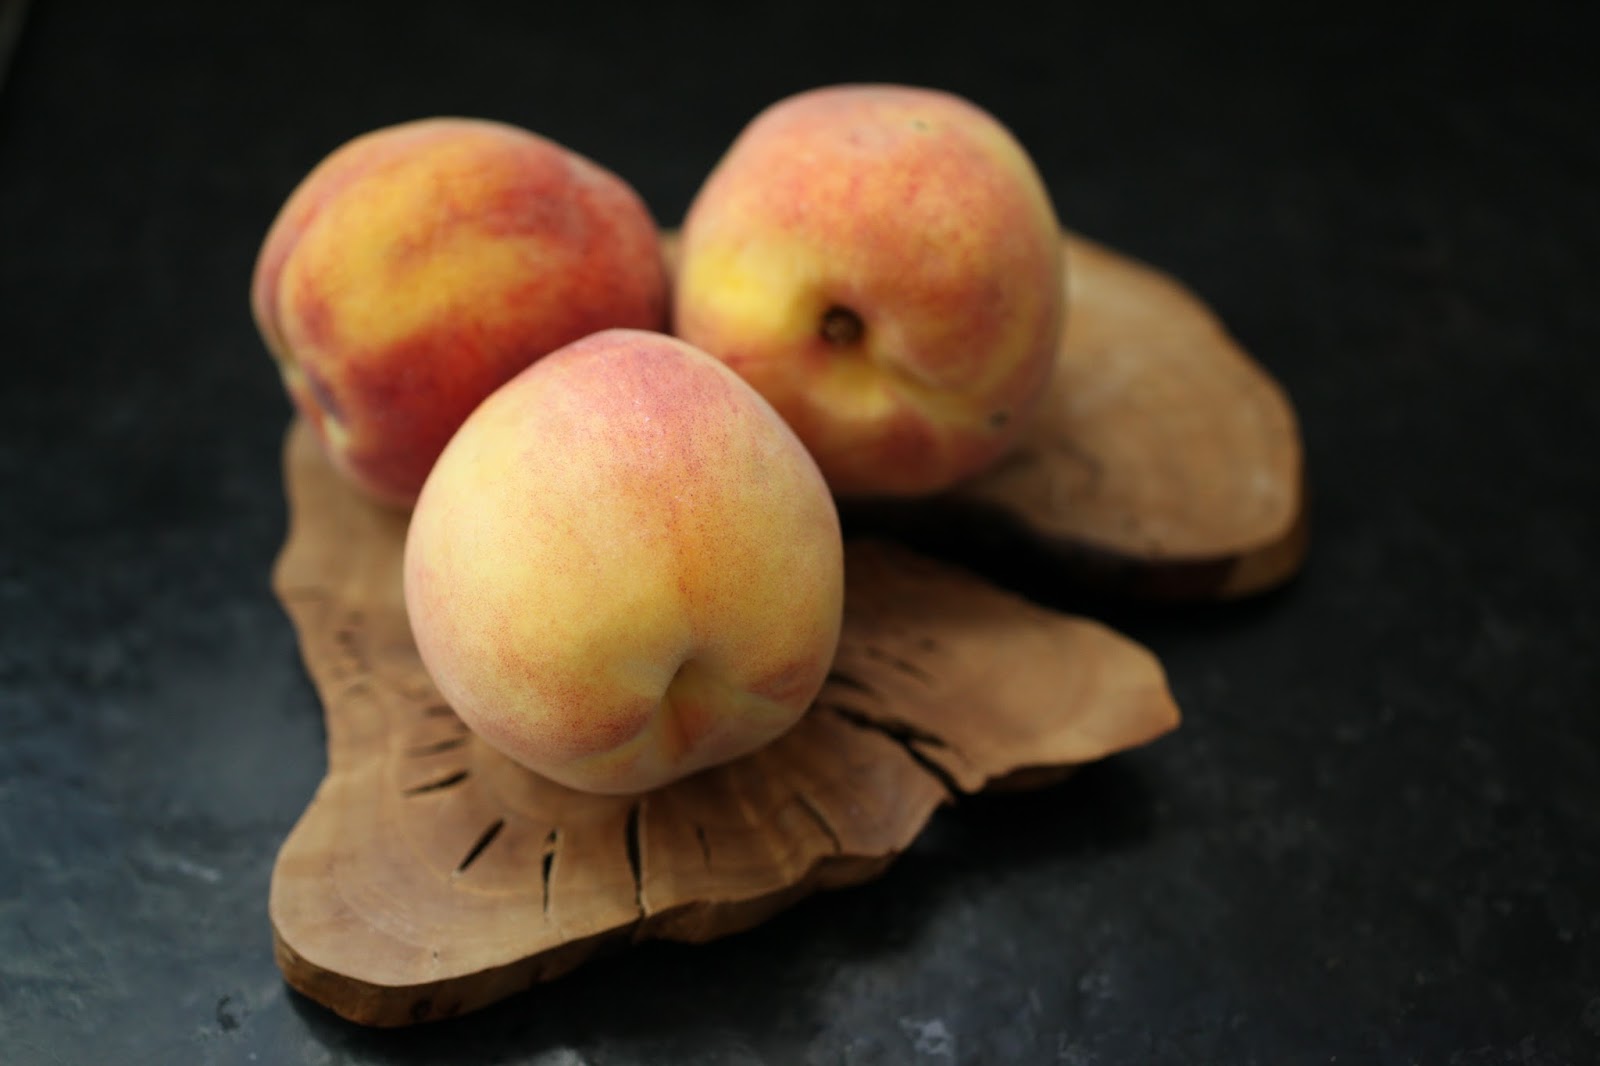
Starting with gorgeous, ripe peaches, wash and halve them {one per person} and sauté {flesh side down} in 3 Tbsp extra virgin olive oil and 2 Tbsp maple syrup. You have to watch that the maple syrup doesn’t caramelize too much and turn into hard candy. If it does, you can simply scrape it up and discard it {aka eat it} and add more syrup to your dressing at the end.

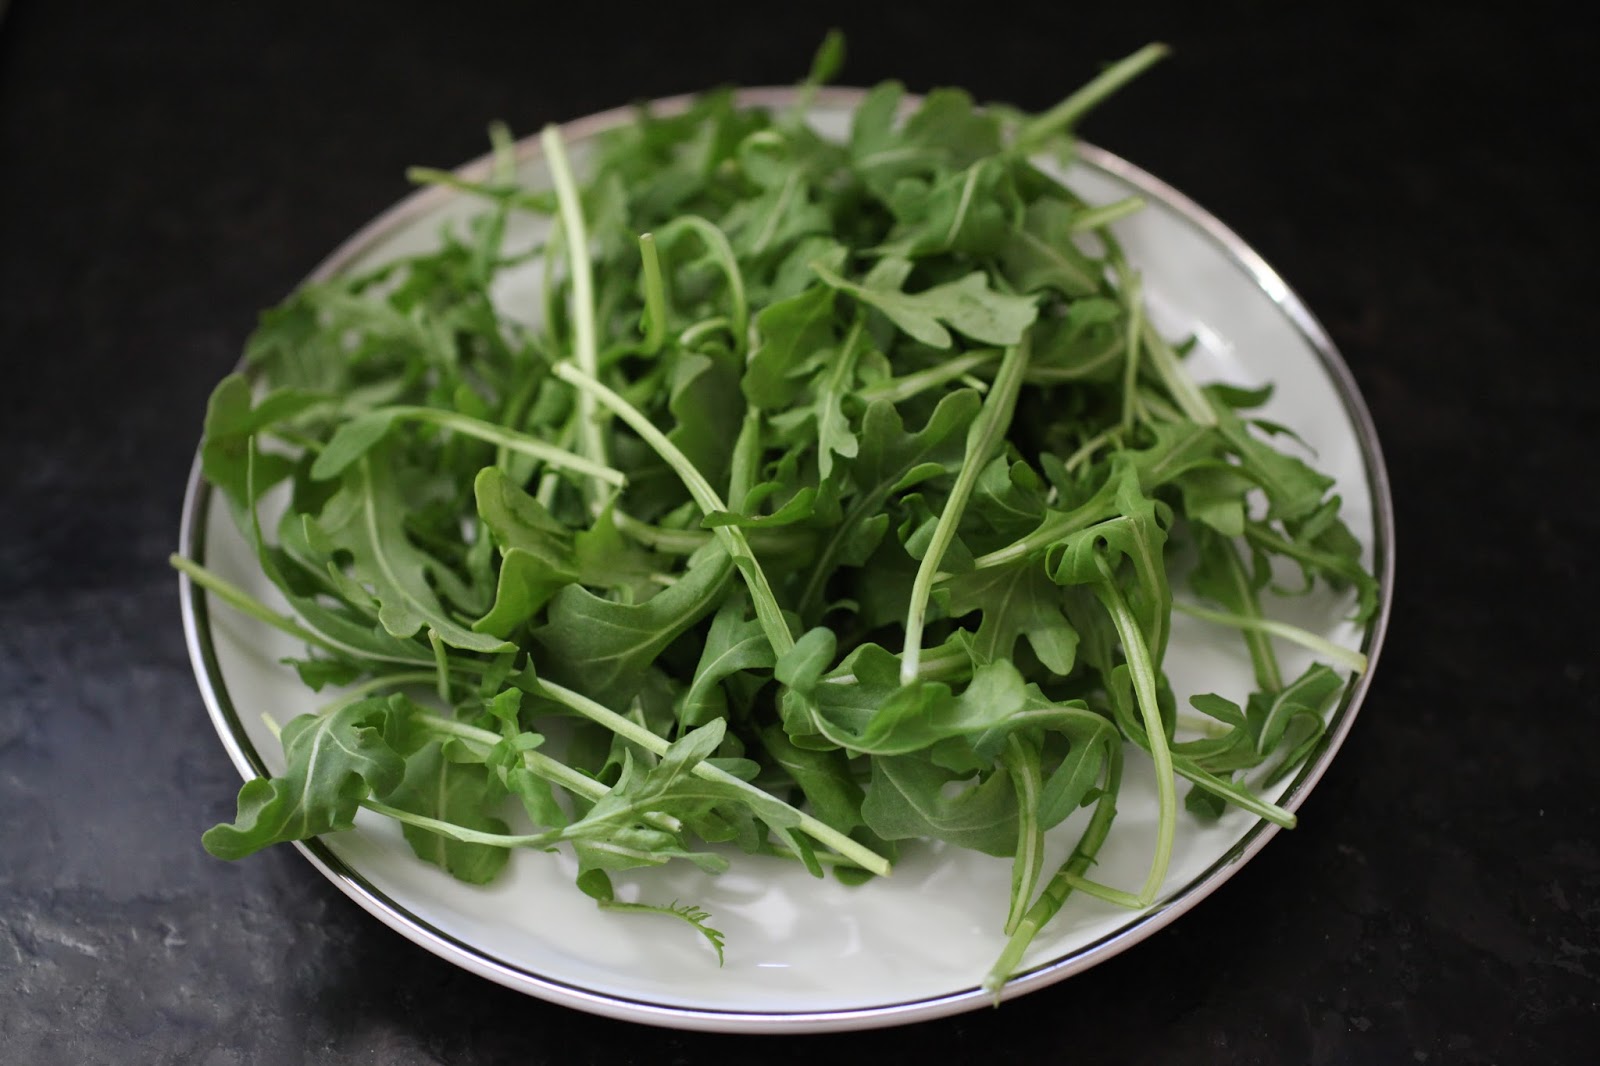
Next, plate the arugula. Mer plated this gorgeous salad farm-style on one big platter, but when I made it here at home I just plated it individually. Either way works beautifully.

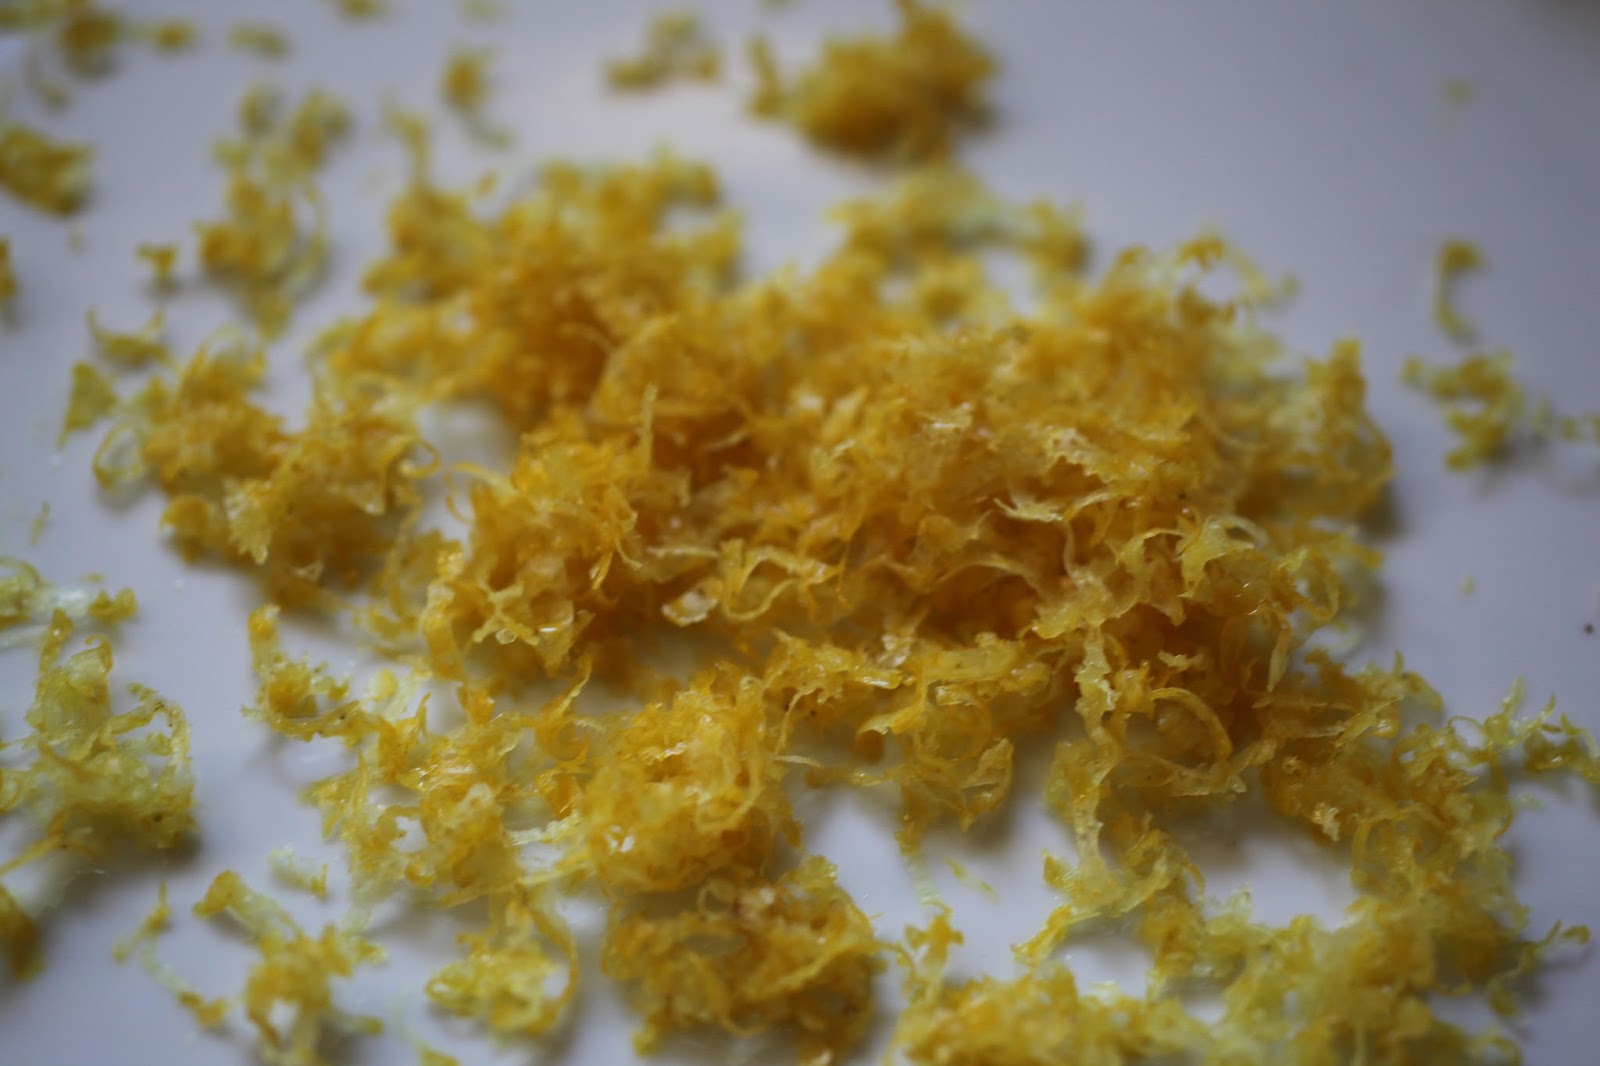
Next, zest the rind of one well-washed lemon.

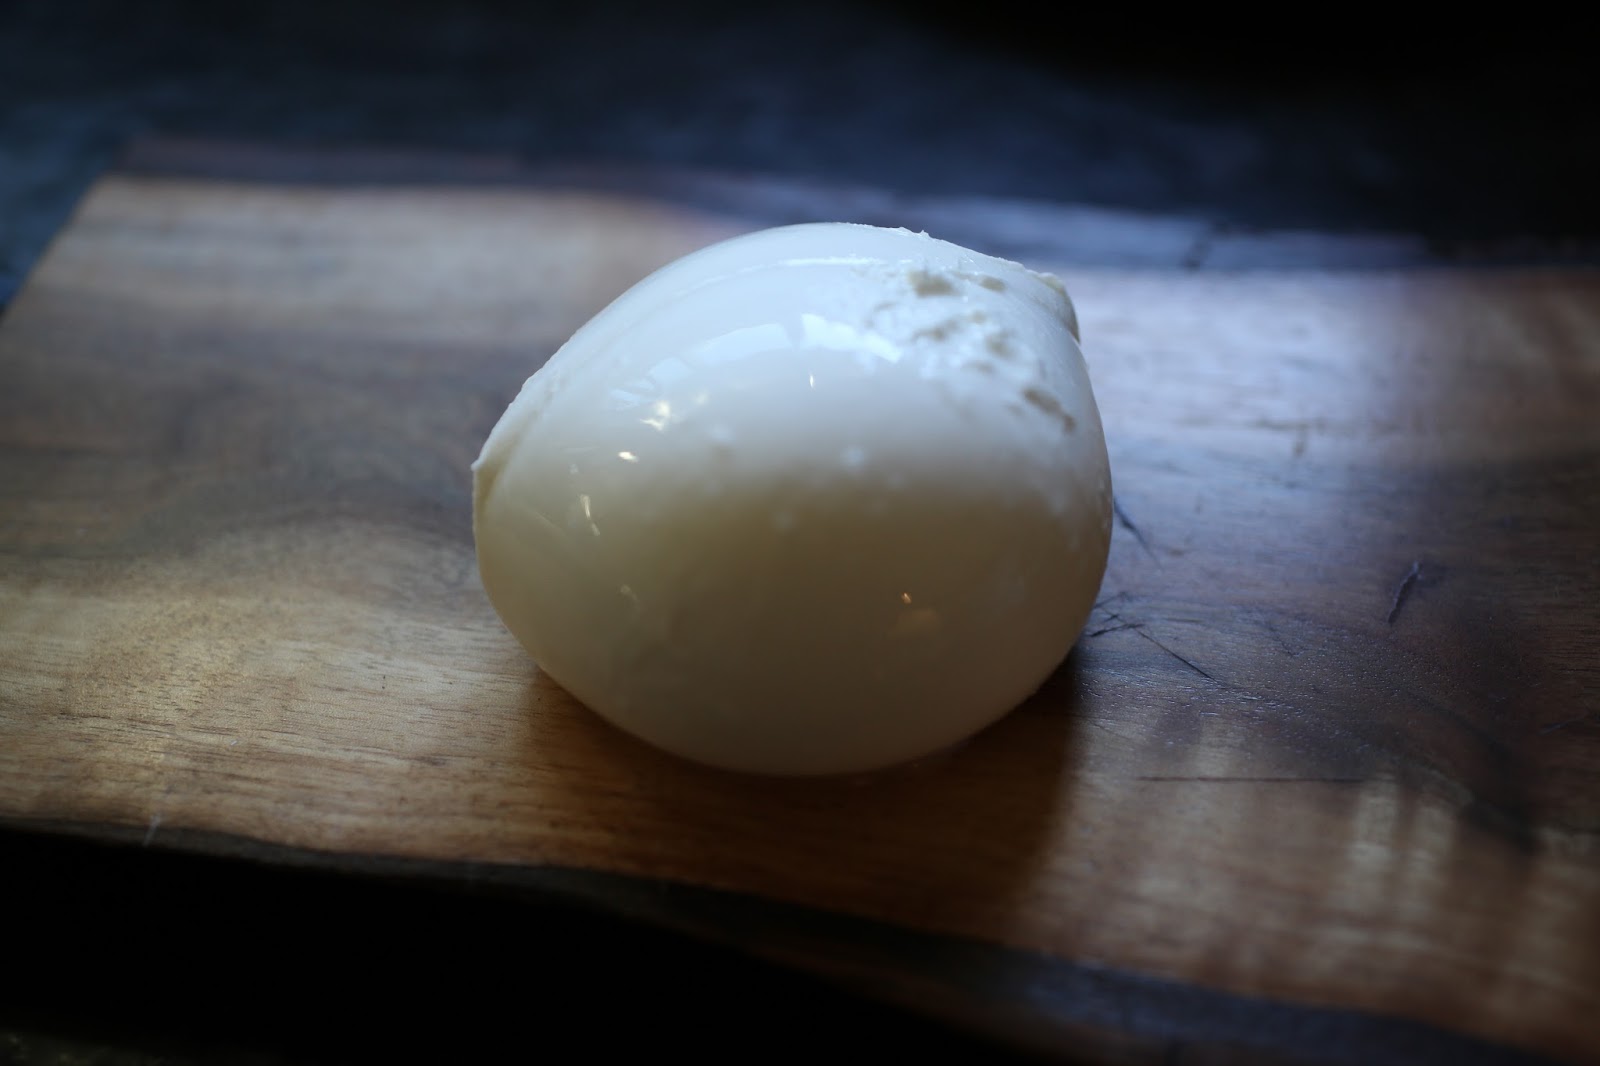
Using one ball of buffalo mozzarella for every 2 people, split the soft and gentle cheese into pulled chunks. This might be my favourite part, and I love how the pulled pieces resemble poached eggs. For someone who is allergic to eggs and misses them dearly, it’s a perfect visual substitute, and the cheese’s softness contributes a similar texture {though a different flavour} as would a poached egg.

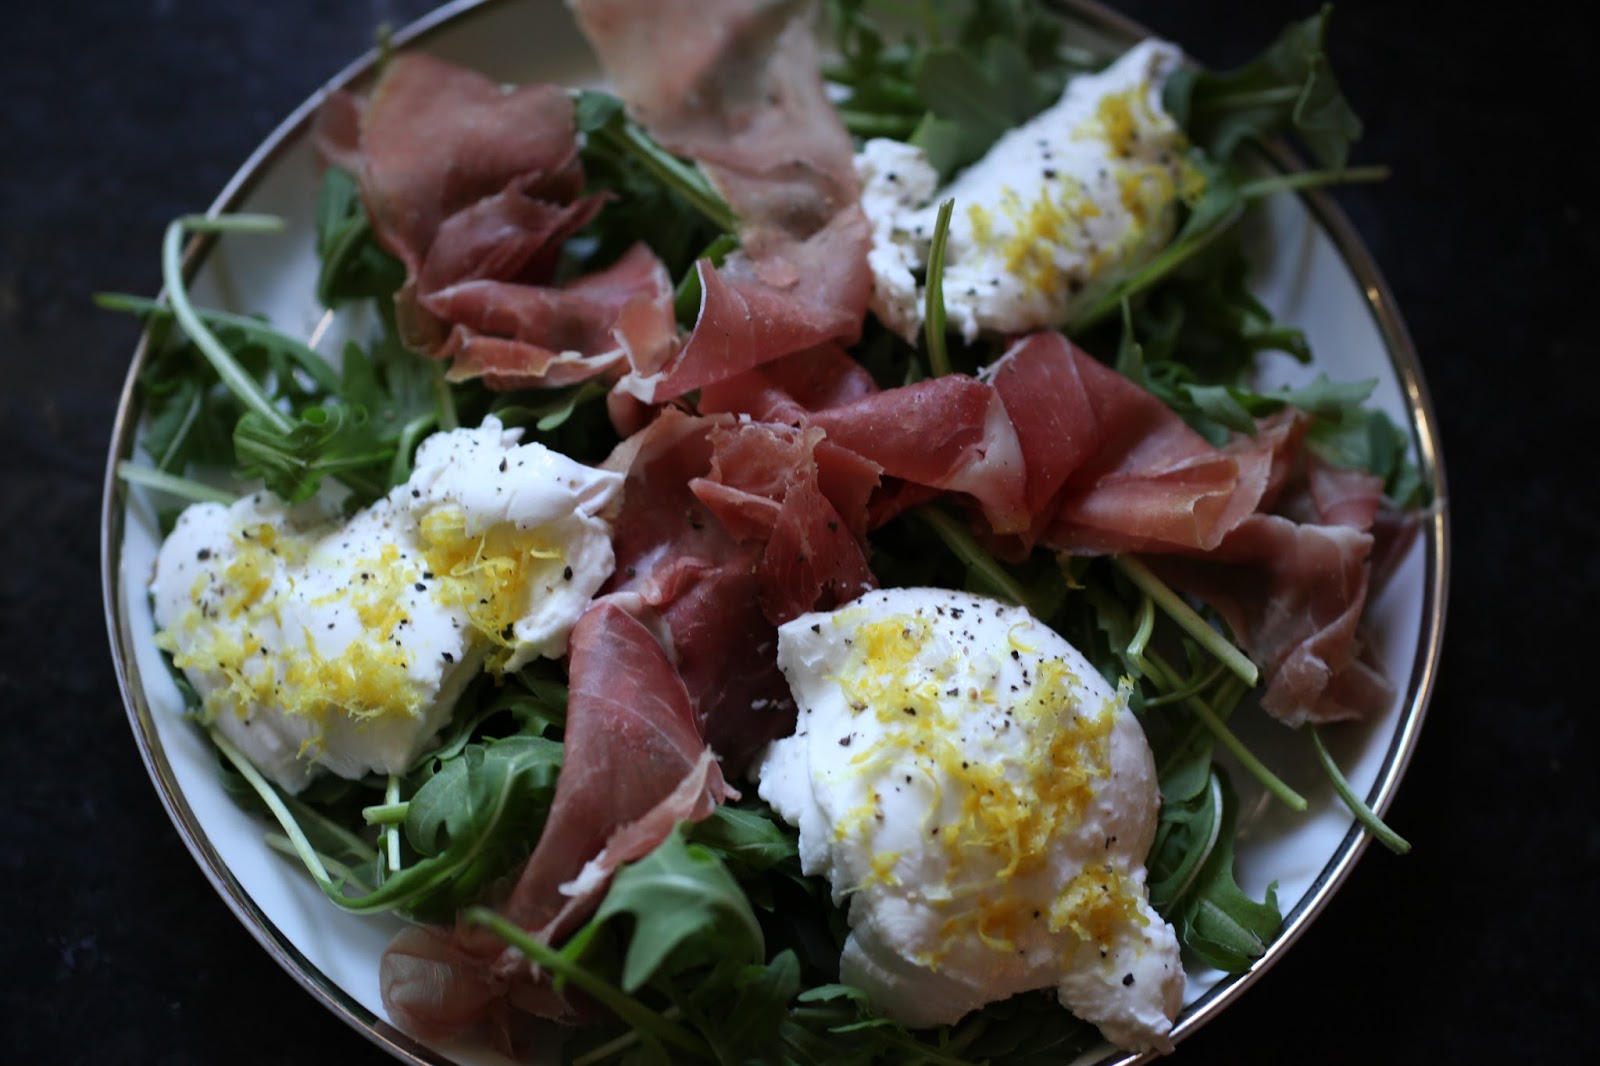
Next, using 3-4 slices of good Italian prosciutto per person, plate the prosciutto and buffalo mozzarella on top of the bed of arugula and then garnish the mozzarella with the lemon zest, good salt {I used Maldon} and pepper.

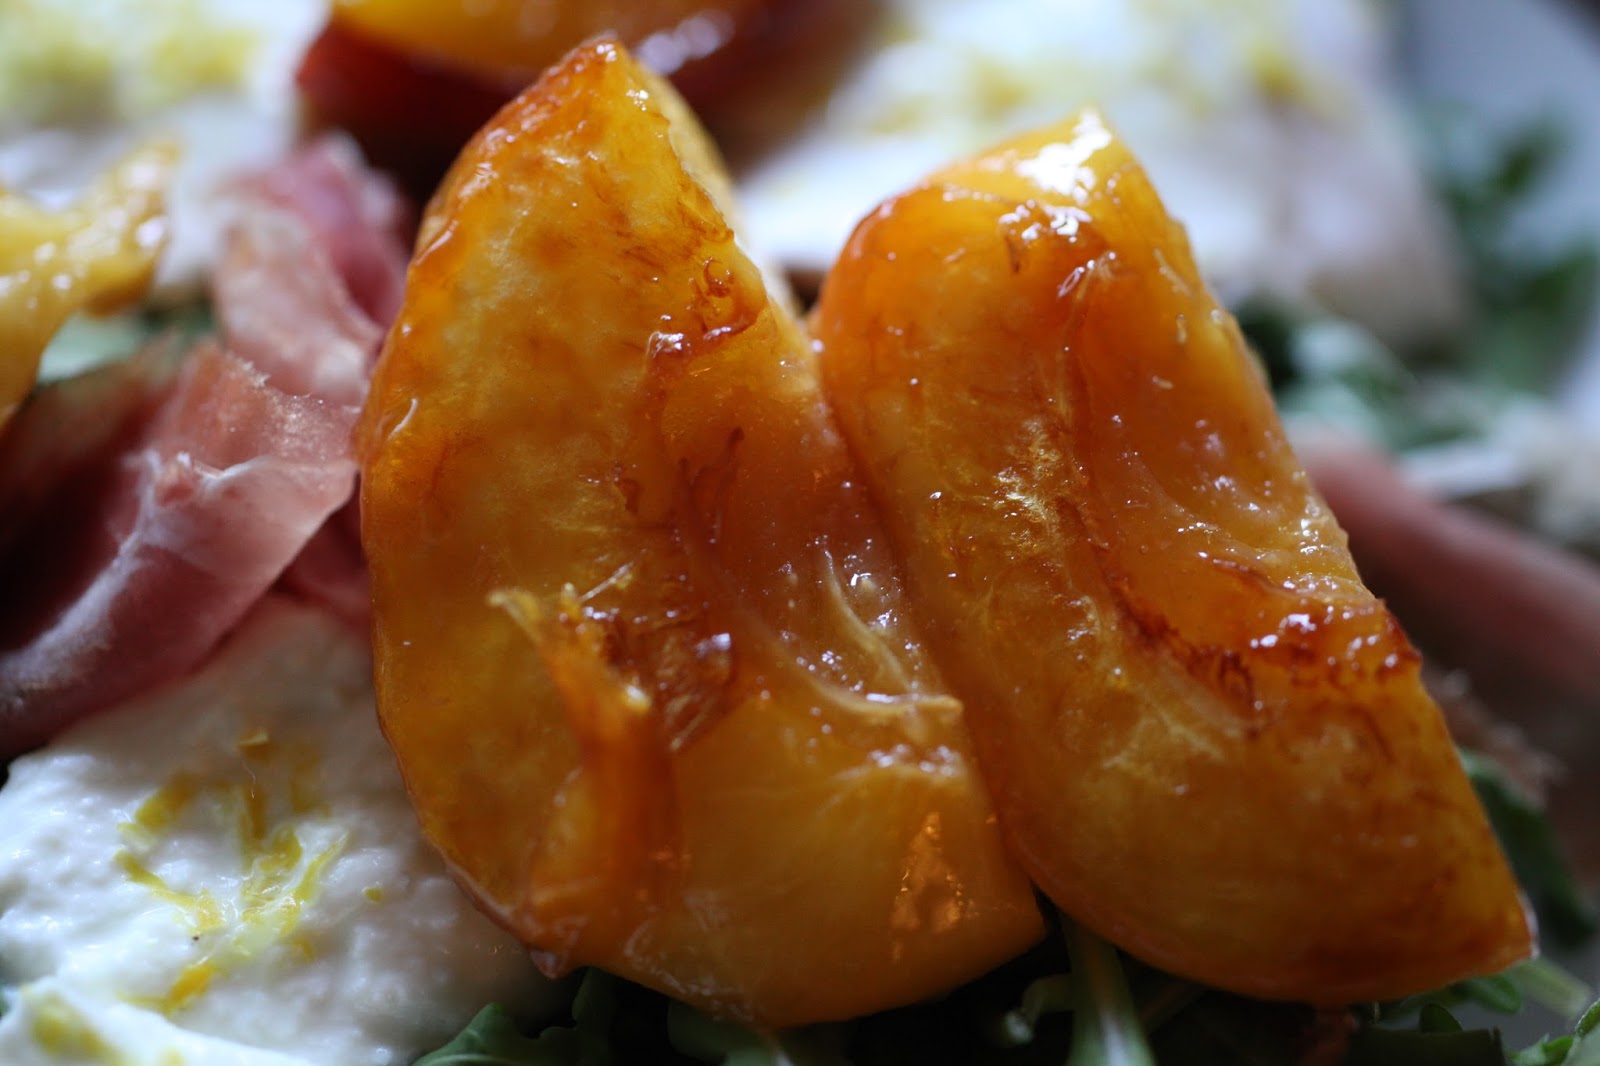
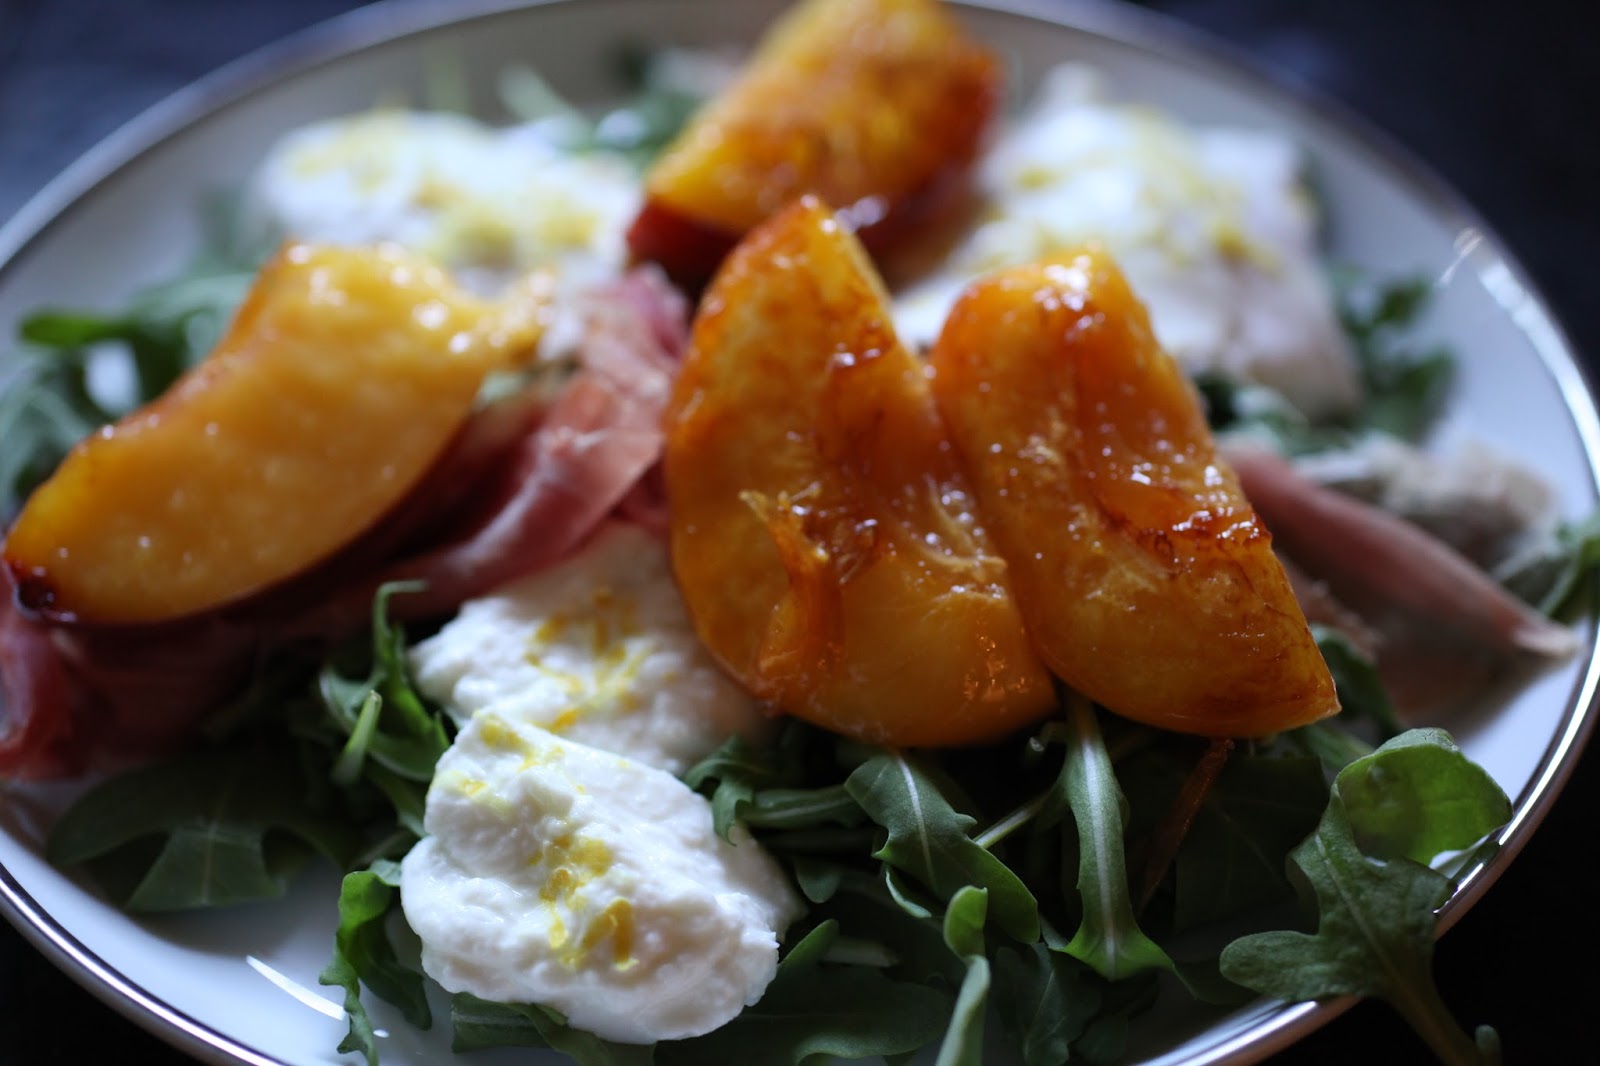
Once the peaches are nicely braised, cut them in half again and plate them on top of the salad.

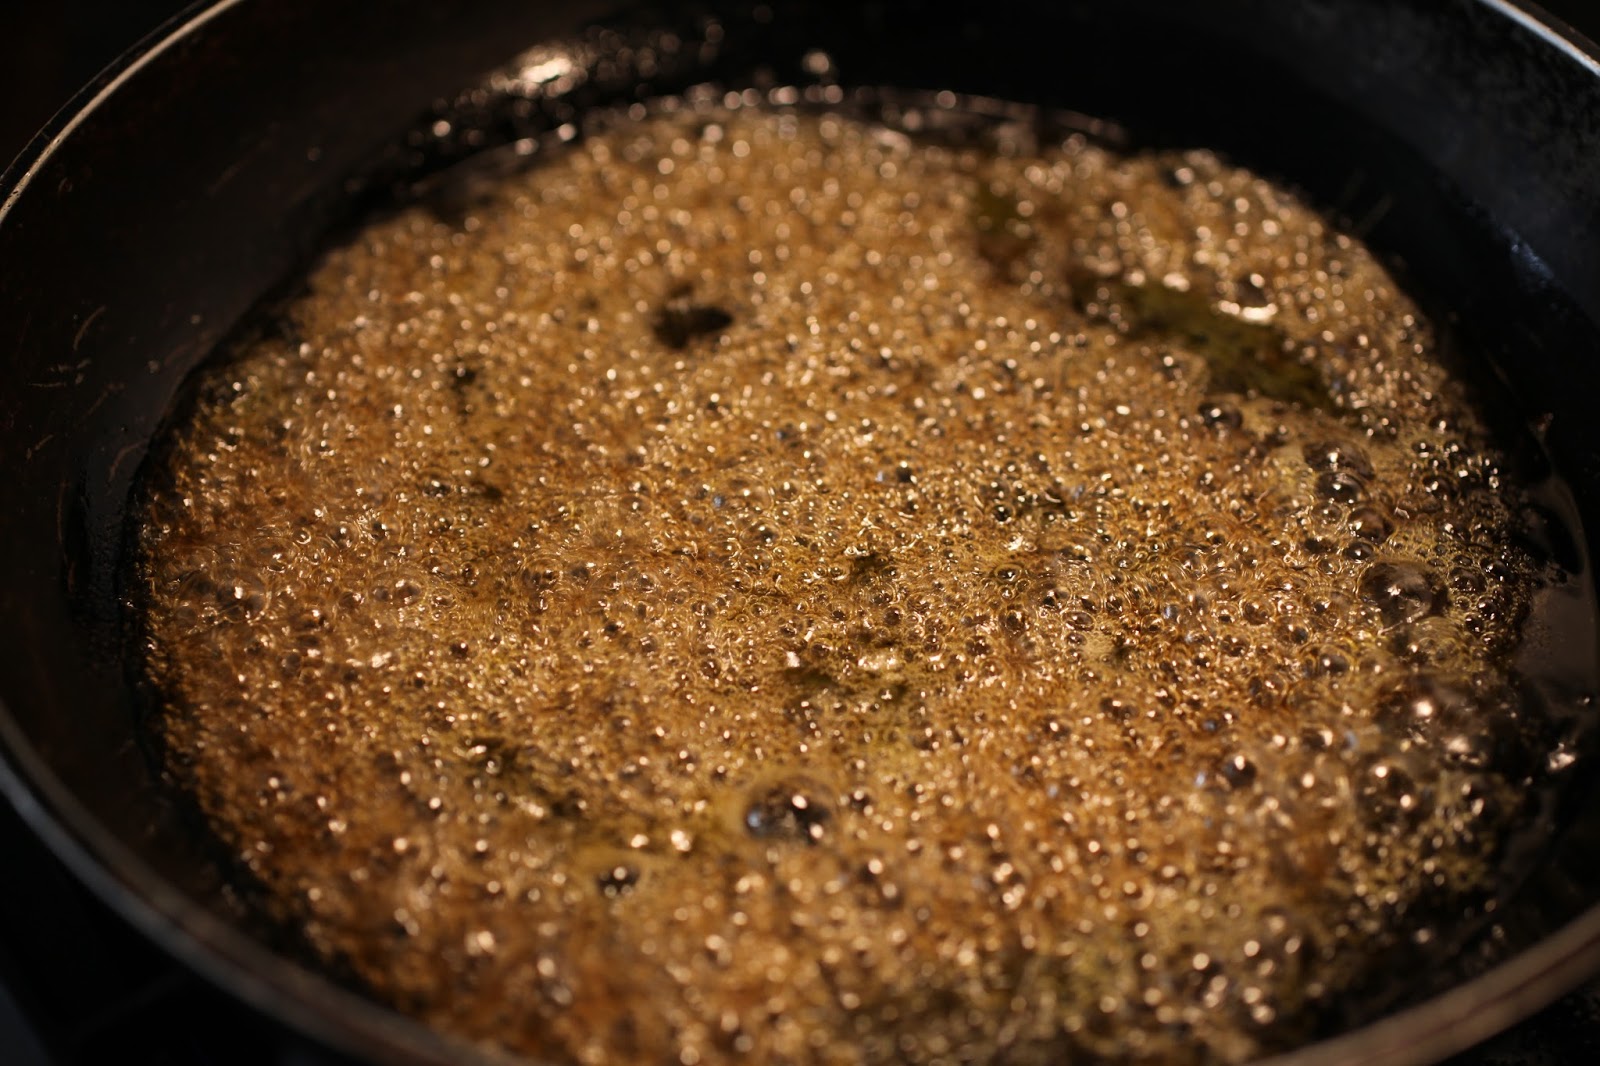
Here’s where the Meredith-magic to this recipe comes in: once you’ve removed the peaches from the pan you’ll have a gorgeous, peach-infused syrup of maple and olive oil. Pour this reduction into a small pitcher and combine it with the juice of 1/2 or more of your lemon. Season with salt and pepper and adjust your quantities of maple syrup and olive oil if necessary until the dressing essentially tastes like a warm lemonade sweetened with maple syrup. Oh. My. Goodness.

Drizzle the dressing over the salad and keep the pitcher at the table for additional drizzling {an inevitability, trust me}.

Here’s the delicious recap:

BRAISED PEACH, BUFFALO MOZZARELLA AND PROSCIUTTO SALAD
{serves 4}

THE INGREDIENTS

1 5oz container of organic baby arugula
2 balls Buffalo Mozzarella
12-16 slices of good Italian prosciutto
1 lemon
4 peaches
3-4 Tbsp extra virgin olive oil
2-3 Tbsp maple syrup
Salt + pepper

THE METHOD

Wash and halve peaches and sauté {flesh side down} in 3 Tbsp extra virgin olive oil and 2 Tbsp maple syrup. Watch that the maple syrup doesn’t caramelize too much and turn into hard candy. If it does,  scrape it up and discard it {aka eat it} and add more syrup to your dressing at the end.

Next, plate the arugula and zest the rind of your lemon. Split the buffalo mozzarella into pulled chunks and garnish with the lemon zest, salt and pepper.

Plate the sliced prosciutto and juice your zested lemon into a small serving pitcher. Remove braised peaches from the pan and cut in half, plating on top of the salad.

Pour the reduction of olive oil and maple syrup into your small serving pitcher and whisk together with the lemon juice. Adjust to taste and season with salt + pepper. Drizzle over your salad and enjoy!

. . . . .
If you are anything like me, this salad will become a very regular presence in your salad repertoire. In fact, I think this salad will be responsible for extra pregnancy-tears on my part when peach season is officially over. Until then, indulge and enjoy!
xo
s.
By |September 6th, 2013|0 Comments

Brian Gluckstein | 2013 Princess Margaret Lottery | Oakville Showhome

Formal living and entertaining have returned to Oakville in fine fashion thanks to Brian Gluckstein and his design team. This year’s Princess Margaret Showhouse is oozing with glamour and the kind of quiet elegance and sophistication for which Gluckstein Design Planning is so famously known.

Not one to forgo function for form, Gluckstein’s beautiful spaces also feature endless storage – as seen in the kitchen {above} and the massive walk-in master closet {not pictured} along with a thoughtful understanding of the kind of dream lifestyle being sold with these tickets.

With no shortage of formal spaces, this home also features a perfect balance of upscale comfort with rooms in which one can in fact imagine putting up one’s feet. The media room {not pictured} probably seats 12 at minimum for in-home movie screenings that would rival Hollywood’s. But to my eye, this house is above all an entertainer’s dream par excellence.

If this sneak peek has whetted your appetite, be sure to make time to visit this stunning 7,500 square foot custom home in person at 1522 Devon Road in Oakville. The home will be open for free viewings starting this Saturday, September 7th, from 12-5pm. It will continue to be open for public viewings weekdays from 1-8pm and on weekends from 12-5pm.

Curious about where the proceeds from this lottery are put to work?

Here are some insights from the Princess Margaret website:

Dr. Fei-Fei Liu is the new Head of the Radiation Medicine Program for Princess Margaret Cancer Centre—one of the largest and most innovative radiation programs in the world. In this area of cancer therapy, precision is critical, as radiation has the potential to impact all of the treated area, including the cancer and the surrounding healthy tissue. The medical physics team at The Princess Margaret, in collaboration with radiation oncologists and therapists, has increased the precision for all types of radiation therapy; in some cases targeting tumour tissue in high risk areas such as the brain to within one millimetre.

“As we strive to set a new gold standard for patient care with Personalized Cancer Medicine, The Princess Margaret is pioneering a new area called adaptive radiation therapy where a patient’s treatment plan is adapted depending on how they are responding in each treatment session. This requires sophisticated hardware and software systems, along with the expertise to image and track patient progress in a highly efficient way. The Princess Margaret is one of the few places in the world where these new procedures are being developed and tested.”

Thanks to your support of the Princess Margaret Cancer Centre lotteries, we are making radiation therapy more personalized, and therefore more effective and less toxic for cancer patients around the world. Personalized Cancer Medicine includes all of our efforts to detect cancer earlier, diagnose cancer more precisely, target cancer without damaging healthy tissue, and supporting patients and their families throughout the emotional cancer journey.

If you or anyone you know has suffered through cancer treatments, you’ll know that these medical innovations really do change lives. I love it when great design and a great cause come together! Maybe I’ll see you there when I pop in for my in-person tour! Looking forward to getting up close and personal with all those delicious Brian Gluckstein Design details!

xo
s.

By |September 5th, 2013|2 Comments

Update 6 | Project Ugly Duckling

We are slowly moving closer to the finish line and I am sooooo excited! Graham finally got some time {between his endless flights all over North America} to work on the trim this weekend. There are a few pieces that still have to be nailed into place {like the baseboard below} but things are definitely coming along.

Up next? Wood filler, priming and painting. In the meantime, I couldn’t resist showing you the progress. I’m particularly excited about the hallway. I know. Who gets excited about a hallway? But that gorgeous tile that my gorgeous hubby installed is going to look all the more swishy once the paneling is done. Next to my love for herringbone, my love for paneling is pretty hard to top. It’s such a quick way to add sophistication and a sense of substance to your home. And if you can do it yourself it isn’t nearly as pricey as it looks in the end.

The door at the end of the hallway is an exit door and so it’s taller than the bedroom and bathroom doorways. We decided to line up the panels with the tops of the interior doors as that is consistent with the rest of the house. I’m still deciding if I’ll do a frieze moulding at the top between the crown and the panels for extra dose of dimension and gorgeousness. I just don’t want to draw attention to the differing door heights in this particular space.

I just have to take a moment for a flashback. Remember the wallpaper that used to adorn these walls?

Well we’ve come a long way, baby, haven’t we? There also used to be a random closet that opened into this hallway right next to the bedroom door. We have flipped it into the bedroom for much better use of the space and I’m looking forward to showing you the solution there. It will be smart and sophisticated and not at all 1960’s.

While I’m at it, I will share one more of my favourite trim secrets. For anyone renovating an older house, you will no doubt want to update your baseboards from the original 3 inch “plain and skimpies” to something more substantial {like the 7 1/4″ baseboards we’ve chosen here}.

Along with that, though, you’ll have to address your casings. In our case {sorry, bad pun} our casings were exactly the same as the baseboards – flat and simple with zero profile or interest. But rather than ripping them out, I chose a really great backband to add to them instead. Not only does this save big bucks, loads of time and a lot of waste from being sent to the dump, but it takes a very Plain Jane casing from this:

To this:

{backband added to the left}

This is currently happening in the bathroom and hallway around all the windows and doors as we speak and I love it! Can’t wait to fill, prime and paint these babies!

That’s it for now. The vanity is actually sitting in the garage waiting for us to catch up and get everything painted and the wallpaper installed so that the vanity can finally nestle into it’s newfound home. The pieces are all here! Now it’s just about carving out the time to put them together. Fingers crossed Graham doesn’t have too many more work trips over the next couple of weeks!

xo
s.

By |September 3rd, 2013|0 Comments