/baking

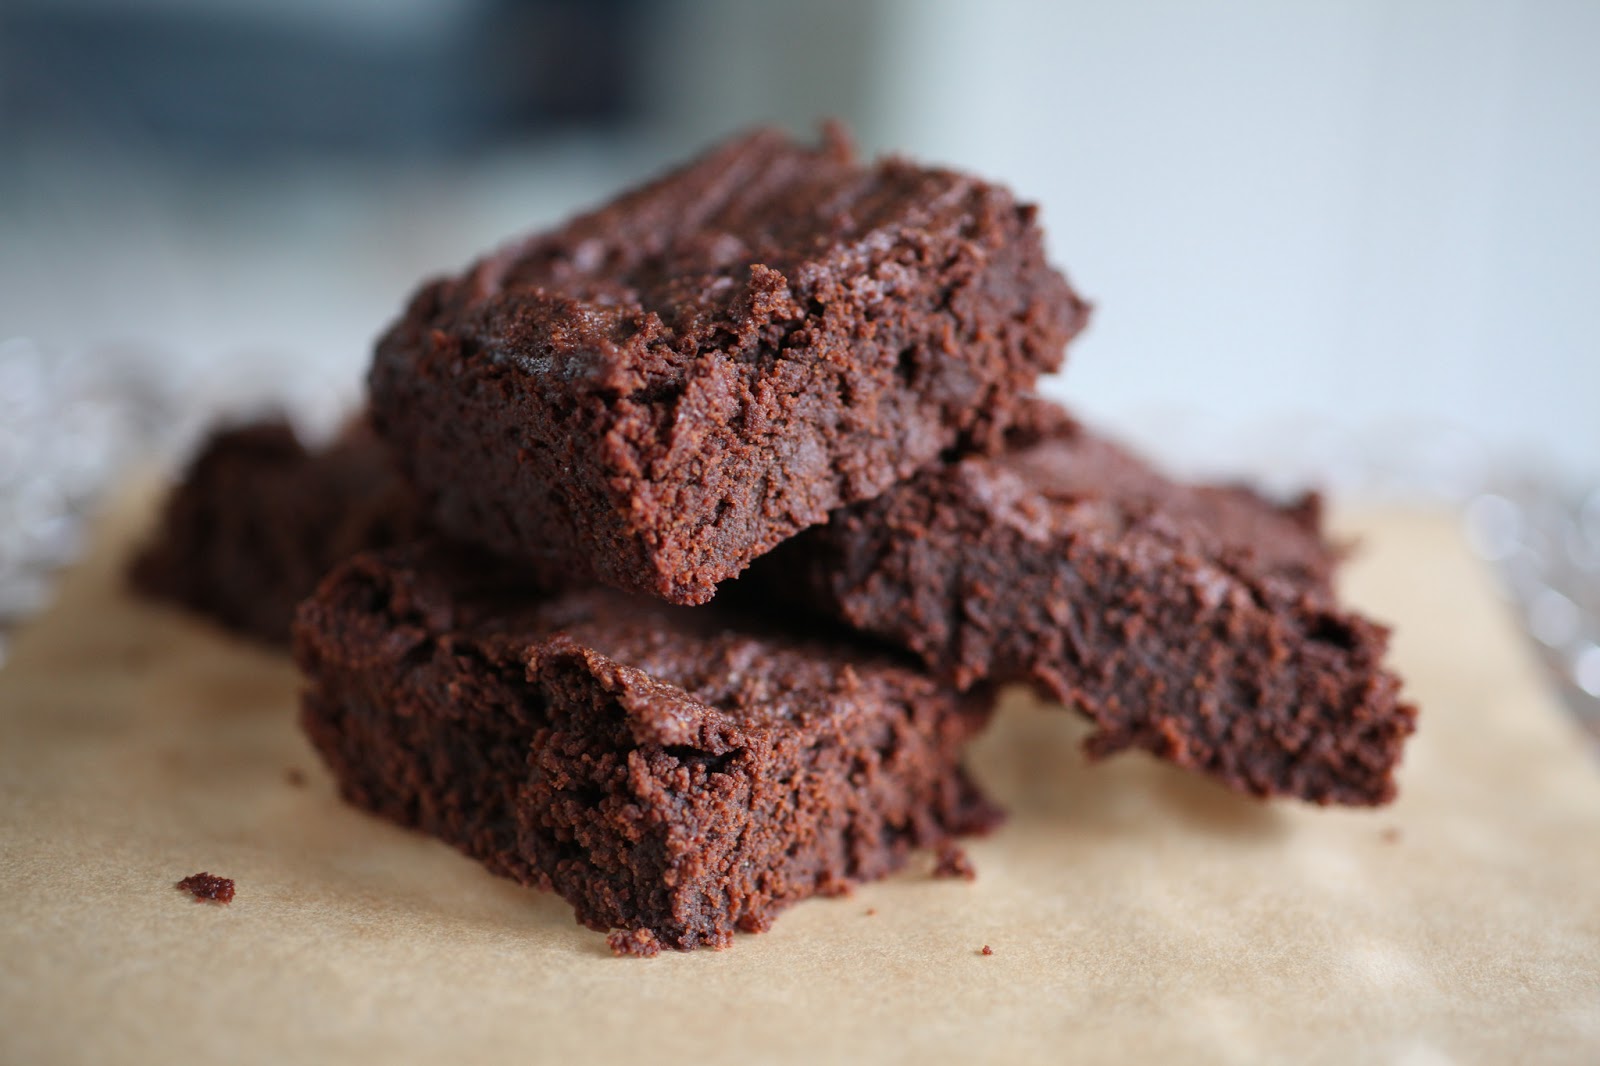
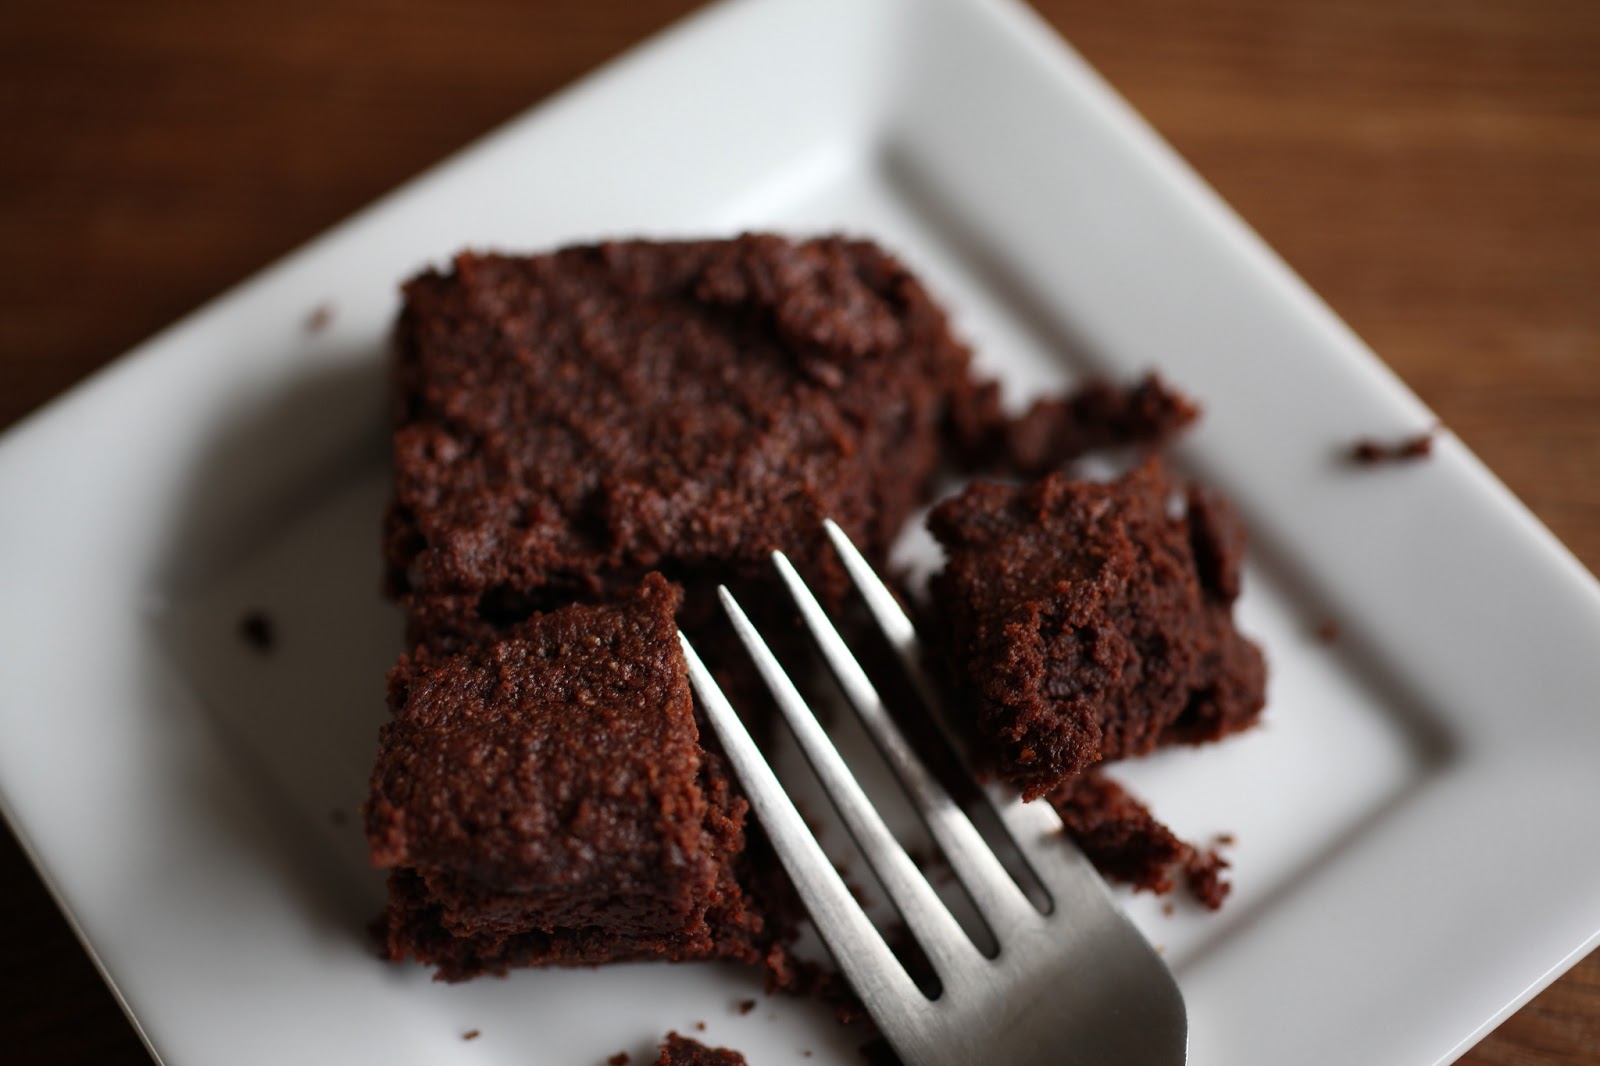
Gluten Free Foodie Fridays | Chocolate Brownies

Every good girl needs a vice, right? I don’t smoke and usually stop at one glass of wine {OK, sometimes two}. I eat pretty clean and just have one cup of coffee per day. So what’s my vice? Chocolate. Yes. I know. It’s not particularly shocking. It really just makes me like every. other. woman. on. the. planet.

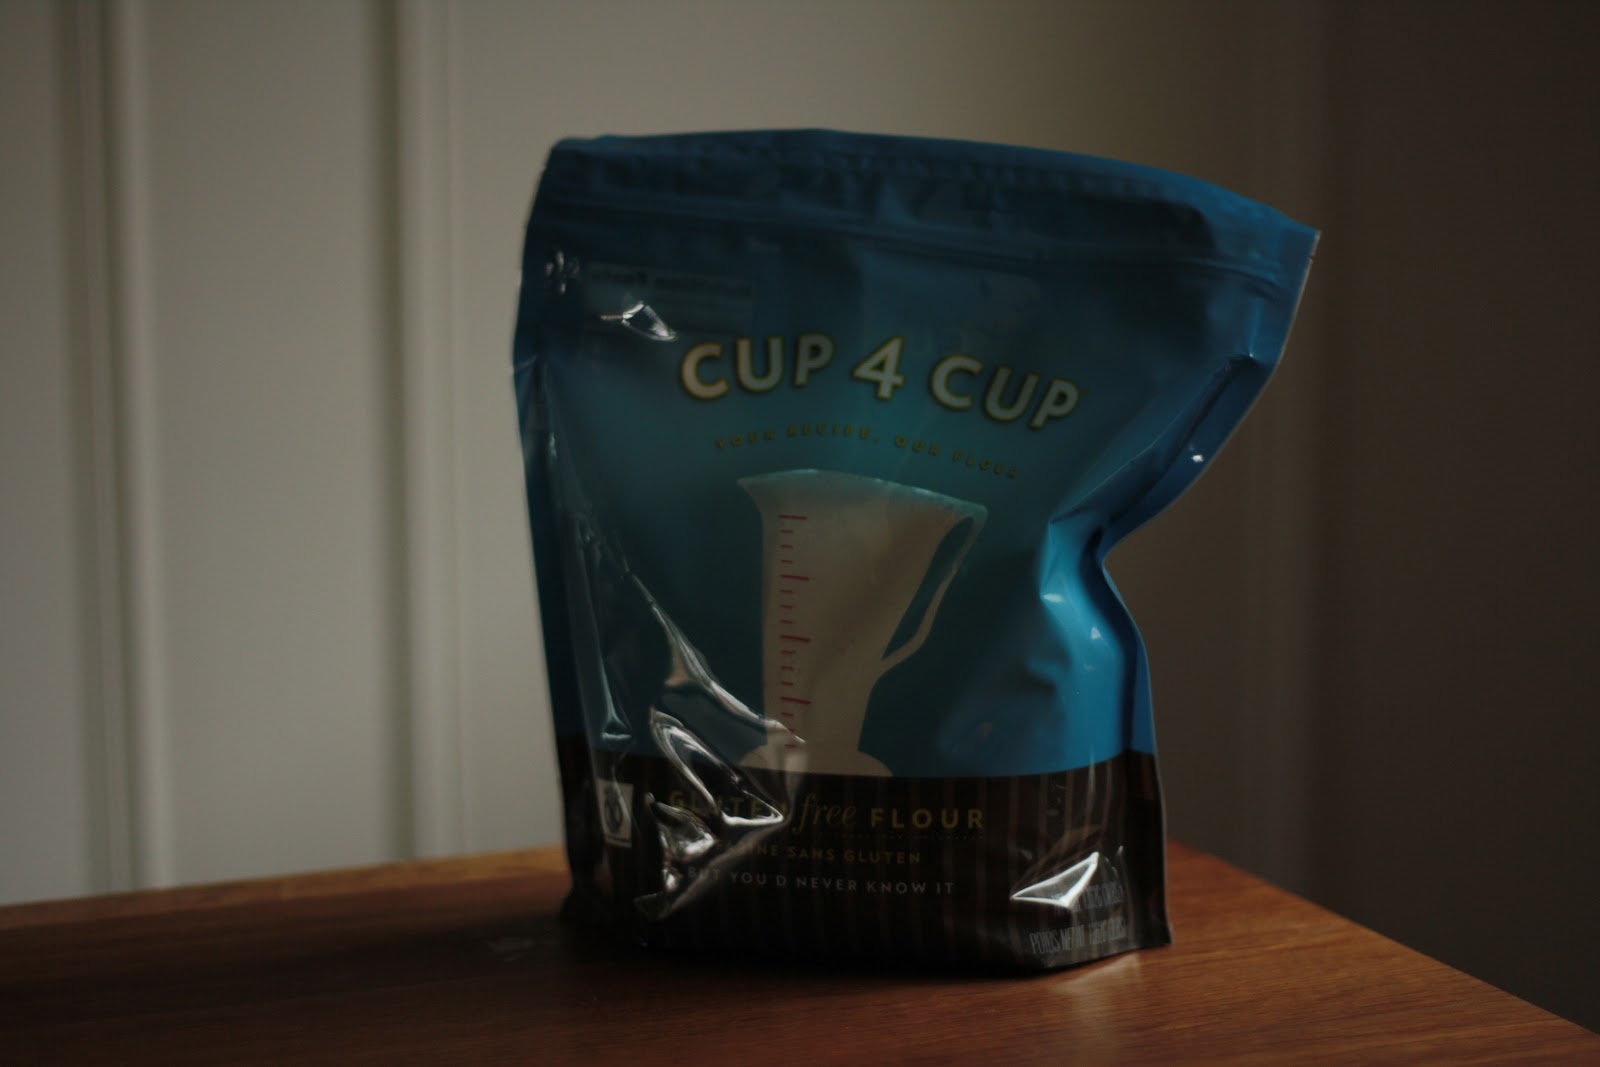
Well, if you’re like me, you need variations on a theme. I have found one good brand of bar chocolate that {thank you, Lord!} is not sweetened with cane sugar as I’m allergic to the white stuff. And you all remember those glorious Honey Patties from Heavenly Organics, right? They are my mainstay sweet fix for SURE. But every once in awhile I want something that feels a bit more like a proper dessert. So…dissatisfied with the excessively dry recipes I had found for gluten free brownies, I decided to craft my own.

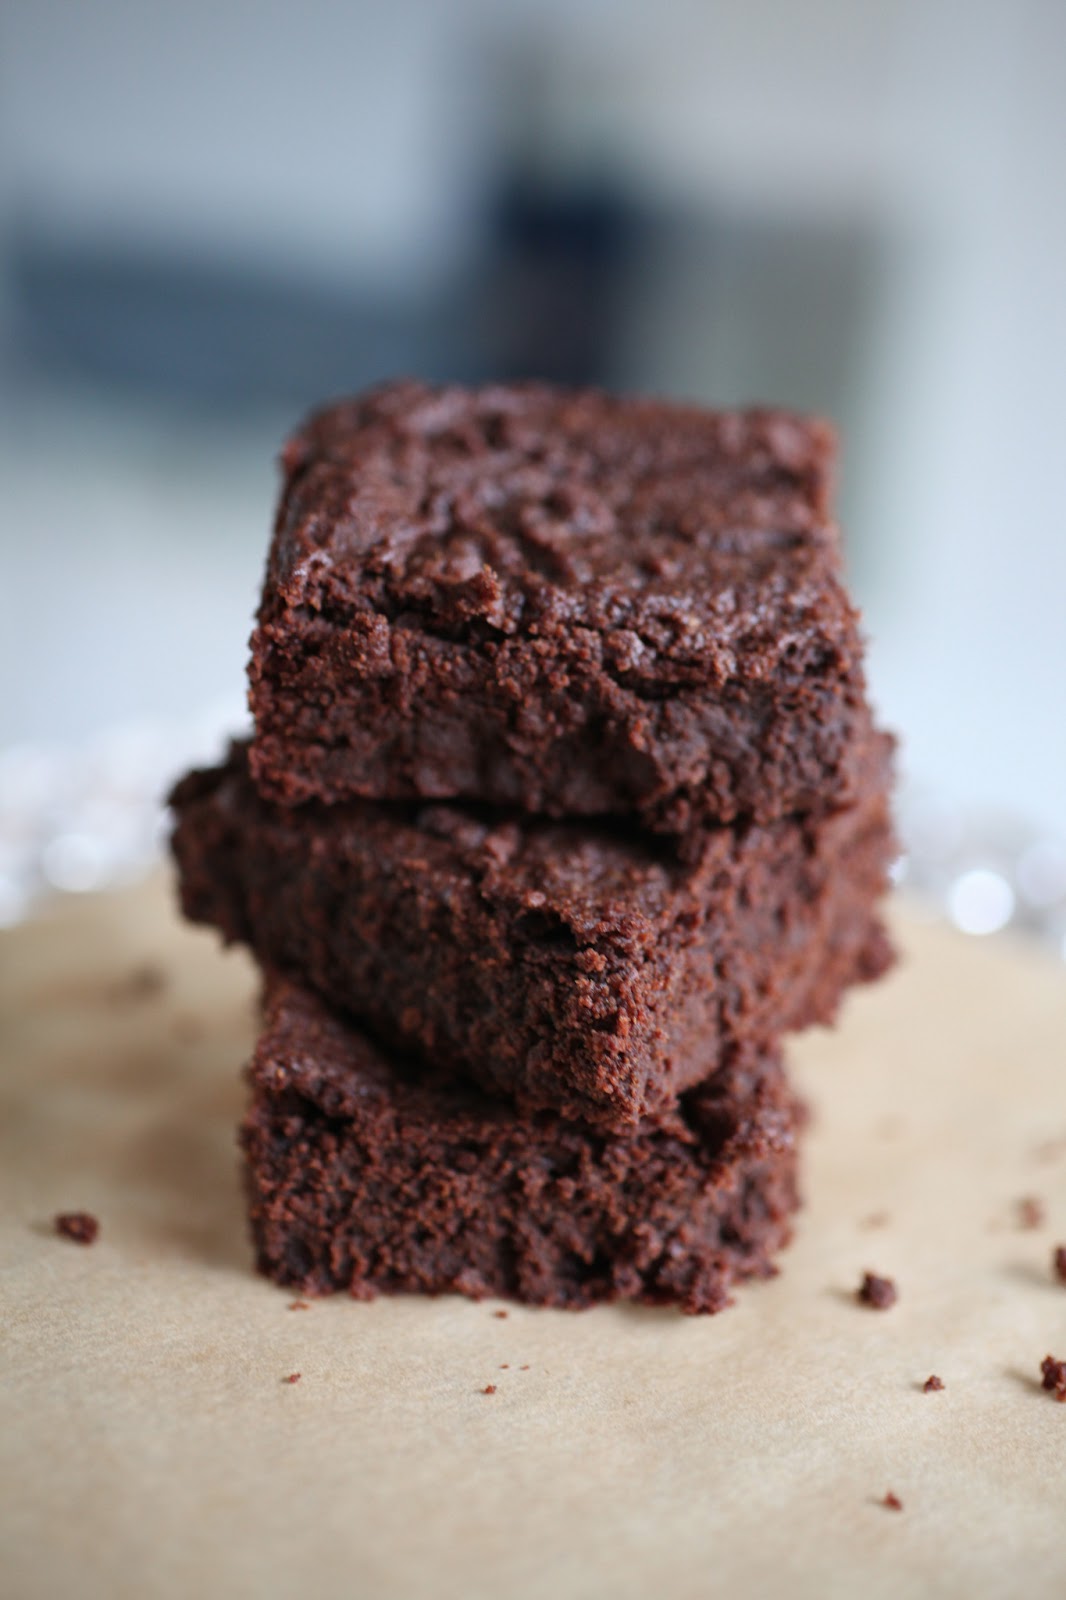
I really took one for the team here {translation: I probably put on 5 lbs in the “testing” phase} and tried several different variations before landing on this super simple yet decadent brownie recipe. My goal was moist and rich, and I’d love it if you would test them in your own kitchen and let me know what you think!

Here’s the simple recipe:

THE GLUTEN FREE FOODIE’S
CHOCOLATE BROWNIES
INGREDIENTS:
Dry:
1 cup raw cacao
1 cup coconut sugar
2 cups almond flour
Wet:
1 tbsp ground flax + 2 tbsp ground chia mixed with 6 tbsp boiling water and set aside
1 cup sweet potato puree
3/4 cup melted butter or coconut oil
1 tsp vanilla
Preheat the oven to 350 F. Start by mixing the flax, chia and hot water together in a small bowl and set aside. Next, mix all the dry ingredients together in a medium bowl. In a stand mixer, combine all the wet ingredients, adding the chia/flax mixture. Slowly add the dry ingredients one cup at a time while the mixer is still going.
Grease a 9×9″ brownie pan with either butter or coconut oil. Using a spatula, pour the mixture into the square pan and bake for 30 minutes or until a toothpick comes out clean. Allow them to cool {the hardest part!}, cut and serve!
I’d be thrilled to hear from you if you decide to try these out in your own kitchen! They’ve become a regular for us, and I really have to regulate how often I make them as it’s easy for the pan to disappear pretty quickly. Best made when you know friends are coming over to share them with you!
Wishing you a flavourful weekend.
xo
s.
By |May 3rd, 2013|0 Comments

Redeeming a Sweet Tradition | Gluten Free Sugar Cookies

As many of you know, I’ve chosen to go gluten-free as a part of a more anti-inflammatory way of life. What I haven’t share with you before now is why. I’m doing this because I’m recovery from a couple of serious car accidents and I want to give my body all the tools it needs to heal. What I’m learning along the way is that everyone’s journey to going gluten-free is different. I have friends with Celiac disease who are gluten-free because they have to avoid all gluten in order to stay alive. I have friends who are gluten-free for the sake of their figure and find it an amazing tool for staying slim. And I have friends like me whose bodies “tolerate” gluten but aren’t the happiest when they eat it. For all of us, we get to learn together.
I feel like saying that I haven’t made this choice to jump in on a trend. I’ve chosen to go gluten-free {on the recommendation of my very lovely naturopath} for the sake of greater health, and I’ve decided that this will NOT be a process of denial and punishment. Rather than thinking of it as a list of “no no’s,” I have chosen to think of it as an adventure in recreating recipes and finding new foodie loves.
Holiday baking being a classic tradition, I decided to reinvent a simple, classic Sugar Cookie recipe to create a holiday treat that is “safe” for me and all of my gluten-free friends. And what better way to make those sweet treats than with friends!

PHOTO BY GABRIELA HANSEN
The star player in our gluten-free baking adventures so far has definitely been Cup4Cup flour. The dough this product creates {from pie crust dough to cookie dough} is insanely beautiful to work with.  In fact, I prefer it over regular flour! Seriously. The result with these sugar cookies not only tastes great, but the edges are so clean that my baking queen of a friend Natalie asked if I’d cut them twice {once before and once after baking}! I seriously think you’ll love working with it.

PHOTO BY GABRIELA HANSEN
My other secret weapon? Coconut sugar. OK, so I guess this makes these sugar-free Sugar Cookies! A rather lovely twist in the plot if you ask me! So why do I use coconut sugar instead of regular cane sugar? A) It is anti-inflammatory and super low on the glycemic index, and B) I actually have an anaphylactic allergy to cane sugar, so it’s kind of a non-negotiable for me. {Please celebrate this one with me as it is actually the BEST anti-aging allergy I could possibly have. I seriously feel blessed with this one.} Coconut sugar has quickly become my favourite cane-sugar-substitute, and the great news is that you can now get coconut sugar in bulk at Costco!! It makes me so happy to see healthy living becoming increasingly accessible for everyone.
The amazing thing about the way the coconut sugar performs in this recipe is that it seems to caramelize as it bakes, giving the cookies a maple shortbread kind of flavour without a drop of maple syrup or maple sugar involved. SUPER yummy! And the cookies are actually soft. That’s right. Gluten-free cookies that are not as dry as the Sahara. Even my non-gluten-free family and friends love these little lovelies! Now that is a triumph. Here’s how we made them:
THE RECIPE
1 1/2 c softened organic butter
2 c coconut sugar
4 eggs or egg substitute equivalent {I used egg substitute as this is another allergy for me}
1 tsp vanilla extract
5 c. Cup4Cup flour
2 tsp baking powder
1 tsp salt
THE METHOD
In a stand mixer, cream together the butter, coconut sugar, egg substitute and vanilla. In a separate bowl, mix together the dry ingredients and then slowly add them to the wet ingredients until fully combined. Wrap the dough and chill for an hour {or overnight}. You can even freeze it in balls to bake one batch at a time if you’d like!
Preheat the oven to 400°F. Roll the dough out onto a lightly floured surface until it’s about 1/4″ thick. Use your favourite cookie cutters to cut out shapes and place the cut cookies on a cookie sheet lined with parchment paper. Bake for 6-8 minutes and cool completely before icing.

PHOTO BY GABRIELA HANSEN
PHOTO BY GABRIELA HANSEN 
PHOTO BY GABRIELA HANSEN

Oh yes, I nearly forgot! What does a sugar-free girl do about icing, you might ask? Well, my friend Jenn was the problem solver on this one. She gave me the idea to create a cream-cheese-based icing and pipe that on instead of Royal Icing. That’s just what I did and it worked like a charm! I just mixed one tub of spreadable light cream cheese with about 20 drops of Stevia and 2 TBSP of honey {I didn’t use coconut sugar here because I wanted the icing to stay white}. As you can see, no one would ever know it wasn’t Royal Icing just to look at the finished product. Yes, the icing has a cream-cheesy flavour, but I actually like that a lot. For my next batch I might experiment with a bit of lemon juice or lemon zest added to the icing for a refreshing twist, though I think I’ll have to go with a full-fat cream cheese to keep it from getting too runny if I do that.

See? There are most definitely creative ways to reinvent the old classics! No need for total self-denial or missing out on holiday traditions! What are your favourite holiday treats? Any gluten-free baking tips from all you veterans out there? I’d love to continue learning together!

Wishing you all a wonderful {gluten-free} Wednesday.

xo
s.

By |December 19th, 2012|6 Comments

Thanksgiving Menu | GF Pumpkin Spice Bundt Cake with Maple Butter Icing

PHOTO BY GABRIELA HANSEN
I love the simple joy of having so many friends gather together around our table for our annual Harvest Gathering. Each person represents a unique perspective, diverse creativity and offers amazing gifts to the world. 
As it turns out, my circle of friends makes me feel somewhat more “normal” when it comes to having food allergies and sensitivities. I have a lot of them, but try not to let them take centre stage in my life or in entertaining. I truly believe that being and eating healthy shouldn’t have to be a neurotic chore. So this year – in favour of my new gluten-free adventure as well as others around the table who cannot eat gluten – I reached out to the lovely people at Cup 4 Cup to see if they would allow me to experiment with their amazing gluten-free flour in my little kitchen. They most graciously obliged, and today’s recipe is the result of that loveliness.
The flour is just as it sounds: a true cup-for-cup substitute for regular flour. All I can say is, we were amazed. Truly, gratefully amazed. This flour works and tastes just like regular flour, and the end result was very satisfying. I’ve already gone to Williams Sonoma to restock and am delighted to have such an amazing alternative now in my culinary arsenal. 
Here’s my take on a Harvest dessert that will please any of the friends and family gathered around your table, even the non-gluten-free variety. 
I CHOSE BABY FOOD FOR THE APRICOT PUR´EE – INEXPENSIVE + JUST THE RIGHT AMOUNT!
OK, it’s Tuesday Confession Time {TCT}. My maple butter icing was a bit of a fail. The flavours were bang on, and it was the perfect match for the Pumpkin Spice Bundt Cake. That wasn’t the fail. It’s just that it was my first time making Maple Butter, and as it turns out it’s a bit of a finicky little number. It’s so truly Canadian that I had to try it {not to mention that I felt giddy at the thought of large quantities of the gorgeous, creamy confection in my fridge}, but my first batch was not my best batch. The truth is I’m not terrible bothered, as these kinds of culinary mishaps simply invite the opportunity to try again!
The secret {as I learned from the sweet maple farmer who sells his maple butter at The St. Lawrence Market on Saturdays} is to freeze the maple syrup overnight after you’ve boiled it before you whip it into the final butter. I merely cooled mine, so it was lacking the structure I expected from it and as such totally absorbed into the cake. Make no mistake, it tasted amazing! But it was not the look I was after.
PHOTO BY GABRIELA HANSEN
Needless to say, I am not a maple-butter-making expert quite yet, but I plan to attempt another batch very soon and will offer you my perfected recipe as soon as I have one! In the meantime, I suggest buying a tub of maple butter from the lovely farmer who has it on offer Saturday mornings at The St. Lawrence Market, OR you can join me in my quest and use this recipe as your jumping off point in search of maple butter perfection! Be sure to share all your tips and tricks in the comments below so we can all enjoy the glorious goodness of this truly Canadian treat!
PHOTO BY GABRIELA HANSEN

My most sincere thanks once again to Gabriela Hansen for sharing her delightful photos with us today. Wishing you all a warm + happy Tuesday!
xo
s.

By |November 13th, 2012|0 Comments