/DIY

ONE ROOM CHALLENGE: FALL 2015 | WEEK FIVE UPDATE

Well friends, things are starting to get real around here. It’s Week Five Update time with the One Room Challenge, and I’m grateful to say we’ve made some progress this week for sure! This week was truly all about the DIY’s for me, and I’m sharing three of them with you today, so fasten your seat belts!

MATTING + FRAMING: HOW TO DO IT YOURSELF

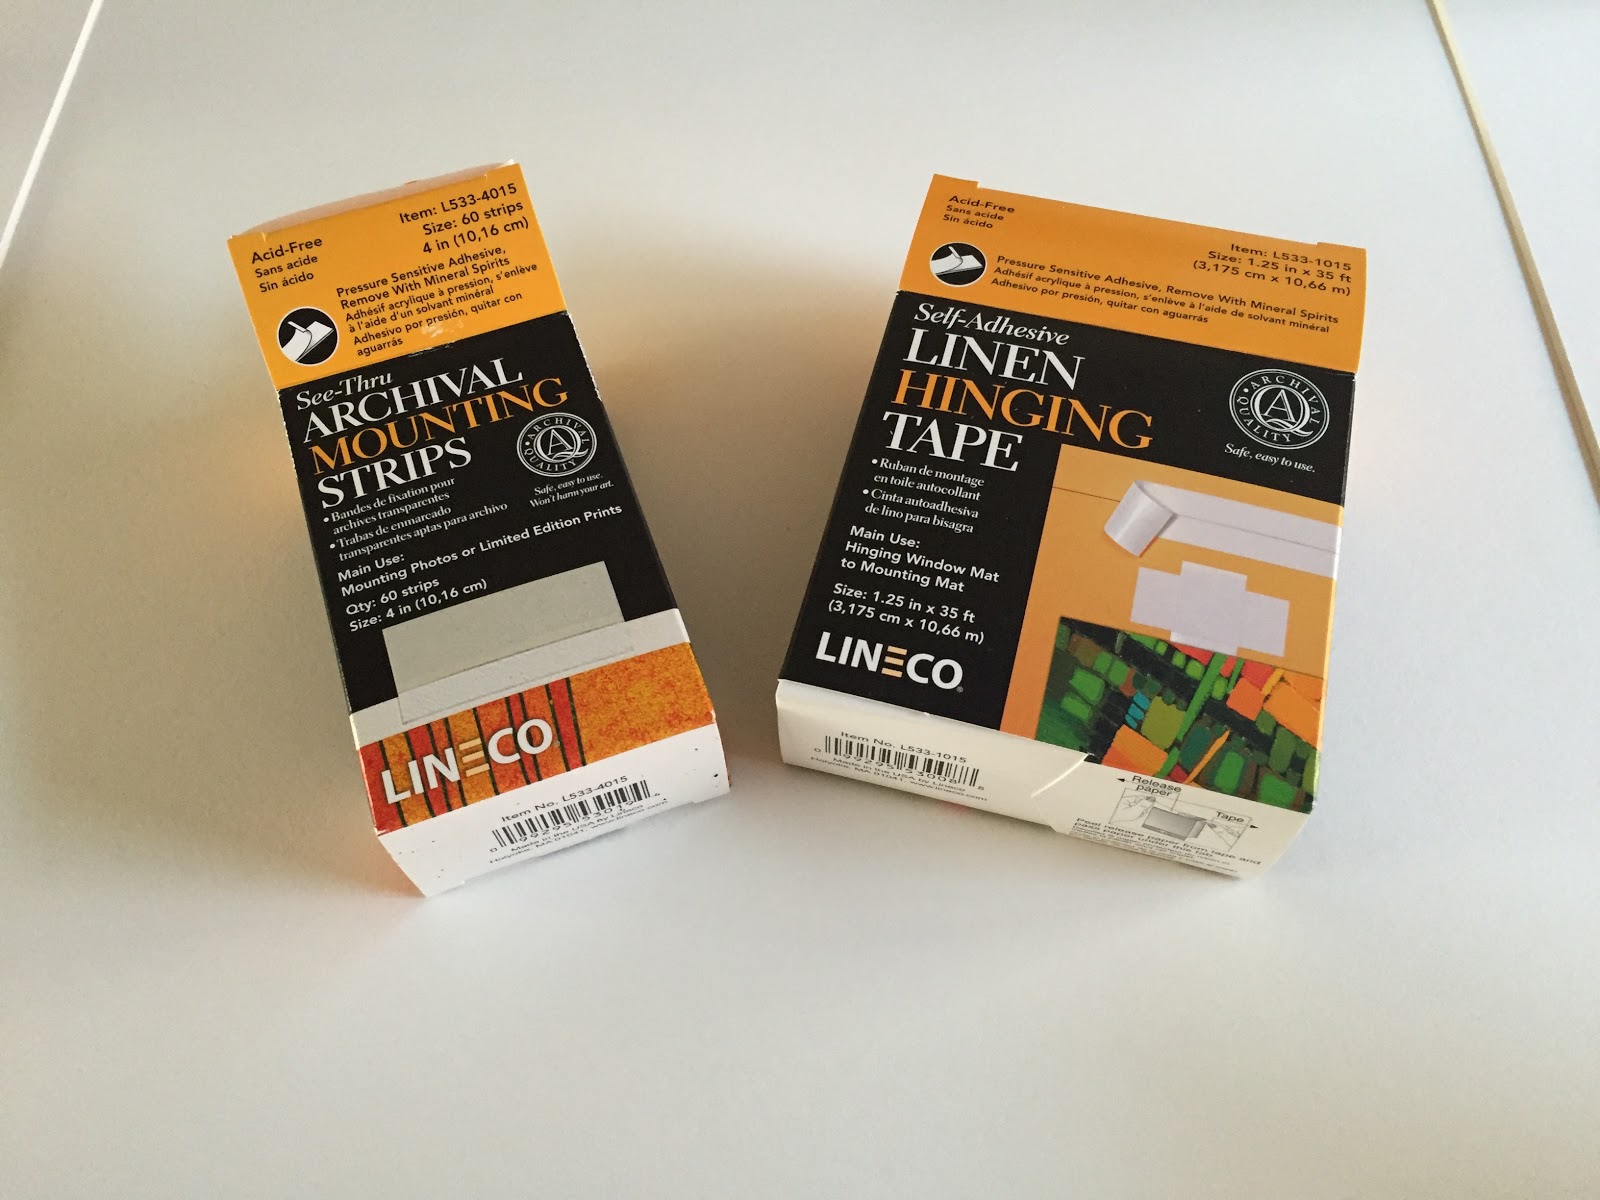
Remember the gorgeous frames from Framed & Matted that I shared in last week’s post? Well, I carved out some toddler-free time to get the gorgeous art safely framed up, and they look beautiful! For anyone who hasn’t mounted artwork before, I thought I’d give a quick tutorial on how to mount your art in a way that preserves the quality for decades to come. Given that I was working with editioned pieces, I wasn’t messing around!

Here’s what you’ll need:

1. Frames and matts from Framed & Matted
2. Lineco archival linen Tape
3. Lineco see-thru archival mounting strips
4. Lineco white gloves for handling the art
5. Needle nosed pliers for tying off the hanging wire
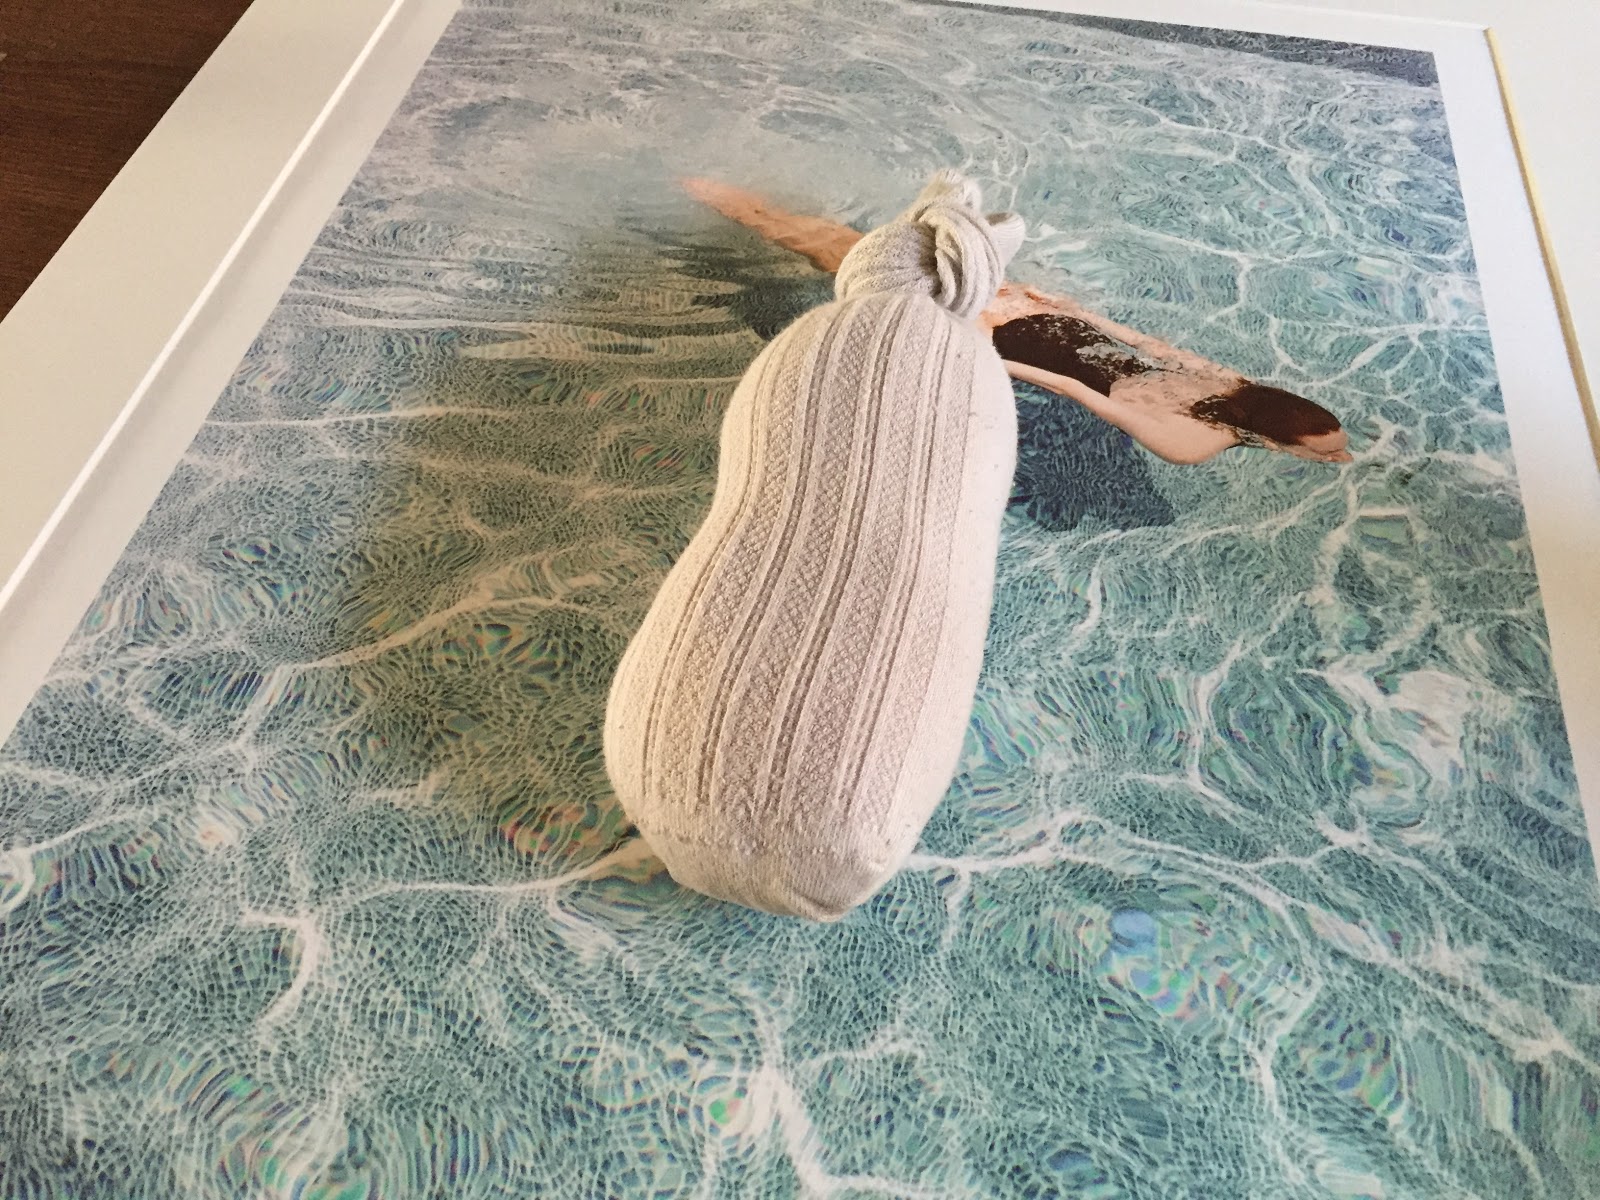
6. A clean sock, filled with rice and tied off with a knot

STEP ONE: Remove the matt and mounting board from the frame.

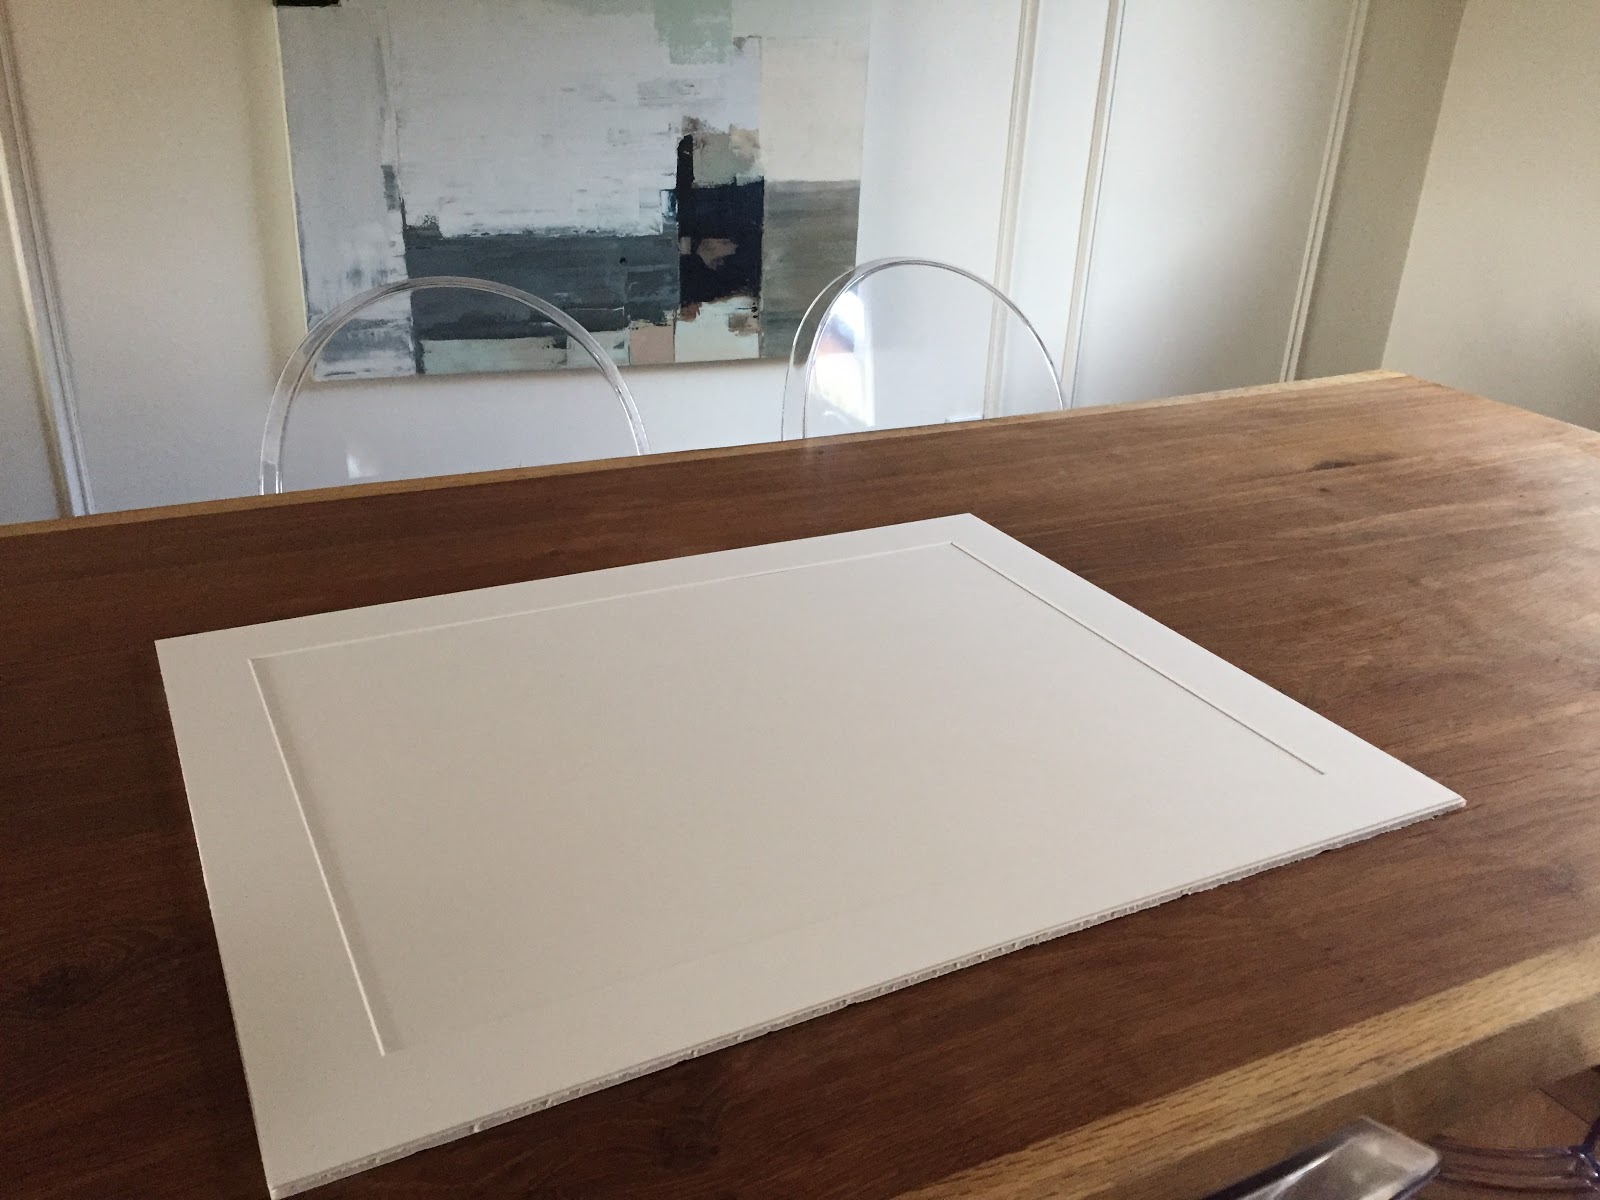
STEP TWO: Use the linen tape to hinge the matt to the mounting board from the inside.

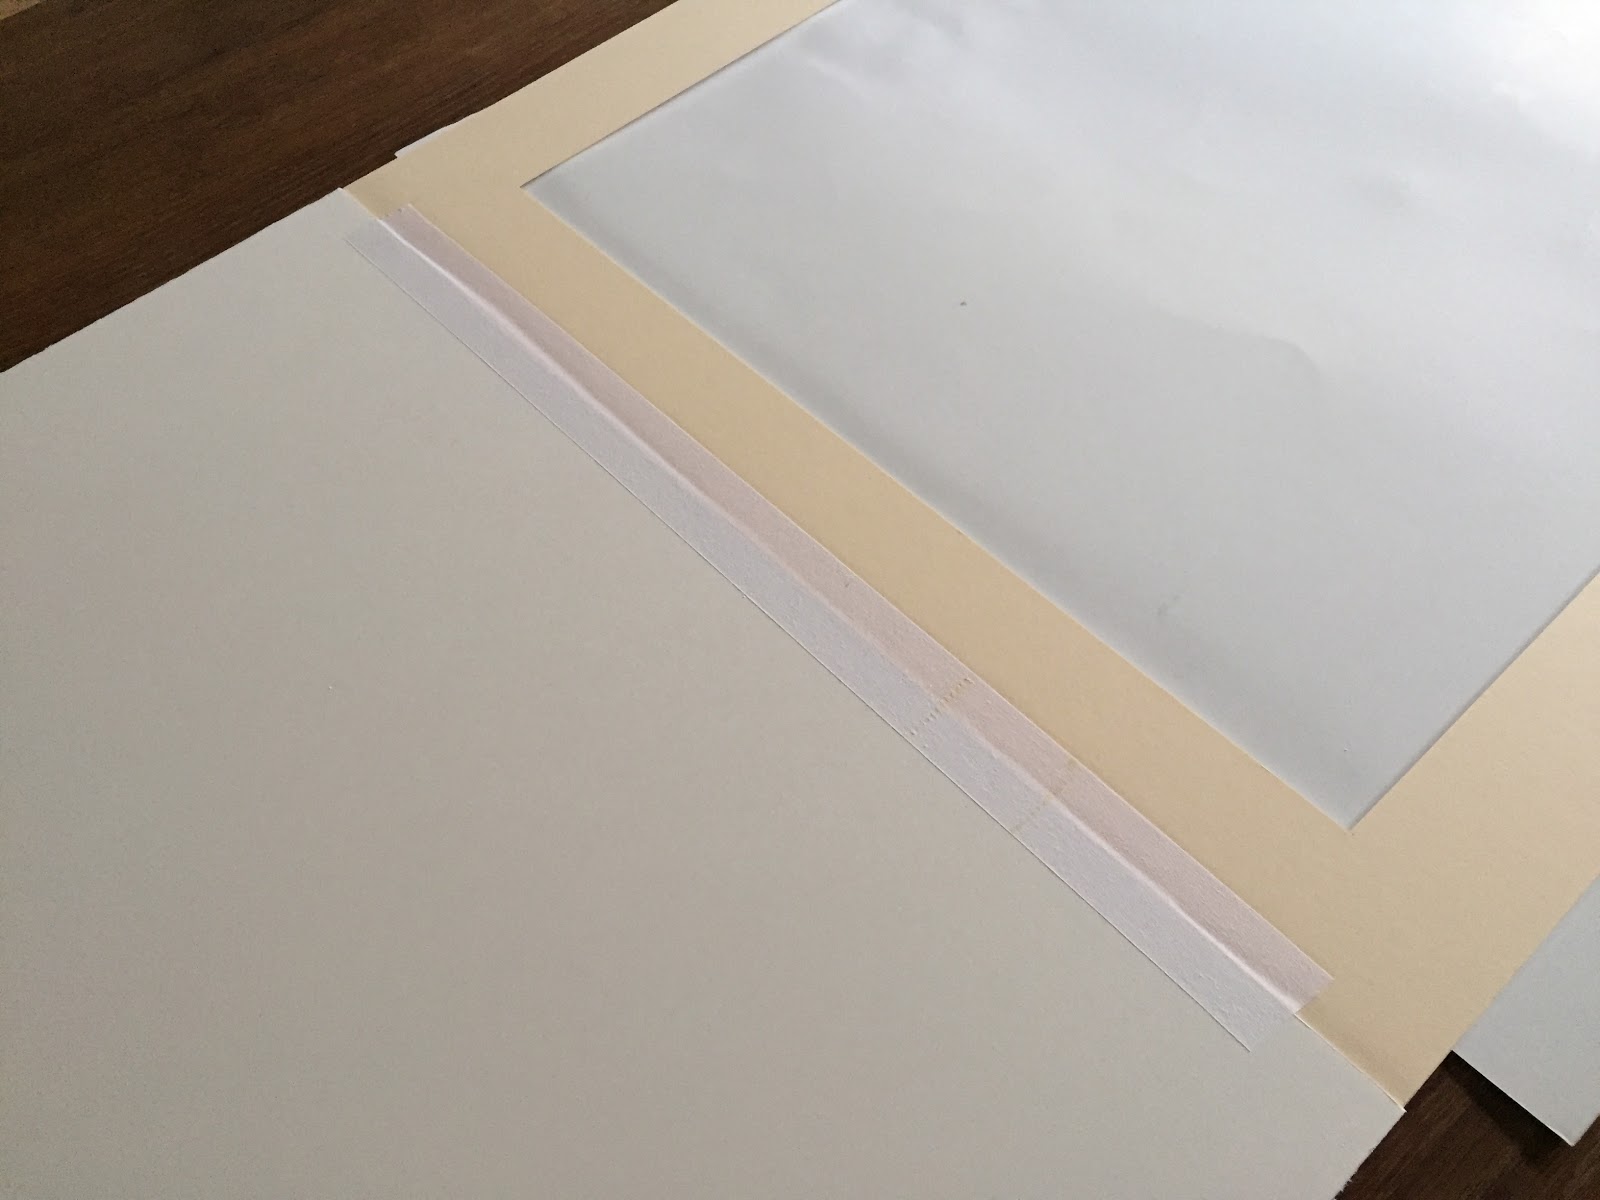
STEP THREE: Place the artwork and fold the matt overtop, ensuring the art is centred exactly where you want it. Place the sock in the middle of the piece to anchor it so you can lift the matt again and adhere your mounting strips to the mounting board.

STEP FOUR: Hinge the matt back over the artwork and return it to the frame. Close the frame up and install the hanging wire, being careful to follow the instructions provided by Framed & Matted.

STEP FIVE: Install and enjoy your beautifully framed art!

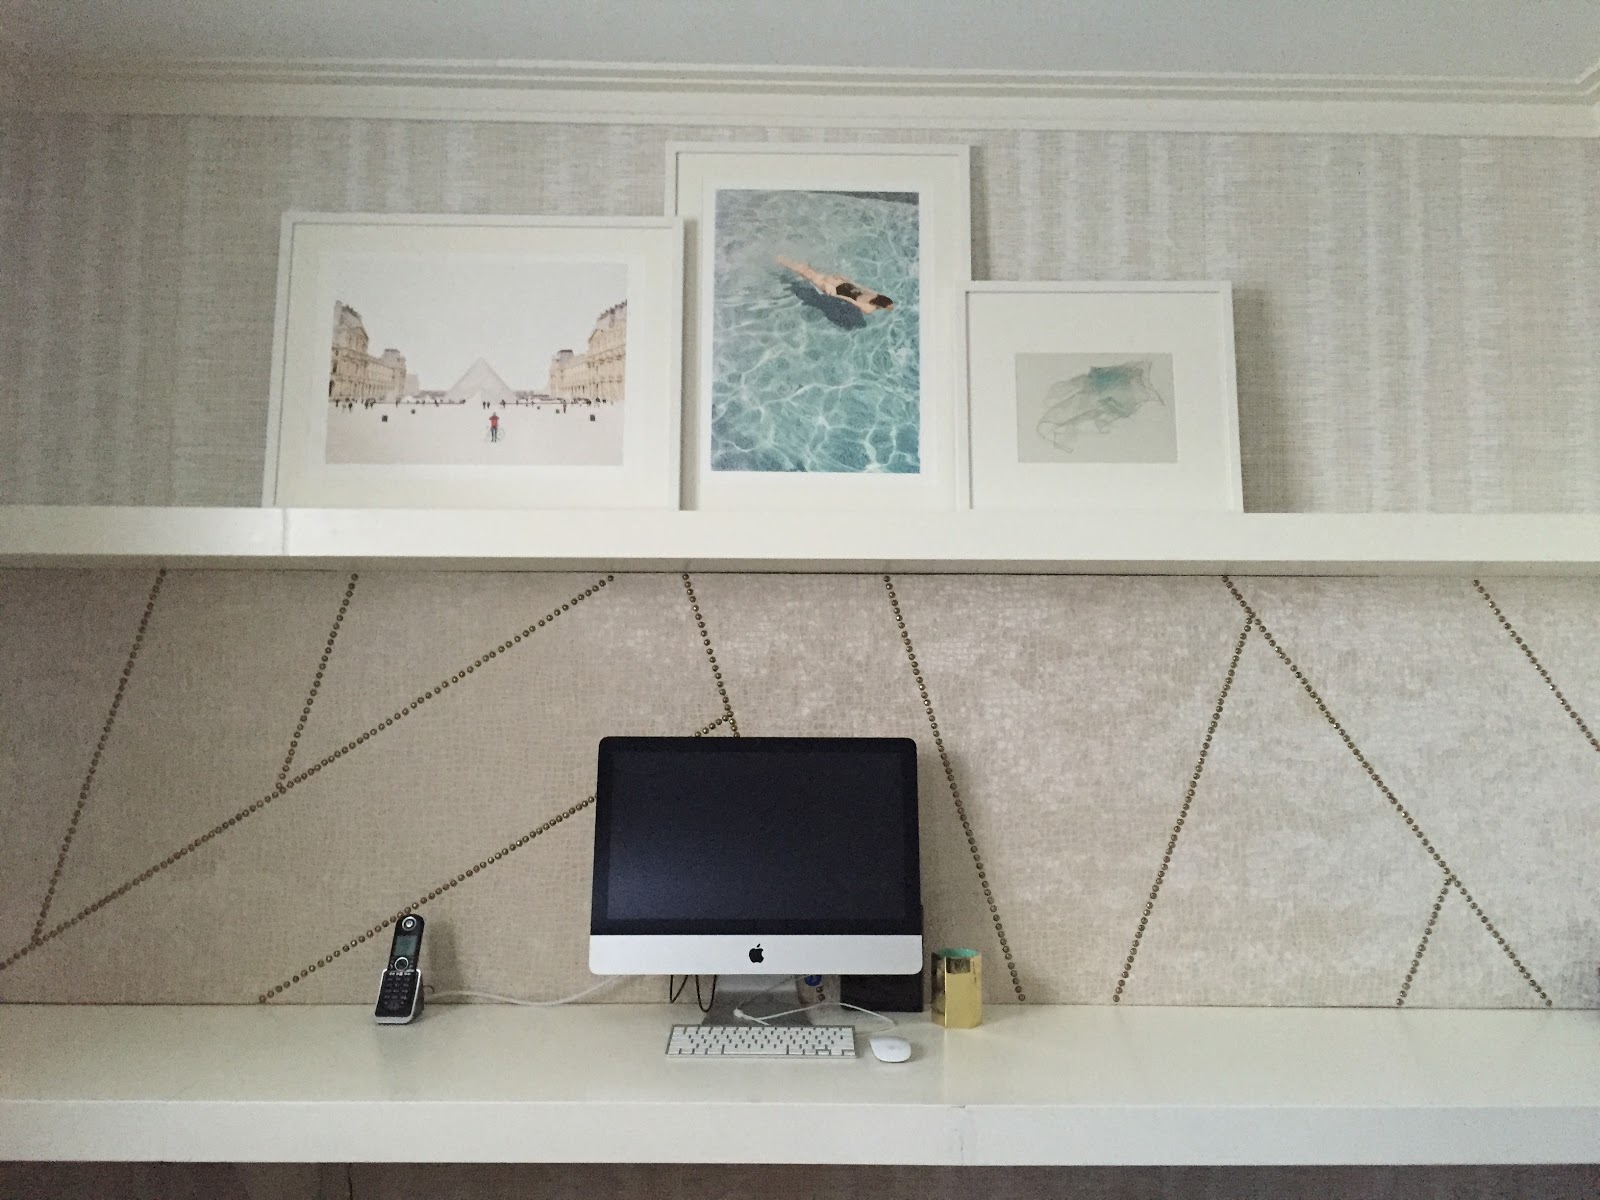
Art from left to right: Men In Red by Kate Baird, Going For A Swim by Whitney Deal, Babushka (Blue) by Amy Friend

HOW TO MAKE YOUR OWN MODERN PIN BOARD

The photo above leads me to my next DIY from this week: the pin board! I wanted to do something unique with the nailheads – something a little modern edge – and landed on this game plan above. I like that the use of nailheads is unexpected, and the pattern energizes my work space while still leaving me with lots of space to actually hang things on the pin board. Just in case you want to make one for yourself, here’s how I did it:

MATERIALS

1. Enough homasote to cover the area
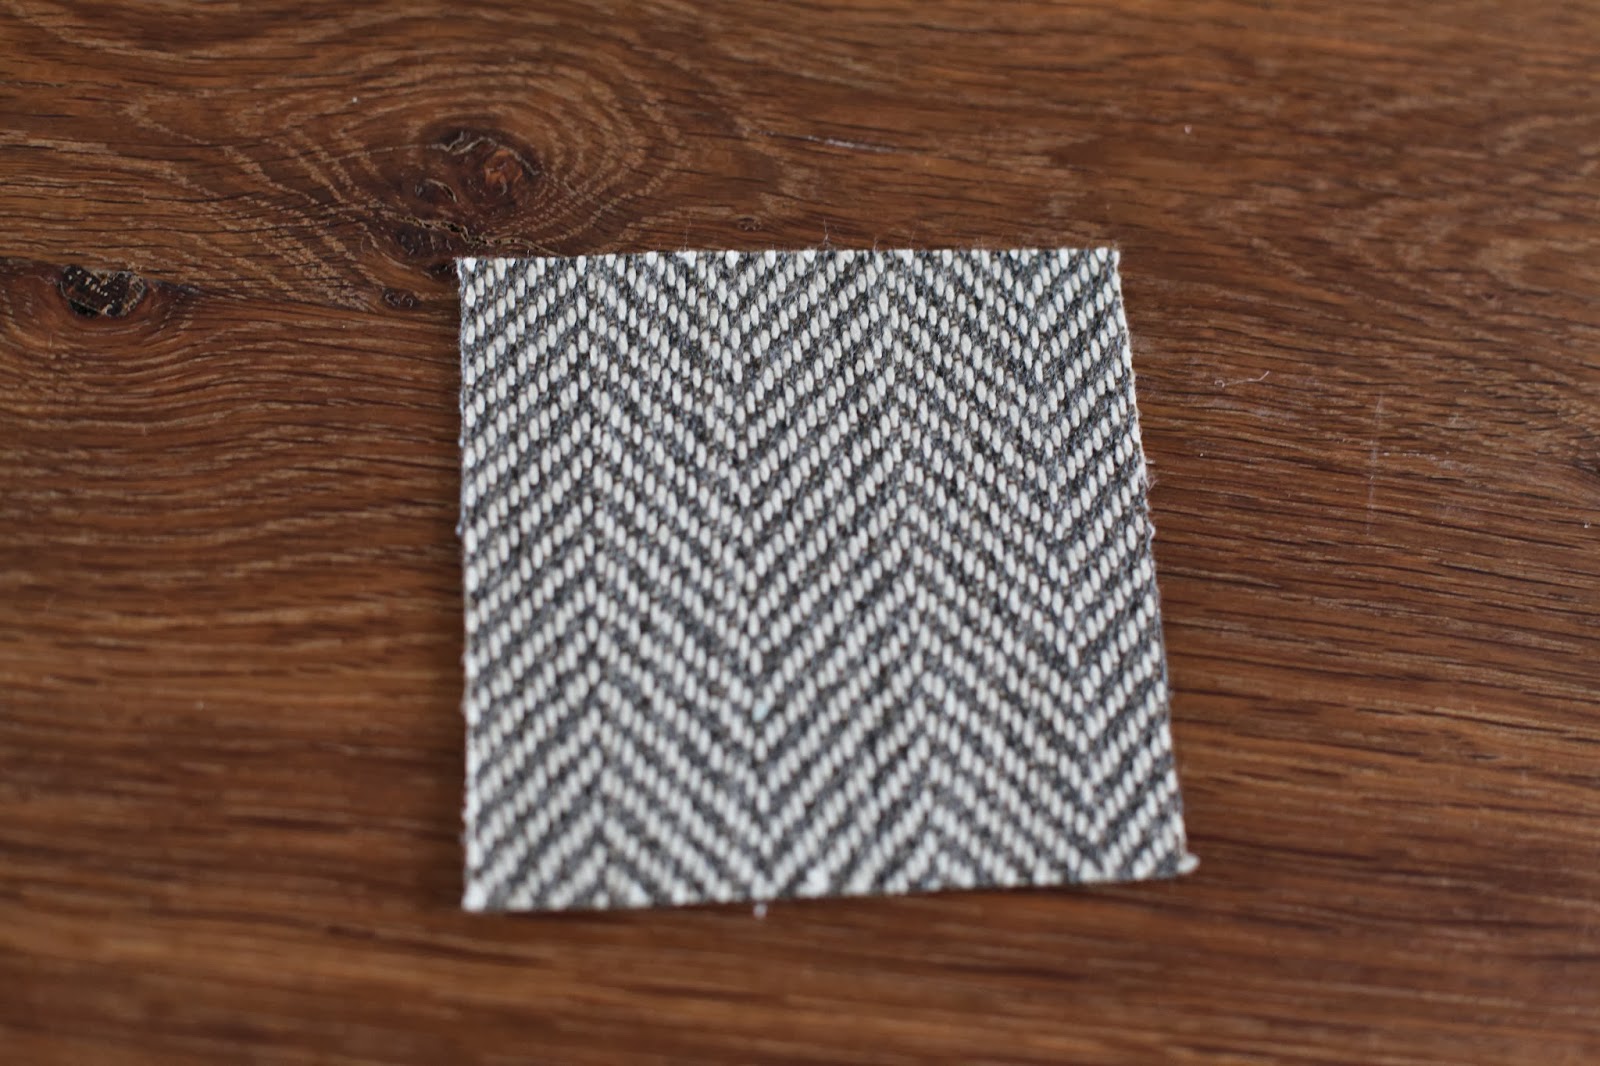
2. Some gorgeous Kravet fabric
3. A piece of craft paper the same size as your pin board
4. A pencil and large ruler
5. Nailheads and a finishing hammer

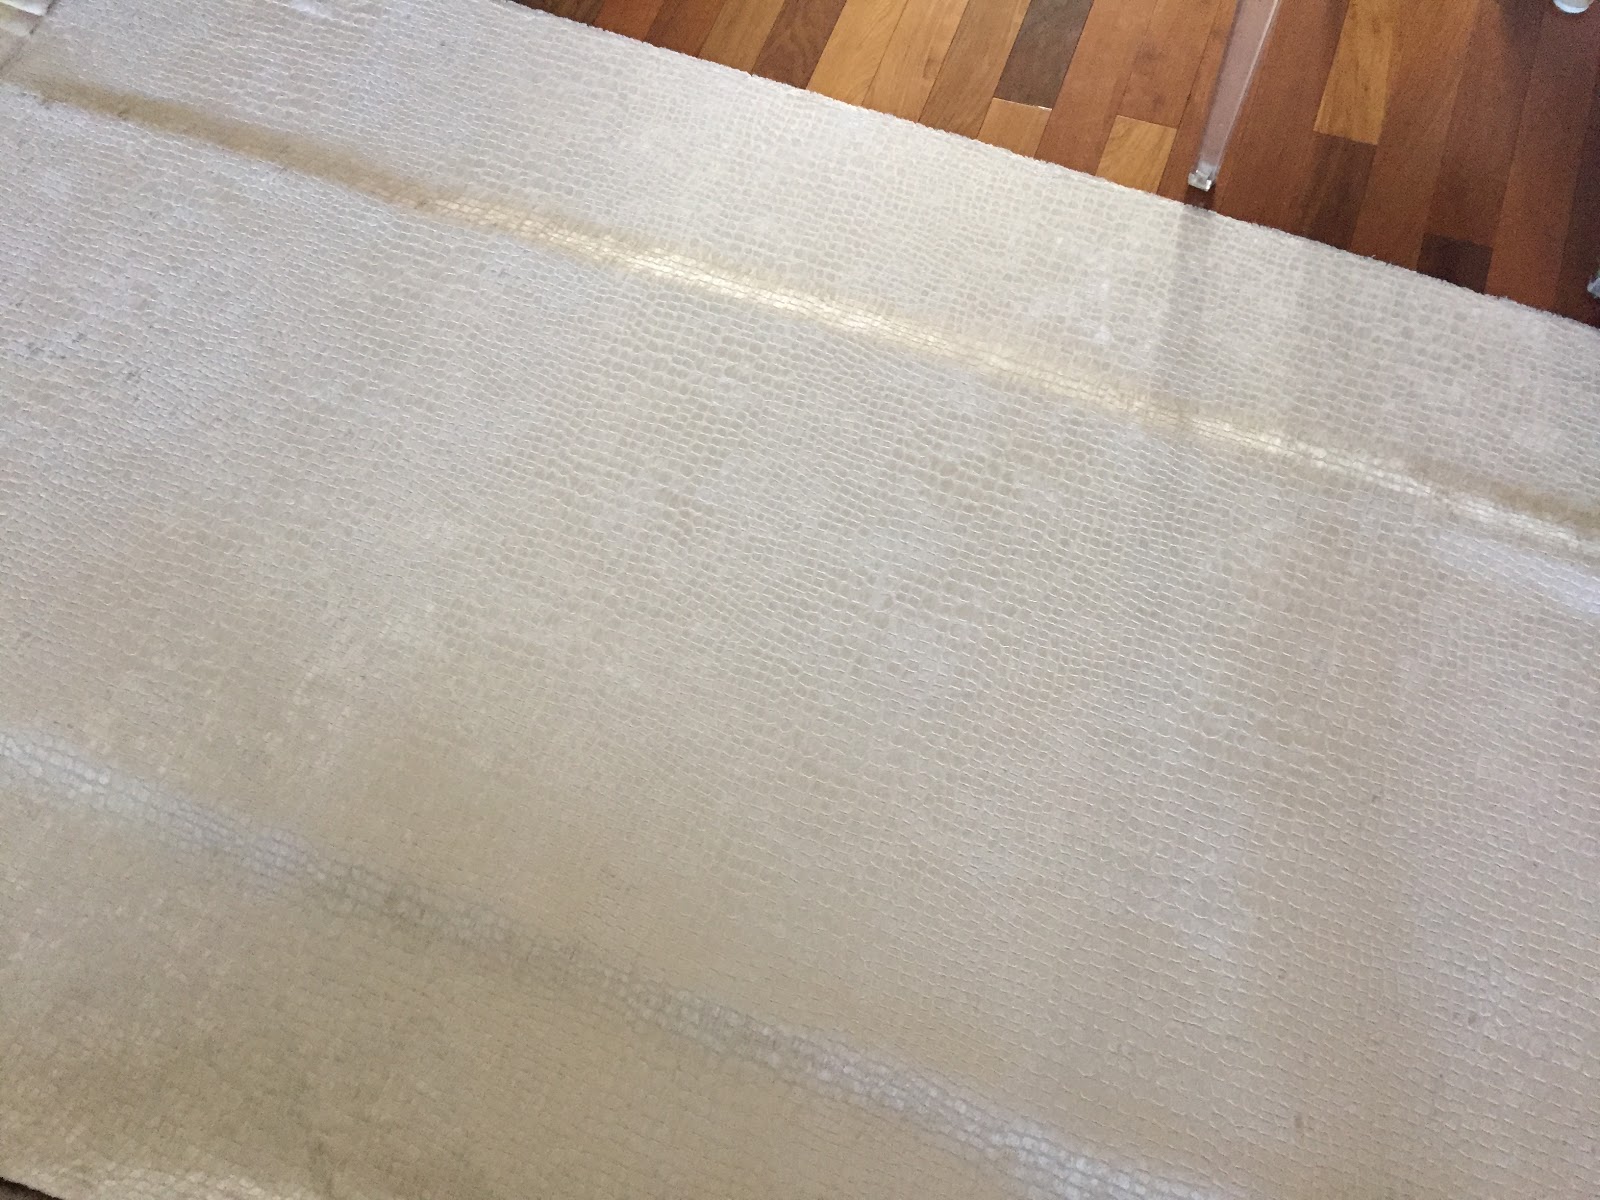
STEP ONE: Cut the homasote to size, joining it if necessary using PL construction adhesive and screwing strips of wood across any joints to create a stable finished piece. Next, lay the fabric over the face of the board and trim to leave enough to wrap around the back of the board. Using a staple gun, attach the fabric by stapling in the centre of each side, working on opposite ends each time you staple and pulling the fabric tight to ensure it is smooth. Slowly work your way around, always doing small sections and working on the opposite side next to maintain a balance in the tension on the fabric.

STEP TWO: Lay your craft paper over the face of the board and trim it to size. On a flat surface, use the pencil and ruler to determine your patter. Feel free to play with it a bit and erase the lines that don’t work. This part is not an exacting science so much as an intuitive art! I initially drew twice as many lines on the craft paper as what I ended up using in the end, so give yourself the freedom to try an idea and then step back and edit it.

STEP THREE: Following your guidelines, hammer the nailheads in about halfway. Be sure you determine how much space you want between the nailheads and stay consistent.

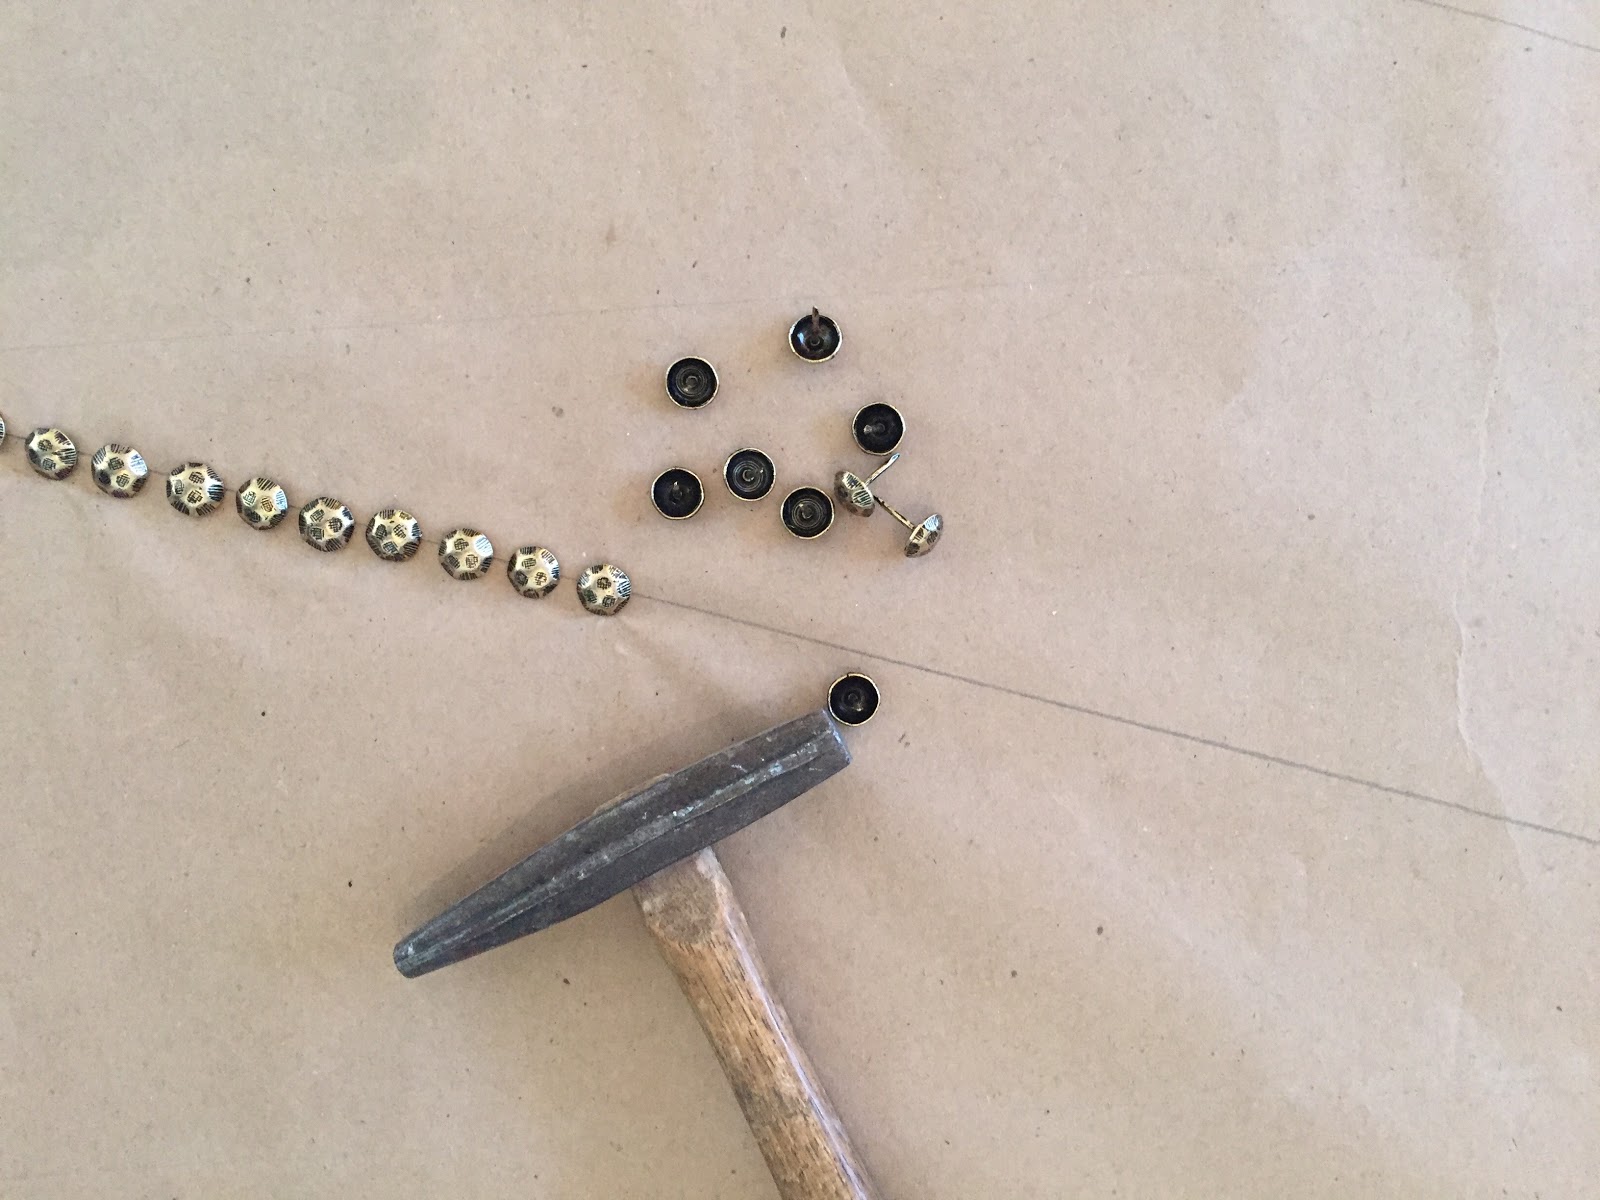
STEP FOUR: Remove the paper and hammer the nailheads down completely. You can adjust them as you go by hammering the sides to move them back in line if any of them go off the rails a bit. My mantra as I worked was Progress Over Perfection. This took me a couple of days, but it was well worth the effort in the end!

THE ART IS ALWAYS MY FAVOURITE PART: HOW TO RESIN ART

The last and most exciting DIY of the week was customizing the art for over the fireplace. I worked with my lovely friends at Anewall, who graciously customized one of their murals, turning it into a stretched canvas for me. Wanting to take it a step further, I partnered with the awesome Dave and Rebecca of Art Resin to transform the piece into a gorgeous and unique feature.

If a picture’s worth a thousand words, a video’s worth a thousand more! So rather than me typing out the step-by-step instructions on how to do this yourself, have a gander at this video for all the steps you’ll need to resin your own piece of art for a totally stunning end result!


Do you not love the Art Resin product? VOC-free, non-yellowing, super easy to use, and such a gorgeous finished product! I absolutely loved working with them on this.

HOW TO FINISH FURNITURE WITHOUT VOC’s

Speaking of VOC-free, I haven’t been the only one working away on projects for this space. I’m super excited to say that my awesome furniture maker wins the day again and has finished my custom coffee table using the most incredible finish – Rubio Monocoat from my inspiring friends at Exotic Woods in Burlington.

This oil-baed product is truly phenomenal. The nanotechnology actually bonds molecularly with the wood fibres, ensuring that whatever you finish it with – from furniture to floors – is incredibly durable for years to come. Even better, just like the Art Resin, it is totally VOC free and non-toxic, an absolute MUST in my book both as a designer and as a mom.

I can’t wait to get this gorgeous piece in place, along with everything else that will transform this room from a pretty shell to a warm and inspired context where my family can connect. I plan to refinish our dining table with this product myself, so I’ll be sure to post a step-by-step How To DIY once I get to it!

And THAT, my friends, is what I’ve been up to this week! Maybe that explains the bags under my eyes in that video? Haha! Here’s this week’s to-do list:

1. Pick up and load in all the furniture
2. Paint the bamboo chairs
3. Steam the drapes
4. Hang the last of the art
5. Arrange the flowers
6. Style the space
7. Shoot it
8. Write the reveal post
9. High five all my fellow ORC designers/survivors
{10. Take a giant nap}

I do hope you’ll come back to see the final ta-da! In the meantime, be sure to check out what these lovelies have been getting up to this week:

Apartment 34 | Arianna Belle | Because It’s Awesome | Coco+Kelley | Christine Dovey | Design Darling | Design Indulgence | Design Manifest | The English Room | Vanessa Francis | Hi Sugarplum | Honey We’re Home |Jojotastic The Pink Clutch | The Pink Pagoda | Simplified Bee Style Your Senses | A Thoughtful Place |Kimberly Whitman | The Zhush | Guest Participants

xx
s.

By |November 5th, 2015|4 Comments

Project Nursery | A Before And Almost After | The Story of a Dresser Re-Invented

I’m sorry for being rather MIA of late. The truth is, I’m 3 weeks and 2 days away from my due date and my to-do list seems to be getting longer rather than shorter! This whole having a baby right after Christmas business makes for a lot of to-doing to get done. It’s a magical combination of the typical pre-Christmas to-do list and the typical pre-baby to-do list, with a heaping dollop of renovating two bedrooms in our “spare time” as the icing on top! A recipe for an ever-growing list of things to get done, to be sure.

The good news is, things are getting done. I feel like we will make it by the skin of our teeth, but I’m hopeful that most everything on my to-do list will in fact be accomplished before this little man makes his grand entrance. The truth is, once he’s here the things that are left undone will be undone for awhile, and my guess is we won’t care one bit because we’ll be so enrapt with our charming and insanely snuggly bundle of joy.

All that to say, we are working hard at getting this boy’s nursery finished before the big day! Noah is in his room and it is really coming together…I promise to share that with you soon! Just a few more things on that to-do list left before we’re ready for a ta-da.

In the meantime, here’s our most recently accomplished project for the nursery. In the interest of saving some dollars for his college fund, we took on a little DIY for the babe’s dresser/change table and I thought I’d share our progress with you today.

I found this mid-century modern office cabinet on Kijiji for $120. I had been searching for quite awhile for a piece that could function as both dresser and change table. His room is not particularly large, and I wanted something that felt warm yet clean and contemporary. While this piece wasn’t perfect in its original state, I immediately saw its potential and knew I could transform it into something much more fabulous.

Here’s what I liked about it:

  • For $120 I got solid wood drawers. Amazing!
  • I love the 8 drawer configuration for organizing clothes and even storing extra diapers. This will be great when he’s little for all those tiny sleepers and onesies, but it will also grow with him. Think neatly organized sock and underwear drawers – a mama’s organizational dream!
  • The dimensions are perfect for the room, and at 44″ wide it provides a generous surface for a growing, wriggly baby boy to have his bum changed about a thousand times per day. At 34″ high without the change table topper and change pad, it will give me a work surface that will finish at about 36″ high. That is exactly the same as a back-friendly kitchen counter height. The height of your change table is such an important consideration, mamas! Don’t make yourself bend over more than you have to, especially for things like diaper changes, because you’ll be doing a lot of it! Save your back and smile more often! {Our new motto.}

What I didn’t like about it:

  • Those original steel legs remind me of an IKEA cabinet – too sterile.
  • The original melamine top is just plain unusual and definitely ugly –  a remnant detail highlighting that this was once a piece of office furniture. Given that the sides are exposed wood, it really lacks a visual sense of flow and continuity. The melamine is also chipped and worn and simply has to go.
  • The handles feel too commercial to me. They’ll do in a pinch, but they’re not what I envision.

So with that list of make-over musts, here’s what we’ve done with it so far!

It’s a subtle change on the one hand, but it takes this piece much more in the direction I’m aiming for! Graham used 1″ slabs of inexpensive MDF to create a waterfall surround {with mitred corners, of course}. I primed and then painted out the MDF panels in Sherwin Williams Creamy 7012 {a warm white that is softer and not as bright as this photo implies}. We then removed the drawers so we could attach the freshly painted panels to the original cabinet from the inside of the wood frame. This created a very stable base that then allowed us to remove the original legs. We then finished the new waterfall surround with another coat of paint and voila! A new lease on life for this solidly built and practical little 1960’s office clerk. It’s like we got her out of her penny loafers and bought her a great pair of heels, don’t you think?

So what’s left for this little makeover? Graham is going to build a change table topper for me similar to this:

{Image Source}

Every good outfit needs great accessories to finish it off, so I’m also planning to change out the hardware. {Yes, that means it’s still on my to-do list.} I have a rather fresh idea that I’m hoping I can implement, and if that fails I’ll be sourcing some pre-made in-stock handles over the holidays.

I just got word that the swivel glider chair will ship from CR Laine this Friday, so I’m pretty giddy about that! Can’t wait to see this handsome Sunbrella fabric on that gorgeous chair. It will be just as pretty as it is practical.

In the meantime, we still have panel moulding to install and the rest of the walls to paint out in the Sherwin Williams Creamy 7012 to create our calm and soothing envelope for the room. And then a used crib to paint, picture rails to install, artwork and drapery panels to install…not to mention the last of my to-do list for Christmas and finishing Noah’s room. Oh yes, and then there’s this small matter of a baby to deliver!

In the midst of all the seemingly growing lists and demands and the ever-present pressure of the holiday rush, I keep reminding myself of this:

{Image via Shauna Niequist}

What really matters is not the to-do list, but the people I do life with. And in honour of them, I’m working hard to trim down the list to carve out time to just be together. No agenda. No tasks to get done. Just time savouring the amazing gifts we have in each other.

I hope you’re able to do the same, and that this last week or so before Christmas is one that paves the way to a meaningful and happy holiday for you and your loved ones.

xo
s.

By |December 18th, 2013|2 Comments

My Favourite Book Publisher Is Having A Sale!

This month is Craft Month at Chronicle Books, and I just had to share this sale with you!  If you are thinking of stocking up by adding some inspiration to your shelves for the nesting and nurturing months ahead, you will definitely want to get in on these crazy deals.

All of the titles in this sale are $3.99 or LESS, so snatch up a bunch before the leaves change colours and you find yourself in need of some projects to keep your fingers busy and warm. What better way to make the colder months pass happily by than to make beautiful things? If these images have you jones-ing for some DIY time, this is definitely the sale for you.

Oh the inspiration that awaits! Happy Thursday.

xo
s.

By |September 12th, 2013|0 Comments